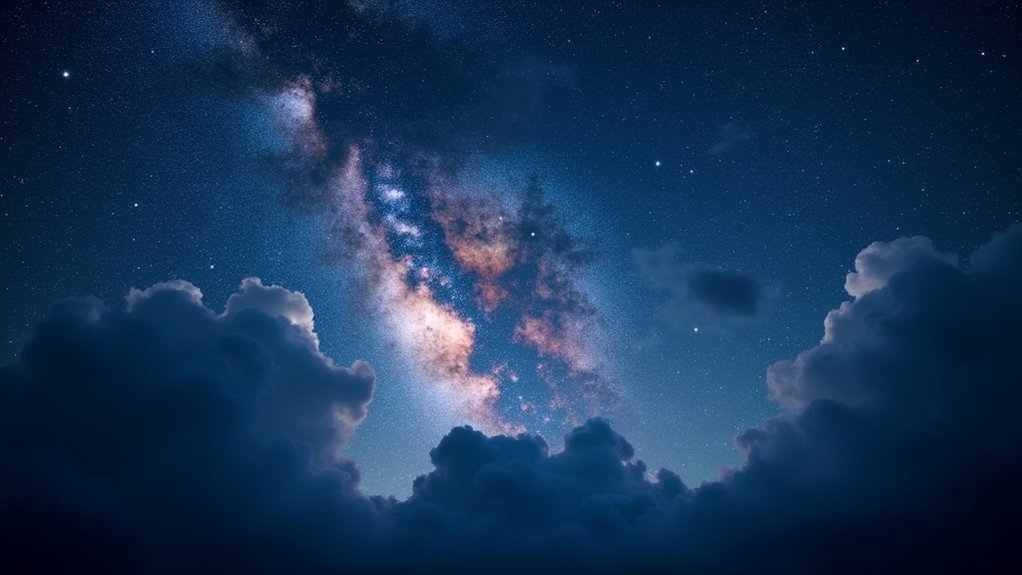
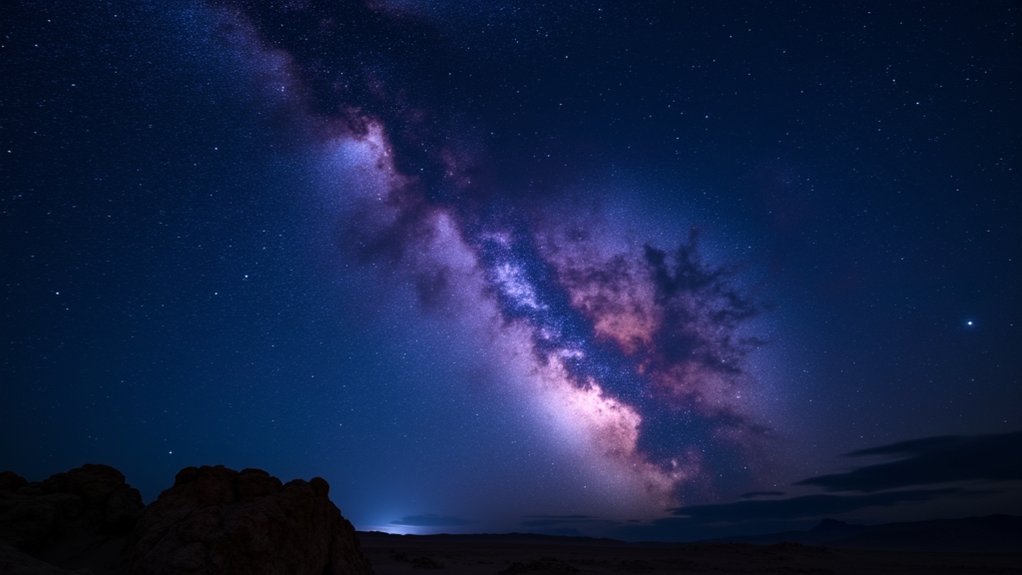
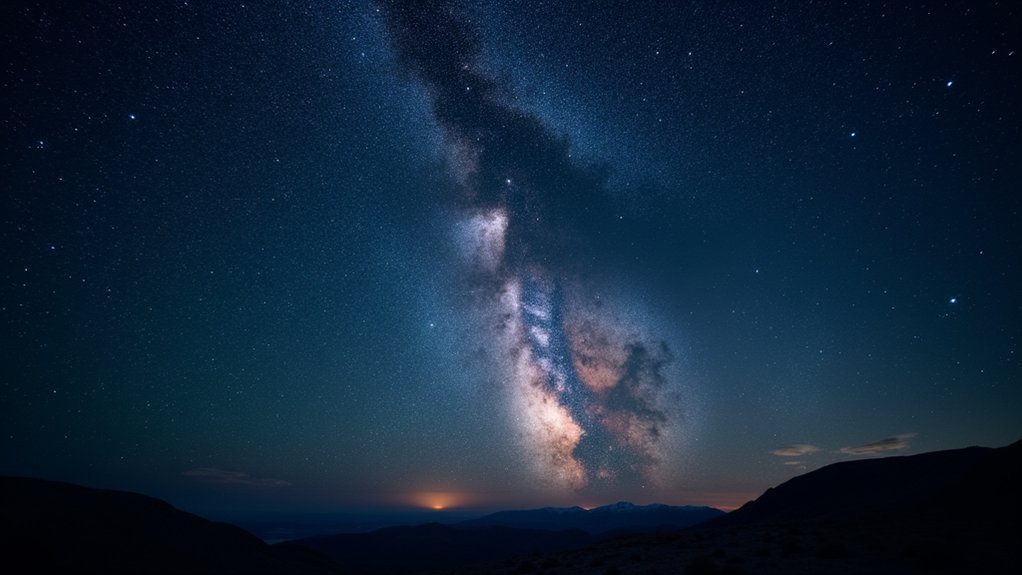
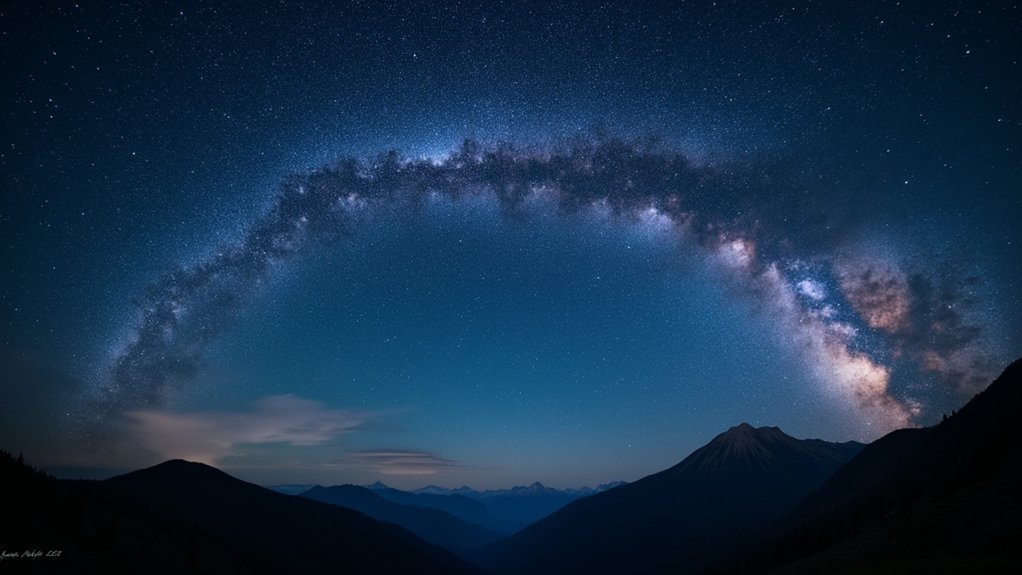
Professional astronomy photos require specific camera settings to capture the night sky effectively. You’ll need a wide aperture (lowest f-stop) to gather maximum light, carefully calculated shutter speeds using the 400 Rule to prevent star trails, balanced ISO between 1600-3200 for sensitivity without excessive noise, long exposure noise reduction for cleaner images, and RAW format to preserve all sensor data. Master these five essential settings and your astrophotography will reach new celestial heights.
Aperture Settings: Maximizing Light for Starry Details

When capturing the night sky, your aperture setting becomes the gateway to stellar photography.
You’ll want to use the widest aperture possible (lowest f-stop number) to collect maximum light from distant stars. Prime lenses that offer f/2.8 or lower are ideal, with f/1.4 delivering exceptional results even in areas with light pollution.
This wide aperture approach serves two vital purposes: it allows for shorter exposure time while still gathering sufficient light, and it creates a shallow depth of field that makes celestial objects stand out dramatically.
When using a full frame camera, you’ll be able to maintain reasonable shutter speed without introducing star trails. The combination of wide aperture and longer exposures balances detail capture with the practical limits of Earth’s rotation.
Shutter Speed Adjustments for Streak-Free Star Capture
Selecting the perfect aperture lays groundwork for stellar photography, but your shutter speed determines whether stars appear as crisp points of light or streaked trails across the frame.
To capture pinpoint stars, embrace the 400 Rule: divide 400 by your lens’s focal length to calculate maximum exposure time. With a 24mm lens, you’ll want to stay under 16.7 seconds.
For standard astrophotography, aim for 15-20 second exposures. This duration balances sufficient light gathering while preventing unwanted star trails.
If you’ve invested in a star tracker, you can extend to 30-60 seconds while keeping stars sharp. When using longer exposures, lower your ISO to reduce noise.
Always check your histogram after a test shot and use manual focus with a remote shutter release for crisp, vibration-free results.
ISO Balance: Finding the Sweet Spot for Night Sky

Although aperture and shutter speed establish your foundation, ISO sensitivity remains the critical factor that can make or break your astrophotography. Aim for the sweet spot between ISO 1600-3200, where your camera sensor captures faint celestial objects without excessive noise.
You’ll need higher ISO when shooting night sky images, especially when light pollution limits your longer shutter speed options. Monitor your histogram during exposures, keeping the bulk around 1/5 across to prevent clipping shadows or highlights—this simple check confirms ISO effectiveness in real-time.
Always shoot in RAW format; more detail can be pulled from these files during post-processing, giving you flexibility to adjust exposure later.
Test different settings for your specific location and conditions, as the perfect ISO varies depending on your environment and equipment.
Long Exposure Noise Reduction for Cleaner Images
Even with optimized ISO settings, long exposure astrophotography inevitably introduces digital noise that can obscure fine details in your celestial captures.
This is where long exposure noise reduction becomes invaluable for obtaining cleaner images. When you activate this feature, your camera captures a second “dark frame” with the same shutter speeds but with the sensor closed, recording only noise data.
It then subtracts this information from your original shot, dramatically improving quality—especially for single exposure Milky Way shots.
Be aware that this technique doubles your processing time during night shoots, as each photo requires twice the capture duration.
Verify you’re using a stable camera setup to prevent vibrations during both exposures. It’s particularly worthwhile if you don’t use stacking techniques but still want professional-quality astrophotography results.
RAW Format: Preserving Data for Post-Processing Success

When capturing the cosmos, you’ll need every bit of data your camera can collect, which is why shooting in RAW format remains non-negotiable for serious astrophotography. Unlike compressed JPEGs that discard valuable information, RAW files preserve the full dynamic range directly from your sensor, giving you unparalleled control during post-processing.
This unprocessed data becomes your greatest asset in the editing process. You’ll recover blown-out highlights in bright stars and pull detail from shadowy nebulae that would otherwise be lost forever.
RAW’s expanded tonal range also provides superior flexibility for adjusting exposure, color balance, and contrast without degrading image quality. Perhaps most importantly, effective noise reduction becomes possible without sacrificing the delicate details that make astronomical images spectacular.
The extra file size is a small price for the post-processing freedom RAW delivers.
Frequently Asked Questions
What Settings Should I Use to Take Pictures of Stars?
For star photography, you’ll need ISO 1600-3200, aperture at f/2.8 or lower, shutter speed based on the 400 Rule, RAW format, and manual focus on the brightest star for sharp celestial images.
What Is the Rule for Astrophotography Settings?
For astrophotography settings, follow the 400 Rule (shutter speed = 400/focal length), use ISO 3200, set your widest aperture, enable Long Exposure Noise Reduction, and always shoot in RAW format for best results.
What Settings Should I Use for Star Trail Photography?
For star trail photography, you’ll need manual mode, wide aperture (f/2.8 or lower), high ISO (800-3200), and long exposures. Consider shooting multiple 20-30 second frames to stack later rather than single ultra-long exposures.
What Camera Settings to Use for Astrophotography?
For astrophotography, you’ll want to use Manual mode, ISO 1600-3200, wide aperture (f/2.8 or lower), shutter speed of 5-30 seconds (following the 400 Rule), and shoot in RAW format for best results.
In Summary
You’ll see dramatic improvements in your astrophotography by mastering these five critical settings. Remember, proper aperture opens your lens to maximum light, while the right shutter speed freezes stars in place. Balance your ISO carefully, enable long exposure noise reduction, and always shoot in RAW. With practice and patience, you’ll capture the cosmos with stunning clarity that rivals professional astronomers’ work.


Leave a Reply