An Arduino camera trigger lets you capture stunning night sky shots without touching your camera. Connect an IR LED to a digital pin through a 330-ohm resistor, then program your Arduino to send signals at precise intervals. Power it with a 9V battery for portability, and house everything in a weatherproof enclosure for protection. You can even add light sensors to automate shooting based on darkness levels. This simple DIY project will transform your astrophotography experience.
Understanding Arduino Trigger Basics for Night Sky Shots
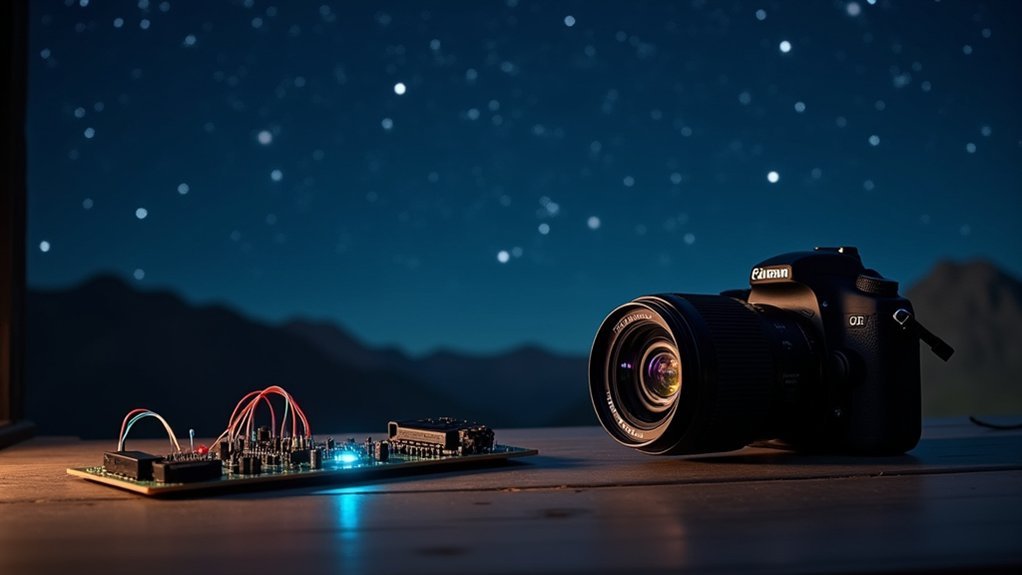
While many photographers struggle with camera shake during long-exposure night photography, an Arduino-based trigger system offers an elegant solution. The system uses an IR LED to wirelessly trigger the camera, eliminating physical contact that might cause unwanted movement during essential moments of exposure.
The magic happens when you connect the IR LED’s anode to a digital output pin on your Arduino, with the cathode grounded through a resistor. This setup lets you trigger the flash precisely when needed without touching your camera.
For capturing star trails, you’ll want to utilize the intervalometer functionality in your code, which automates multiple exposures at predetermined intervals. You can customize timing parameters to match your specific photography needs, whether you’re shooting star trails or capturing the Milky Way.
Required Components and Materials
Now that you understand the basic principles of Arduino camera triggers, let’s examine what you’ll need to build your own system. At the core, you’ll require an Arduino microcontroller to serve as your project’s brain.
To communicate with your camera, you’ll need an IR LED connected to a digital output pin through a 330 Ohm resistor. This creates the signal that mimics your camera’s remote. For photographers with higher-end cameras, consider adding a sync port connection for more precise control.
The humble IR LED becomes your camera’s master when paired with Arduino, speaking the silent language of remote triggers.
Don’t forget the basics: a breadboard for prototyping, hookup wire for connections, and a 9V battery clip for field power.
When assembling, make certain your IR LED points directly at your camera’s sensor for reliable triggering. This portable setup allows you to capture night shots without remaining tethered to power sources.
Wiring Diagram for Shutter Release Circuit
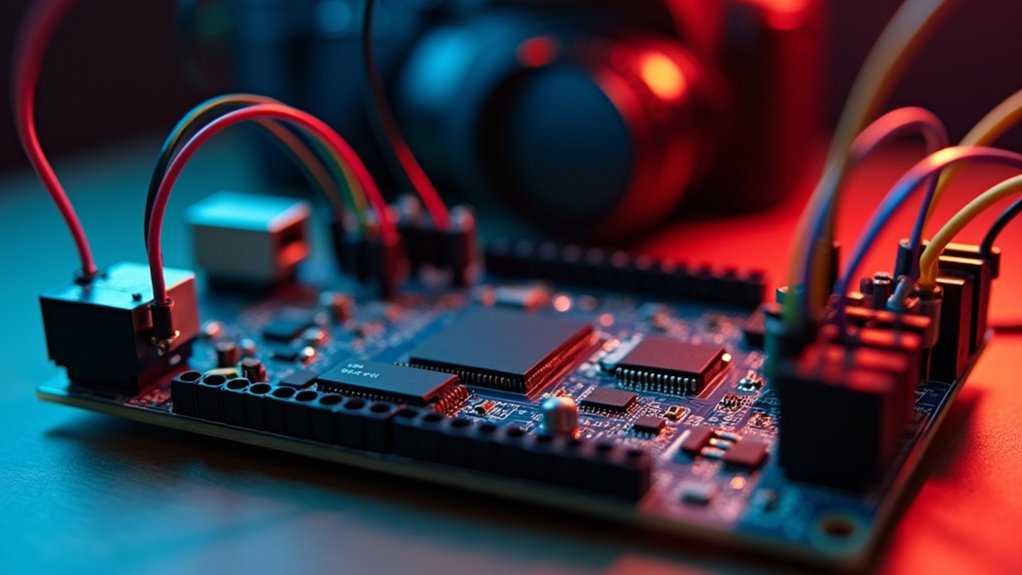
Constructing a proper wiring diagram forms the foundation of your Arduino camera trigger system. Connect the IR LED’s anode directly to one of the Arduino’s digital output pins, while the cathode should run through a 330 Ohm resistor to ground. This creates the basic circuit needed to sync with your camera.
Use a breadboard to organize your connections neatly, ensuring stability when you’re ready to take a picture during night sessions. Position the IR LED so it faces your camera’s IR sensor directly—this alignment is essential for successful triggering.
Before finalizing your setup, test the circuit with your camera to confirm proper functionality. You might consider using a PC sync cable as an alternative connection method.
Secure all wiring with insulation, especially for outdoor use where moisture could damage the circuit.
Setting Up Your Arduino Environment
Three essential steps will prepare your Arduino environment for night photography triggering.
First, download and install the latest Arduino IDE from the official website, ensuring compatibility with your operating system.
Next, connect your Arduino board via USB and select the correct board type and port in the Tools menu. This establishes the communication pathway critical for camera triggering applications.
Proper board configuration creates the vital link between your computer and the Arduino for seamless camera control.
Finally, install the necessary libraries for your project, particularly the IR library if you’re controlling cameras in manual mode.
Write a simple test sketch to verify your setup works by blinking the onboard LED.
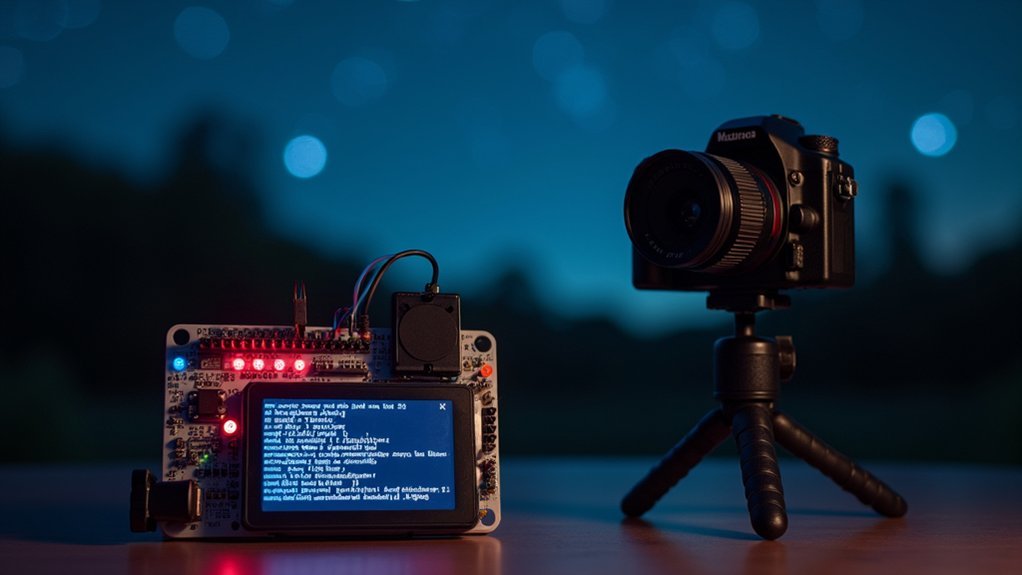
Use the serial monitor for debugging while testing your camera trigger functionality. This troubleshooting tool helps identify issues before field deployment of your night photography system.
Programming the Intervalometer Function
You’ll need to structure your intervalometer code with two essential components: a main loop that handles the timing between shots and the trigger function that communicates with your camera.
Setting up your timing configurations requires understanding the Arduino’s delay() function, which accepts millisecond values (60000ms equals one minute, for example).
You can easily customize these delays based on your specific night photography needs, whether you’re capturing star trails requiring longer intervals or creating quick-succession timelapses of the moon’s movement.
CODE STRUCTURE BASICS
When programming the intervalometer function for your Arduino camera trigger, the code structure follows a straightforward loop design that repeatedly activates your camera’s shutter at predetermined intervals.
The intervalometer uses the delay function to control timing between shots, which you’ll customize based on your night photography needs.
- Set your desired interval by modifying the delay value (60000 milliseconds = 1 minute)
- Include a short delay after each triggering mechanism activation to protect your camera’s shutter
- Incorporate sensor inputs to make your trigger responsive to environmental conditions
- Add specific camera brand libraries for compatibility with your equipment
- Structure your loop to continue running until manually stopped or battery depletion
This simple yet effective code structure guarantees reliable operation during extended night photography sessions, allowing you to capture star trails, time-lapses, or other phenomena requiring precisely timed exposures.
DELAY TIMING CONFIGURATIONS
Fine-tuning the delay timing in your Arduino camera trigger forms the heart of successful night photography. Your intervalometer function can be programmed to fire at precise intervals by adjusting the `delay()` parameter within your loop.
To set a 10-second interval, use `delay(10000)`, or `delay(60000)` for a minute between shots. Remember to include a buffer delay after each trigger to prevent sending rapid signals that might cause the camera to miss shots.
For more sophisticated captures, customize your code to incorporate conditional checks. You can connect light meters or pressure sensors to trigger the camera only when specific environmental conditions are met, rather than relying solely on fixed intervals.
This approach transforms your simple intervalometer into a responsive system that captures exactly the moment you’re seeking.
Connecting Your DSLR to the Arduino
Because DSLRs aren’t designed to directly interface with microcontrollers, you’ll need to create a safe connection between your camera and the Arduino. The key is proper isolation to protect both devices while allowing you to take photos remotely.
- Use an opto isolator chip to safely separate the camera’s high voltage from your Arduino circuit.
- Connect a PC sync cable or hot shoe adapter to your camera’s flash connector.
- Attach your piezo sensor to an analog pin with a megaohm resistor for stable readings.
- Program your Arduino to wait in standby mode until it detects the trigger signal.
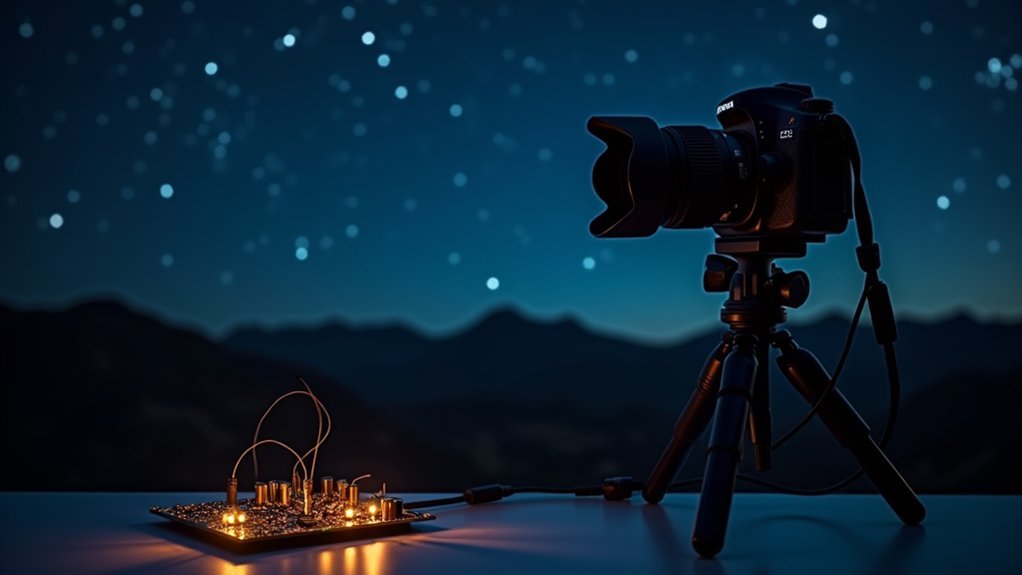
- Mount your camera on a tripod with your desired settings before activating the trigger.
Once connected, your Arduino will safely communicate with your DSLR without risking damage to either device.
Testing Your Trigger System
With your Arduino and camera properly connected, you’ll need to verify the system works correctly before heading out for a night shoot. Position the IR LED directly facing your camera’s sensor, then check if it’s functioning by viewing it through a digital camera display—you’ll see it flash when activated.
| Test Type | Duration | Purpose |
|---|---|---|
| Interval | 10 seconds | Basic functionality |
| Pressure | Variable | Response time |
| Custom | User-defined | Scenario testing |
Run a simple code that triggers shots every 10 seconds. “I’m going to adjust the delay,” you might think as you find the perfect timing for your photography needs. Mount the LED on one side of your setup where it best reaches the camera sensor. Incorporate pressure sensors or other conditions to confirm versatility before your actual night photography session.
Light Sensor Integration for Automated Shooting
Once your trigger system proves functional, adding a light sensor transforms your setup into a truly automated night photography tool.
Connect the light sensor to an analog Arduino pin to detect varying light levels that determine when your camera activates.
- Wire the light sensor to an analog pin (A0-A5) on your Arduino board
- Set a threshold value in your code to define the specific light level for triggering
- Include a delay function (e.g., `delay(5000)`) to prevent rapid consecutive shots
- Customize sensitivity settings based on your specific night photography environment
- Test the sensor with a digital multimeter to accurately calibrate threshold values
This integration guarantees your camera only triggers under ideal nighttime conditions, giving you hands-free operation while maintaining perfect exposure for your night photography projects.
Power Supply Solutions for Field Use

When setting up your Arduino camera trigger in the field, you’ll need reliable power options like a 9V battery clip with high-capacity rechargeable batteries that maintain performance even in cold conditions.
You can extend your shooting sessions by integrating small solar panels that trickle-charge your batteries during daylight hours, providing sustainable power for overnight photography.
Adding a voltage regulator circuit guarantees your trigger receives consistent power regardless of battery level fluctuations, protecting both your Arduino and connected camera equipment from potentially damaging voltage spikes.
Battery Types and Duration
Power management represents an essential aspect of any Arduino camera trigger system used for night photography in the field. Your choice of battery will greatly impact your shooting experience, particularly during extended outdoor sessions.
- 9V battery clips offer convenient portability for field applications.
- Lithium-ion batteries provide higher energy density and longer lifespan than alkalines.
- Standard 9V batteries typically last 5-10 hours under moderate load conditions.
- Implementing Arduino sleep modes when idle can dramatically extend battery life.
- Rechargeable power banks deliver consistent voltage for longer operations without frequent replacements.
When you’re planning night photography sessions, you’ll want to take into account both the immediate power needs and the duration of your shoot.
If you’ll be capturing star trails or time-lapses, you’re better off with lithium-ion batteries or a power bank rather than disposable options.
Solar Panel Integration
Since remote night photography often means shooting in locations without access to power outlets, integrating solar panels with your Arduino camera trigger system offers a sustainable solution for extended field use.
A small 6V-12V solar panel with 5W capacity will effectively power your Arduino setup, including IR LEDs and sensors.
For peak performance, pair your solar panel with a charge controller that manages the charging process for a 2000mAh+ lithium-ion battery. This combination guarantees you’ll have sufficient power stored for nighttime operation after collecting solar energy during daylight hours.
Mount your solar panel in an unobstructed location to maximize sunlight exposure. This strategic placement will greatly enhance both the efficiency and longevity of your power supply system, reducing your reliance on disposable batteries.
Voltage Regulation Techniques
Reliable power management forms the backbone of any field-deployed Arduino camera trigger system. When shooting at night, you’ll need consistent power that won’t leave you stranded in the middle of a perfect shot sequence.
- Connect a 9V battery clip to your Arduino for portable field operation.
- Install a voltage regulator to maintain steady output despite battery depletion.
- Use rechargeable lithium-ion battery packs for extended shooting sessions.
- Consider adding a solar panel with charge controller for sustainable power during multi-day shoots.
- Include protective capacitors to smooth voltage fluctuations and prevent damage from power surges.
These power solutions guarantee your night photography setup remains operational regardless of location.
Weatherproofing Your Arduino Setup
When photographing the night sky in outdoor environments, protecting your Arduino setup from the elements becomes essential for consistent performance and longevity.
House your Arduino and camera components in a durable, weatherproof enclosure that shields them from moisture and dust. Seal any openings or seams with silicone sealant or weatherproof tape to prevent water from seeping in.
Don’t overlook your connections—use weather-resistant connectors and cables to maintain reliable electrical connections regardless of conditions.
If possible, position your setup in a sheltered location under a tree or overhang to minimize direct exposure to rain and wind.
Remember to regularly inspect your weatherproofing measures throughout your project. This maintenance guarantees continued protection and extends the life of your Arduino-based camera trigger system.
Capturing Star Trails With Your Arduino Trigger
You’ll need to program your Arduino trigger with precise long-exposure intervals between 10-30 seconds to create stunning star trails in your night photography.
For best results, set your camera to manual mode with a wide aperture and high ISO while positioning your setup away from city lights to minimize light pollution.
Consider using a location app to find dark sky areas where stars shine brightest, allowing your Arduino-triggered shots to capture the clearest celestial movements possible.
Long-Exposure Interval Settings
Setting up the perfect intervals for star trail photography represents one of the most essential aspects of your Arduino camera trigger configuration.
You’ll need to balance exposure time with shooting frequency to capture the arc of stars across the night sky.
- Program exposure intervals between 15-30 seconds to collect sufficient light for each frame
- Set your Arduino to trigger consistently every 30 seconds for seamless image sequences
- Connect an external battery pack to power both your Arduino and camera throughout the night
- Implement processing delays in your code to prevent signal errors between shots
- Use a light meter to determine ideal exposure settings for your specific equipment
Remember that consistency between shots is vital for smooth star trails when you stack your images later in post-processing software.
Light Pollution Management
Despite the technical precision of your Arduino camera trigger, light pollution remains the most significant challenge for capturing stunning star trails. You’ll need to scout locations at least 30 miles from urban centers to minimize artificial light interference.
Your Arduino trigger can help compensate for light pollution by automating precise exposure sequences. Program it to utilize the IR LED feature to prevent camera shake during these vital long exposures.
| Light Pollution Level | Recommended Settings | Location Tips |
|---|---|---|
| Severe (Urban) | f/2.8, ISO 800, 15s | Use strong filters |
| Moderate (Suburban) | f/3.5, ISO 1600, 30s | Find shadow areas |
| Low (Rural) | f/4, ISO 1600, 60s | Clear nights only |
| Minimal (Remote) | f/4, ISO 3200, 120s+ | Any clear night |
| None (Wilderness) | f/5.6, ISO 1600, 180s+ | Perfect for stacking |
In post-processing, you can further mitigate pollution effects by adjusting contrast and using gradient filters.
Troubleshooting Common Connection Issues
When your Arduino camera trigger fails to operate properly, connection issues are often the culprit. Before assuming your code is faulty, check these hardware connections that frequently cause problems:
- Verify the IR LED’s anode connects to an Arduino digital output pin while the cathode connects to ground through a 330 Ohm resistor.
- Inspect all wiring for loose connections or incorrect placements that might interrupt signal flow.
- Test your IR LED by viewing it through a smartphone camera—you should see a purple glow when the LED activates.
- Use a multimeter to check circuit continuity if the trigger remains unresponsive.
- Confirm your camera is IR-compatible and set to receive remote signals—not all cameras support infrared triggering.
Methodically checking these connections will save you hours of troubleshooting code that isn’t the actual problem.
Extending Capabilities With Additional Sensors
Four key sensors can dramatically transform your basic Arduino camera trigger into a sophisticated night photography system.
Light sensors guarantee your setup only activates in proper low-light conditions, preventing wasted shots and battery drain during daylight hours.
Pressure sensors detect movement, making your trigger perfect for capturing elusive wildlife as they step into your camera’s field of view.
Temperature sensors monitor environmental conditions, helping you time your photography based on animal activity patterns that correspond to temperature changes.
For precise subject detection, add ultrasonic sensors that activate your camera only when subjects are within suitable range.
For best results, combine multiple sensors—a light sensor paired with motion detection creates an intelligent system that captures exactly what you want, only when conditions are favorable.
Frequently Asked Questions
How Do I Set up My Camera for Night Photography?
Set your camera to manual mode, use a wide aperture, increase ISO sensitivity, and select a slow shutter speed with a tripod. Don’t forget to use a remote trigger or self-timer to prevent camera shake.
Can I Use a Camera With Arduino?
Yes, you can use a camera with Arduino. You’ll need an IR LED to trigger cameras compatible with IR remotes. Connect it with a 330 Ohm resistor and position it facing your camera’s sensor.
Can Arduino Handle Video?
No, standard Arduinos can’t handle video efficiently. They lack the processing power and memory for video streams. You’ll need additional hardware like dedicated modules or should consider more capable platforms like Raspberry Pi instead.
How to Use Mobile Camera in Arduino?
You can’t directly integrate a mobile camera into Arduino. Instead, use an IR LED connected to Arduino to trigger your phone’s camera remotely through IR commands or use Bluetooth/WiFi modules for wireless control.
In Summary
You’ve now built a powerful DIY photography tool that’ll transform your night sky photography. With your Arduino trigger, you’re not limited to basic intervals—you can expand with motion or light sensors for even more creative shots. Don’t worry if your first attempts aren’t perfect; troubleshoot, refine, and soon you’ll capture stunning star trails and night scenes that weren’t possible before.


Leave a Reply