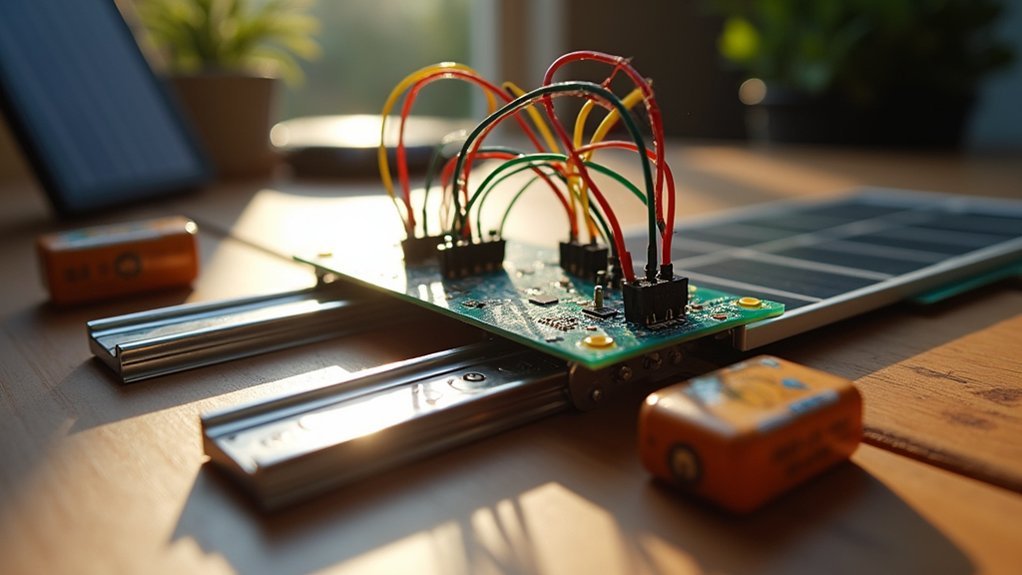
For reliable Arduino barn door trackers: (1) Use A4988 stepper drivers with microstepping (1/16 or 1/32) to eliminate jitter during long exposures. (2) Select a 200-step motor (1.8° per step) and target 1800 steps per minute to precisely counteract Earth’s rotation. (3) Implement a dedicated 12V power supply instead of USB power for consistent field performance. These foundational elements will dramatically improve your astrophotography results.
Designing a Precise Tracking Mechanism
Precision lies at the heart of every effective barn door tracker. When building your Arduino-controlled tracker, opt for a 230V AC synchronous motor running at 1 RPM to match Earth’s 15.041° hourly rotation. This synchronization is vital for capturing sharp images during long exposures.
Incorporate a corrective cam made from plastic cutting board material to compensate for tangent errors caused by hypotenuse lengthening in your tracking mechanism. For drive components, an M6 threaded rod with 1mm pitch delivers the required 0.2507° per minute tracking rate.
Ensure precise alignment by pointing the hinge pin southward and tilting to your latitude. For smoother operation, implement micro-stepping using an A4988 stepper motor driver, which meaningfully reduces jitter—essential for maintaining clarity during astronomical photography sessions.
Proper Motor Selection and Microstepping Implementation
The heart of your Arduino barn door tracker lies in choosing the right motor and implementing proper microstepping techniques. For peak tracking accuracy during long exposure times, select a stepper motor with 200 steps per revolution (1.8° per step).
- Implement microstepping using drivers like the A4988, which can achieve 1/16 or 1/32 microsteps for smoother operation and reduced jitter during astronomical photography.
- Aim for a motor speed of 1800 steps per minute (9 RPM) to properly compensate for Earth’s rotation and eliminate star trails.
- Power your setup with a 12V supply that won’t overheat the driver while providing sufficient current for reliable performance.
Consider a single-arm mechanical design with a curved threaded rod to minimize tangent errors when paired with your microstepping configuration.
Power Management for Extended Field Sessions

While selecting the right motor forms the foundation of your tracker, maintaining power throughout your imaging session guarantees its uninterrupted operation.
Your Arduino barn door tracker requires a reliable 12V adapter (0.5A minimum) as USB power often falls short during extended field sessions.
For mobility, invest in high-capacity lithium polymer batteries that deliver consistent 12V output.
Implement effective power management by incorporating a step-down voltage regulator to efficiently distribute power between your Arduino and stepper motor.
Monitor battery levels vigilantly and consider adding a low voltage cutoff to prevent damage from over-discharge.
This protection is particularly valuable during long astrophotography sessions when you’re focused on the stars rather than your power supply.
These measures minimize energy waste while maximizing your barn door tracker’s operational time under the night sky.
Frequently Asked Questions
How Do I Align My Tracker With Polaris Accurately?
To align your tracker with Polaris accurately, use a polar scope or smartphone app like SkyMap. Position your mount perpendicular to Earth’s axis, adjust for your latitude, and make fine adjustments until Polaris is centered.
Can I Use My Tracker for DSO Photography?
Yes, you can use your tracker for deep-sky object photography, but expect limitations. You’ll get decent results for brighter DSOs with shorter exposures, though it won’t match the precision of dedicated equatorial mounts.
What’s the Maximum Weight My Tracker Can Support?
Your homemade tracker typically supports 2-5 pounds, depending on build quality and motor strength. You’ll need proper counterbalancing for heavier setups. Commercial trackers offer higher capacity if you’re using heavier camera equipment.
How Do I Calculate the Correct Tracking Rate?
Calculate your tracking rate by dividing 360 degrees by 24 hours (15 degrees/hour) for star tracking. You’ll need to adjust this slightly for the sun (15.04°/hr) or moon (14.5°/hr) if tracking those instead.
Is Arduino Code Available for Southern Hemisphere Tracking?
Yes, Arduino code for southern hemisphere tracking is available. You’ll need to reverse the motor direction in existing code or find dedicated southern hemisphere sketches online. Many trackers include hemisphere selection options.
In Summary
You’ve now got all the knowledge needed to build your own Arduino barn door tracker. Remember to focus on precise tracking mechanisms, choose the right stepper motor with proper microstepping, and implement smart power management for those long night sessions. With these three tips, you’ll capture stunning astrophotography without breaking the bank. Time to get building and start photographing the stars like never before!


Leave a Reply