
To cool your camera during night photography, try these three simple approaches: position your gear in shaded areas away from direct sunlight, turn off the LCD screen between shots to reduce heat buildup, or use a portable USB fan like the Moman FS04B for active cooling. Passive methods cost nothing while external fans offer more consistent results for extended sessions. These cooling techniques will dramatically reduce thermal noise for cleaner, more detailed astrophotography images.
Passive Heat Management Techniques for DSLR Sensors
While digital cameras generate heat during operation, properly managing sensor temperature is essential for night photography success.
You’ll find effective camera cooling begins with simple preventive measures. Keep your gear in light-colored or reflective bags that minimize heat absorption, and always store equipment in shaded areas away from direct sunlight during daytime preparation.
When shooting, turn off your LCD screen between shots to reduce unnecessary heat generation. Position a portable fan nearby to create gentle airflow around your camera, enhancing temperature control without risking condensation issues that ice packs might cause.
Consider wrapping non-essential parts of your camera body with packing foam for insulation. These passive techniques greatly reduce thermal noise in your images, potentially eliminating the need for dark frames and yielding cleaner night photography results.
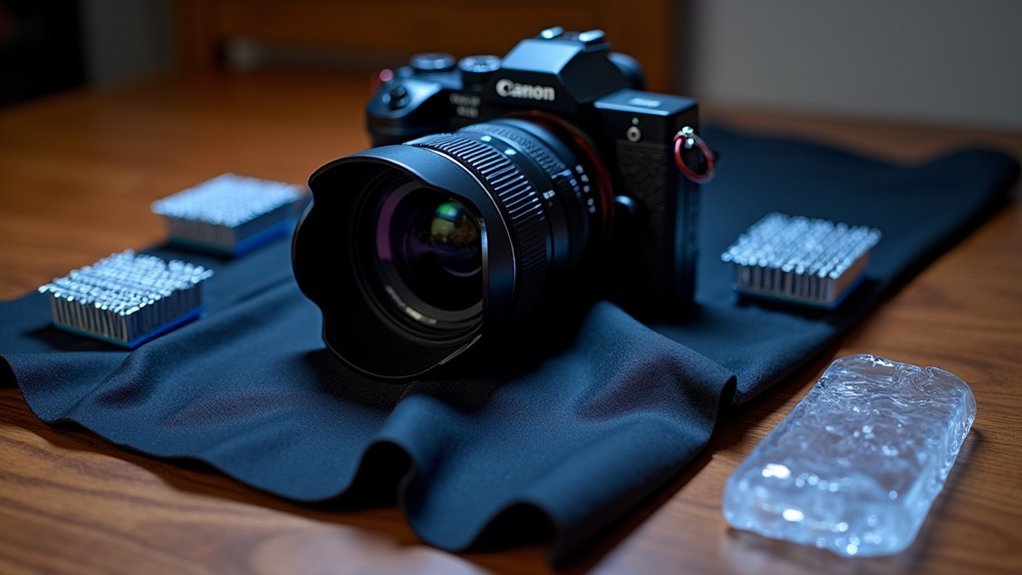
DIY Peltier Cooling Systems on a Budget
Although passive cooling techniques offer substantial benefits, building your own Peltier cooling system represents an affordable leap forward in thermal management for serious night photographers.
For just $16, you can assemble a basic setup with a Peltier cooler, heat sink, and fan that reduces camera sensor temperature by up to 7.2°C.
For peak performance, run your Peltier at 50% of its rated output to avoid excessive heat generation.
Adding an Arduino controller enables real-time temperature monitoring and automated adjustments based on ambient temperature conditions. This approach maximizes cooling efficiency while minimizing power consumption.
Don’t overlook proper insulation and thermal conductive pads to create an effective heat transfer path from your sensor.
These measures, combined with careful condensation control, will guarantee your DIY cooling system performs reliably throughout extended night photography sessions.
External Fan Solutions for Extended Imaging Sessions

When your night photography sessions stretch into hours, external fan solutions provide a simpler alternative to complex cooling systems.
The Moman FS04B camera cooling fan offers an effective way to manage sensor temperature while maintaining quiet operation at just 26dB—crucial for undisturbed nighttime shooting.
You’ll appreciate its versatility with multiple camera compatibility and adjustable speeds that let you balance cooling needs against ambient conditions.
For marathon 4K recording sessions, the USB-C power option guarantees continuous operation without interruption from overheating.
At only 114g with an aluminum alloy construction, you won’t notice the added weight, and it’s easy to attach even with flip-out screens.
While the fan effectively reduces camera temperature, be mindful of the delicate mounting clips and potential microphone interference during recording.
Frequently Asked Questions
How Do I Cool Down My Camera?
To cool down your camera, use a fan for increased airflow, wrap it in light-colored material, keep it shaded, consider Peltier devices for active cooling, or try DIY solutions like ice packs nearby.
How Do I Adjust My Camera for Night Photography?
Use manual mode with a wide aperture (f/2.8 or lower), higher ISO (800-3200), and longer shutter speeds (10-30 seconds). You’ll need a tripod to prevent blur during these extended exposures.
What Makes a Camera Good for Night Photography?
You’ll need a camera with a large sensor, great high ISO performance, and fast lenses. Look for good low-light autofocus, RAW capability, and manual controls to adjust your settings for dark conditions.
Why Do Cameras Need Cooling?
Your camera needs cooling because heat increases sensor noise, especially during long exposures. You’ll get cleaner night images with reduced dark current when the sensor operates at lower temperatures, improving overall image quality.
In Summary
You’ve now got three effective ways to combat sensor heat during night photography. Whether you’ll try passive cooling techniques, build your own Peltier system, or attach external fans, you’ll see improved image quality and fewer hot pixels. Don’t let overheating cameras ruin your astrophotography sessions. With these simple cooling solutions, you’ll capture cleaner, sharper night images and extend your shooting time considerably.


Leave a Reply