You don’t need expensive gear for stunning astrophotography. Use your smartphone’s night mode or invest in a budget lens like the Rokinon 14mm f/2.8 (~$300). Stabilize your camera with DIY solutions—bean bags, backpacks filled with clothes, or natural surfaces work great. Create homemade light pollution filters from old CDs or colored cellophane. Free software like GIMP and DeepSkyStacker offers powerful editing capabilities. These simple hacks will transform your night sky images into celestial masterpieces.
Essential Budget Gear for Capturing the Night Sky
While many believe astrophotography requires expensive equipment, you can capture stunning night sky images without emptying your wallet.
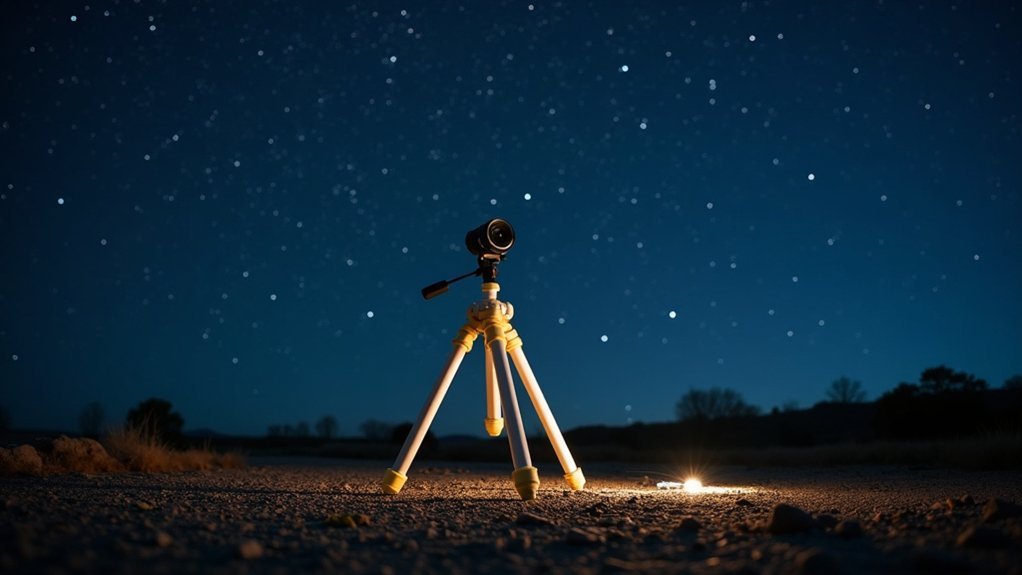
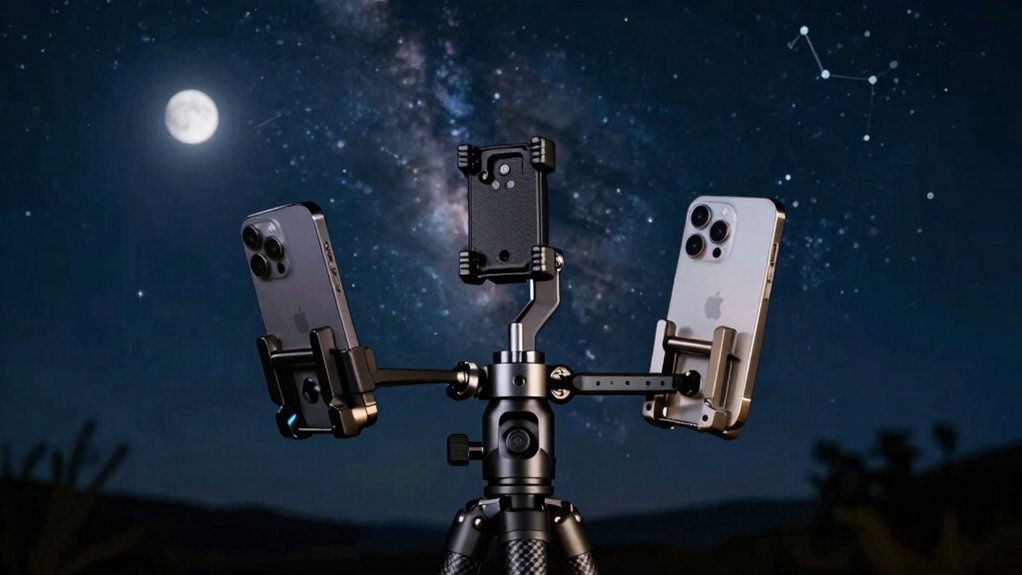
Start with a sturdy tripod like the Neewer Carbon Fiber ($70-100) to eliminate camera shake during long exposures. Your smartphone’s night mode can work wonders, but for more serious shooting, consider budget-friendly wide-angle lenses such as the Rokinon 14mm f/2.8 (around $300) to capture expansive celestial views.
Add a remote shutter release ($15-30) to prevent vibrations when triggering exposures. Always shoot in RAW format to preserve maximum detail for post-processing.
Finally, location matters more than gear—finding a dark sky location away from light pollution will improve your results more than expensive equipment. Use free apps like Star Walk to plan your shoots effectively.
DIY Star Trackers to Extend Exposure Times
Because stars move across the night sky as Earth rotates, capturing detailed deep-space objects requires extended exposures without creating star trails.
Building your own DIY star tracker offers a low-cost alternative to expensive commercial models, often for under $100.
For the serious stargazer on a budget, DIY trackers unlock cosmic wonders without the astronomical price tag.
- Basic Components – You’ll need a small stepper motor, an Arduino microcontroller, a camera mount, and a platform to create smooth tracking for long exposure photography.
- Proper Calibration – Calibrate the star tracker to match Earth’s rotation (15 degrees per hour) based on your latitude for precise astrophotography results.
- Online Resources – Numerous communities share detailed schematics and instructions, making it accessible even if you’re new to building equipment.
Your homemade tracker will dramatically improve image quality by allowing exposure times that reveal faint celestial details commercial gear might cost hundreds more to achieve.
Repurposing Household Items for Camera Stabilization
Since professional camera stabilization equipment can cost hundreds of dollars, you’ll be pleased to discover that numerous household items can serve as effective alternatives for astrophotography.
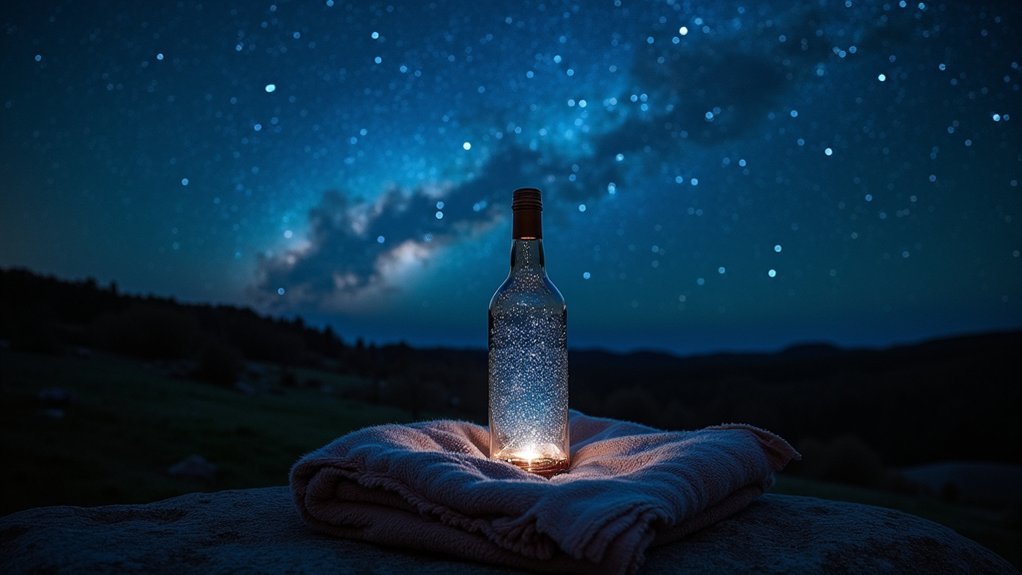
A sturdy backpack filled with clothes creates an instant stabilization pad for your camera during long exposures.
Stack books or magazines to form a level platform when a sturdy tripod isn’t available. For windy conditions, secure your camera to heavy objects like bags of rice to prevent unwanted movement.
A rolled-up towel placed under your camera absorbs vibrations that could blur star trails.
Need more mobility? Create a DIY monopod using a broomstick with your camera attached to the top.
This simple solution provides necessary stability while allowing you to reposition quickly as you capture the night sky’s wonders.
Lens Hacks for Clearer Star Photography
You can create DIY diffusers for your lens using household materials like wax paper or a thin white cloth to soften harsh light sources without spending money on expensive filters.
When capturing stars, switch to manual focus and use your camera’s live view to zoom in on a bright star, adjusting until it appears as a sharp pinpoint of light.
These budget-friendly lens techniques work especially well with wide-angle lenses at large apertures, dramatically improving the clarity of your night sky photography.
Affordable DIY Diffusers
While professional photography equipment can drain your wallet, creating your own DIY diffusers offers an affordable alternative for stellar astrophotography results.
In low light conditions of night photography, controlling how light interacts with your subject is essential for balance between foreground elements and celestial backgrounds.
- Transform a white t-shirt or shower curtain into a diffuser that softens harsh light when light painting your foreground, reducing glare while preserving star details.
- Use simple white cardboard as a bounce card with your flashlight to achieve even illumination that won’t overwhelm your starry backdrop.
- Combat light pollution effects by crafting your own lens hood from cardboard or foam, preventing stray light from causing unwanted flares and enhancing contrast in your star images.
Manual Focus Techniques
Precision marks the difference between blurry dots and crisp pinpoints of light in star photography. Mastering manual focus is essential when your camera struggles in darkness.
Switch to live view mode and zoom in on the brightest star, carefully adjusting until it appears sharp. Turn off autofocus completely—it’ll only hunt uselessly in the night sky.
Star photography requires wide apertures (f/2.8 or lower) to gather sufficient light while maintaining focus. Set your lens to infinity, then back off slightly for true sharpness, as many lenses overshoot actual infinity.
Once you’ve found that sweet spot, mark your lens with tape or a marker. This simple hack lets you quickly reset your focus in the dark without guesswork.
Use a sturdy tripod to maintain this precise focus during longer shutter speed exposures.
Maximizing Free Mobile Apps for Star Navigation
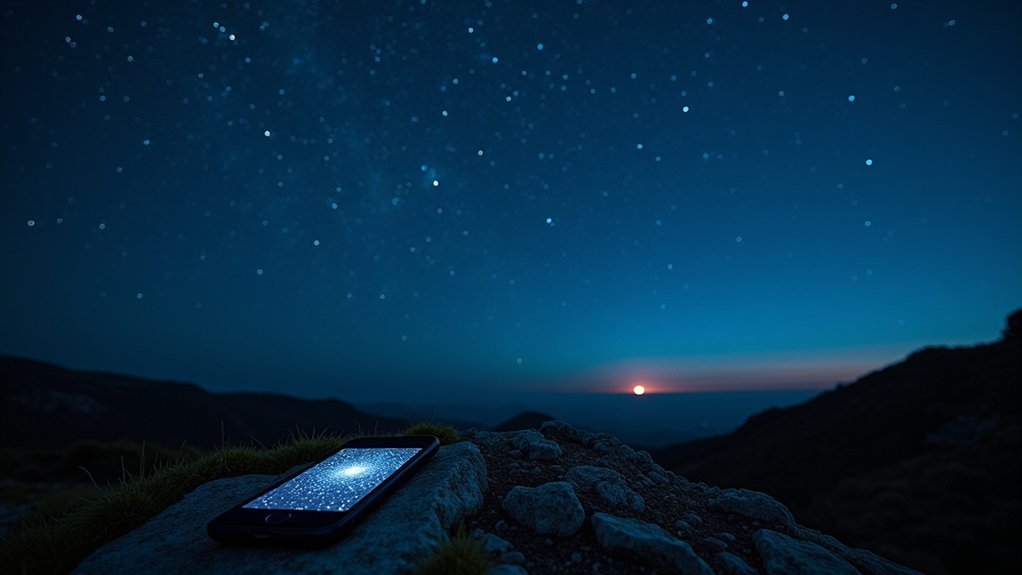
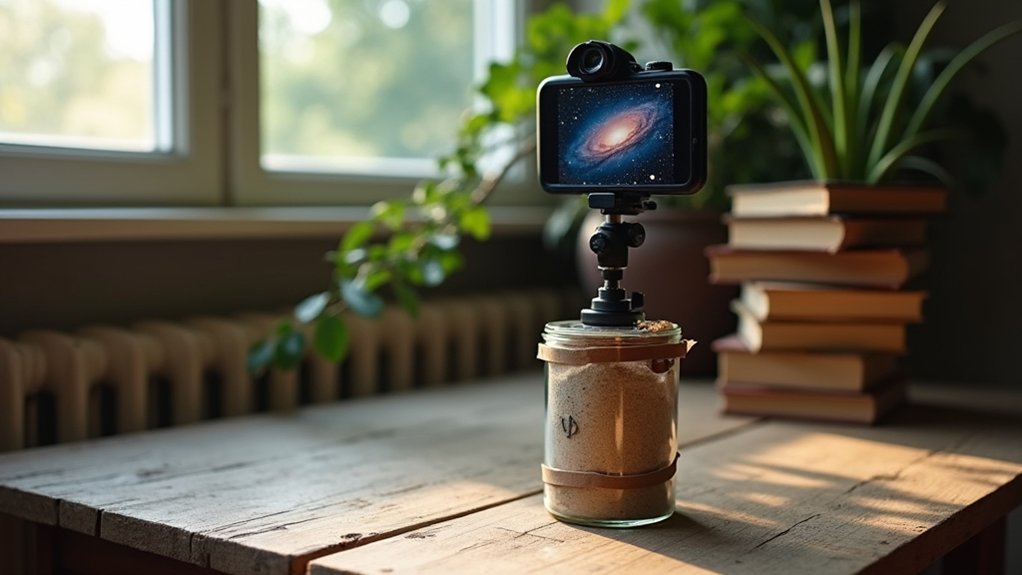
Why invest in expensive star-tracking equipment when your smartphone can become a powerful astronomical companion? Free apps like SkySafari and Star Walk 2 provide real-time star maps with augmented reality features that overlay celestial information when you point your phone skyward.
These tools are invaluable for planning your astrophotography sessions.
- Use Stellarium Mobile to customize your viewing experience for different locations and times, helping you precisely plan when specific constellations will be in prime positions.
- Check light pollution levels through dedicated apps to discover ideal shooting locations away from city glow.
- Track moon phases to schedule your shoots during new moons, when star visibility is maximized and unwanted lunar brightness is minimized.
With these mobile tools, star navigation becomes accessible without stretching your photography budget.
Budget-Friendly Light Pollution Filters You Can Make
You’ll dramatically improve your astrophotography without breaking the bank by crafting DIY light pollution filters from materials like ND film, colored gels, or even blackout cloth.
Try attaching red or orange gels to your lens with rubber bands to block urban blue light pollution while still capturing stars in brilliant detail.
Test different materials against each other during the same night shoot to determine which homemade filter works best for your specific location and equipment setup.
DIY Light Pollution Solutions
While commercial light pollution filters can cost hundreds of dollars, several household items can achieve similar results for a fraction of the price.
Your astrophotography doesn’t have to suffer because of urban light pollution—try these DIY approaches instead:
- Create your own light pollution filter using clear plastic sheets with colored gels (deep red or blue work best) to reduce artificial light intensity while preserving image quality.
- Repurpose polarized sunglasses as budget filters that minimize glare and enhance contrast in night sky images.
- Construct a homemade light pollution shield from cardboard or foam board to block unwanted light from specific directions.
For harsh light sources, diffuse them with a white bedsheet over a makeshift frame.
You can also experiment with colored LED flashlights wrapped in neutral density gel for portable pollution-reducing light.
Household Materials Hack
The best light pollution filters for star photography might be hiding in your junk drawer. Transform everyday household materials into effective light pollution filters without spending a fortune.
| Material | Effect | Best For |
|---|---|---|
| Old CDs/DVDs | Blocks specific light wavelengths | Light-polluted urban skies |
| Window screen | Diffuses harsh light sources | Softening streetlight glow |
| Black cardboard | Creates custom lens hood | Blocking peripheral light |
| Trash bags | Absorbs excess light | Reducing reflections |
Wrap colored cellophane around your camera lens to enhance contrast of celestial objects and reveal details otherwise washed out by city lights. For quick results, fashion a makeshift hood from poster board that shields your lens from stray light. These simple hacks dramatically improve your ability to capture the night sky’s beauty even in less-than-ideal viewing conditions.
Testing Filter Effectiveness
Once you’ve gathered your household materials, determining which DIY filters actually work becomes the next challenge. The real test comes when comparing images taken with and without your homemade light pollution filters under identical conditions.
- Compare and contrast – Take long-exposure shots of the same night sky section with and without your filter. Look specifically at star clarity and background darkness.
- Try polarizing sunglasses – This budget-friendly option works surprisingly well to cut glare in astrophotography, especially when shooting near city lights.
- Experiment with varieties – Test different thicknesses and colors of filters (particularly red and amber gels) to find the perfect balance for your specific dark location.
Don’t settle for your first attempt—the most effective light pollution solution often emerges through systematic testing.
Clever Tripod Alternatives for Steady Night Shots
Aspiring astrophotographers needn’t break the bank when tripods are beyond budget constraints. You’ll find several creative tripod alternatives that provide the stability needed for capturing stunning star trails and night photography.
| Alternative | Best For |
|---|---|
| Backpack Setup | Long exposures in wilderness |
| Bean Bag Rest | Quick setup on flat surfaces |
| Natural Surfaces | Urban or rocky environments |
| Vehicle Platform | Remote locations with car access |
Try resting your camera on a sturdy rock or wall when hiking, using your phone’s timer to avoid camera shake. Your backpack can double as an adjustable platform—fill it with gear and position your camera on top. For extra steady shots, utilize your car’s hood with a blanket underneath to dampen vibrations while shooting the Milky Way.
Improvised Remote Triggers for Shake-Free Exposures

Five creative solutions exist for eliminating camera shake without expensive remote triggers. Your smartphone can become a powerful tool using remote control apps that trigger your camera shutter wirelessly.
For a true DIY solution, wrap a rubber band around your shutter button and use a timer function—this simple hack prevents vibrations from manual pressing.
- Create a makeshift trigger using household string or fishing line attached to your camera shutter button.
- Utilize your camera’s built-in Wi-Fi to control settings and capture images from your mobile device.
- Consider an affordable intervalometer for precise control over long exposures.
These budget hacks deliver shake-free exposures vital for crisp star photography.
Sharp star photography demands shake-free exposures—these clever budget solutions deliver professional results without breaking the bank.
When every pixel matters in night sky shots, these improvised remote triggers guarantee your budget constraints won’t limit your creative potential.
Affordable Post-Processing Techniques for Star Enhancement
You’ll find impressive results using free software like GIMP or DeepSkyStacker without spending a dime on premium editing tools.
Focus on selective contrast adjustments to make stars pop against the dark sky while carefully enhancing nebulosity without introducing noise.
Set up batch processing workflows to efficiently apply your successful edits across multiple night sky images, saving precious time and maintaining consistency in your astrophotography collection.
Free Software Solutions
Why spend hundreds of dollars on software when the night sky can be enhanced beautifully with free alternatives? Open-source programs like GIMP and Darktable offer powerful tools for processing your astrophotography RAW files without breaking your budget.
These free software solutions deliver professional results comparable to expensive alternatives.
- GIMP with G’MIC plugin – Transform your star photos with specialized filters designed specifically for night sky enhancement. This combination gives you tremendous creative control.
- Darktable – This complete workflow application offers advanced editing capabilities tailored for astrophotography, including noise reduction and color enhancement.
- Starry Landscape Stacker – Stack multiple exposures to dramatically reduce noise while preserving fine stellar details, resulting in cleaner, more detailed images of the cosmos.
Selective Contrast Adjustments
While expensive editing software might seem necessary for stunning astrophotography, selective contrast adjustments offer a budget-friendly approach to dramatically enhance your star photos.
By applying local adjustments in programs like GIMP or Lightroom, you’ll enhance visibility of stars without affecting your entire image.
Create an S-curve using the tone curve tool to boost highlight contrast, making star fields pop while preserving night sky details.
Use masking tools to isolate stars and adjust their brightness independently, effectively reducing light pollution’s impact in your photos.
The adjustment brush feature gives you precise control over specific areas, allowing you to selectively enhance star clusters while maintaining the integrity of your landscape.
These targeted editing techniques transform ordinary night shots into spectacular celestial displays without expensive equipment upgrades.
Batch Processing Workflows
Beyond mastering selective contrast adjustments, efficient post-processing can save countless hours when working with star photography. Batch processing in programs like Lightroom or Photoshop allows you to apply identical edits to multiple night sky images simultaneously, dramatically cutting your workflow time.
- Create custom presets for common star photography adjustments like noise reduction and exposure correction—you’ll transform your editing efficiency without spending extra money.
- Try organizing images into folders based on shooting conditions before batch processing—this simple step helps you quickly locate and edit related star photographs together.
- Leverage cloud storage solutions to access and process your images from any device—perfect for making edits on-the-go without investing in expensive hardware.
Can’t afford premium software? Free alternatives like GIMP offer batch processing capabilities through scripts.
Weather-Proofing Your Equipment on a Shoestring Budget
Every passionate astrophotographer knows that unpredictable weather can ruin both equipment and shooting opportunities.
You don’t need expensive weather-sealed gear to protect your camera during those late-night sessions. Simply use a plastic bag or rain cover as an inexpensive option for moisture protection when light rain threatens your shoot.
For dusty conditions, wrap your equipment in a microfiber cloth or old towel. This DIY weather-proofing approach costs next to nothing but provides valuable protection.
Don’t forget to toss silica gel packets into your camera bag to combat humidity and prevent condensation on your lenses.
When weather suddenly changes, create a homemade tarp shelter to keep your setup dry.
Pair this with affordable UV filters on your lenses, and you’ll have thorough protection without the premium price tag.
Frequently Asked Questions
What Is the 500 Rule in Photography?
The 500 rule helps you avoid star trails by determining maximum exposure time. You’ll divide 500 by your lens’s focal length (in mm) to calculate the longest shutter speed you can use while keeping stars sharp.
How Can I Make My Star Pictures Better?
To make your star pictures better, use a tripod, manually focus on bright stars, shoot with wide aperture (f/2.8), adjust exposure time (30 seconds), and choose high ISO (1600-3200) in dark locations away from light pollution.
What Is the Best F Stop for Astrophotography?
For astrophotography, you’ll want to use apertures between f/2.8 and f/4. This range maximizes light capture while minimizing star trails. Test different settings with your specific equipment to find your perfect balance of brightness and sharpness.
What Setting Do You Use for Star Photography?
For star photography, you’ll want to use a 30-second shutter speed, f/2.8 aperture, ISO 1600-3200, and manual focus on the brightest star. Don’t forget to shoot in RAW for better editing flexibility.
In Summary
With these budget-friendly hacks, you’ve learned that stellar astrophotography doesn’t require emptying your wallet. You’re now equipped to track stars, stabilize your camera, and process stunning night sky images using everyday items and free resources. Don’t let financial constraints dim your creative vision—the cosmos awaits your unique perspective. Take what you’ve learned, step outside tonight, and capture the universe that’s been waiting for you.
Leave a Reply