
For star trails under $100, you’ll need a basic DSLR or mirrorless camera with manual mode (look for used options), a stable tripod (brands like Neewer offer affordable models), and a remote shutter release to prevent camera shake. DIY light pollution filters can be made from polarizing film, while free smartphone apps help track star movement. Even entry-level gear with proper technique can capture stunning celestial movement—the right approach matters more than expensive equipment.
13 Second-Level Headings for “What Camera Gear Creates Star Trails Under $100?”
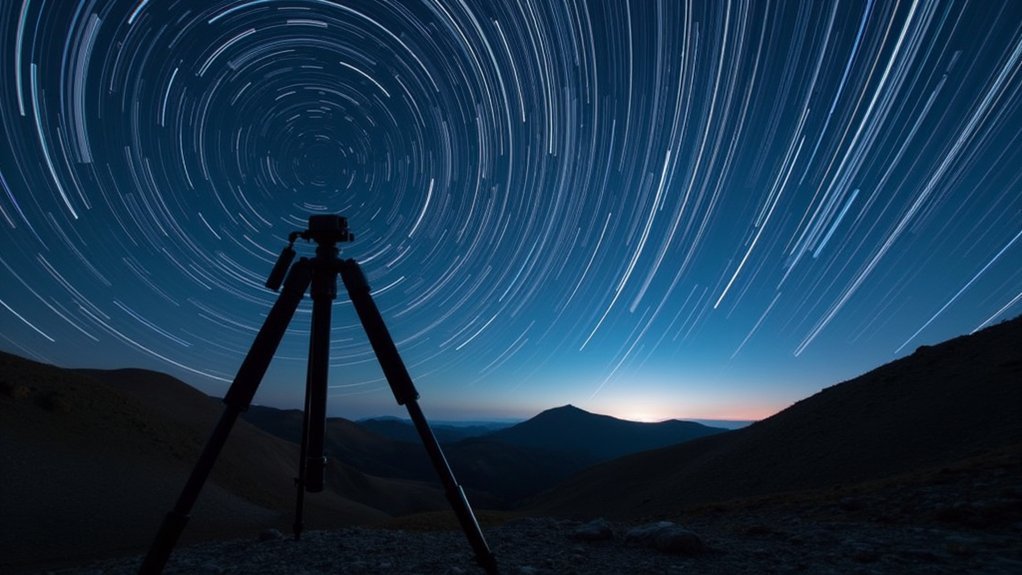
When assembling your budget-friendly star trail photography kit, you’ll need to focus on five essential components that deliver professional results without breaking the bank.
Each piece plays a vital role in capturing those mesmerizing celestial streaks.
Your second-level headings should include:
- Sturdy Tripods: Essential Stability for Long Exposures
- Manual Lenses with Wide Apertures: Maximizing Light Collection
- Entry-Level DSLR Cameras: Affordable Foundations
- Intervalometers: Automating Your Shooting Sequence
- Budget-Friendly Wide-Angle Lenses: Capturing the Cosmic Canvas
These categories cover the fundamental equipment you’ll need for star trail photography while staying under $100 per item.
Each component addresses specific technical requirements—stability, light gathering ability, image capture, automation, and field of view—all vital elements for creating stunning star trails without expensive gear.
Essential Budget Gear for Capturing Star Trails
Assembling star trail photography gear doesn’t require emptying your wallet. Look for a used DSLR or mirrorless camera with manual settings like the Canon EOS Rebel or Nikon D3500 for under $100—these provide the control you’ll need on clear nights.
Pair your camera with a wide-angle lens featuring a fast aperture (f/2.8 or lower) to gather more starlight. Used Canon or Nikon 18-55mm lenses often sell for less than $100 and work well for beginners.
A fast wide-angle lens is your ticket to capturing the cosmos—affordable kit lenses make perfect entry points for nighttime explorers.
A sturdy tripod is non-negotiable; the AmazonBasics 60-Inch ($25-30) offers stability during long exposures.
Add an intervalometer ($10-20) to automate multiple shots without touching your camera. Complete your kit with a headlamp ($15-30) to navigate while preserving your night vision.
Affordable Camera Options for Night Sky Photography
Despite what many believe, finding a capable camera for star trail photography doesn’t require astronomical spending. Entry-level DSLR cameras like the Canon EOS Rebel T7 or Nikon D3500 offer the manual settings you’ll need at accessible price points.
If you prefer something more compact, consider the Sony Alpha a6000 mirrorless camera, which delivers impressive performance while maintaining essential manual controls.
Pair your affordable camera with wide-angle lenses featuring a fast aperture – the Rokinon 14mm f/2.8 costs under $100 and captures expansive night sky views.
Don’t forget a sturdy tripod from budget options like Neewer or AmazonBasics (under $100) to eliminate camera shake during long exposures.
Complete your setup with a $20 intervalometer to automate multiple exposures, allowing you to create stunning star trails without breaking your budget.
Low-Cost Tripod Solutions That Won’t Compromise Stability
Finding a tripod that balances budget constraints with essential stability doesn’t require sacrificing quality for star trail photography. Lightweight aluminum models under $100 provide the necessary support for long exposure shots while remaining portable for field use.
When selecting your budget-friendly tripod, focus on these vital features:
- Load capacity of 5-10 pounds to support your gear without wobbling
- Adjustable leg angles for versatility on uneven terrain
- Quick-release plate for efficient camera mounting and adjustments
- Rubber feet or spikes to enhance grip during extended shoots
- Durable construction that can withstand outdoor conditions
Brands like AmazonBasics and Neewer offer excellent options for beginner photographers looking to capture star trails without breaking the bank.
These tripods deliver remarkable stability for their price point, allowing you to achieve sharp, streak-free night sky images.
Budget Remote Shutter Releases and DIY Alternatives
Once you’ve secured a stable tripod, your next priority is preventing vibration during those essential long exposures. Budget remote shutter releases solve this problem for under $20, enabling hands-free camera triggering that eliminates camera shake completely.
Most affordable remotes work with popular brands like Canon, Nikon, and Sony. If you’re feeling creative, try DIY alternatives—a simple wired connection or even a rubber band and pencil can achieve similar results without any investment.
For tech-savvy photographers, smartphone apps like CamRanger or DSLR Dashboard function as remote triggers when paired with Wi-Fi-enabled cameras, offering another cost-effective solution.
Whichever method you choose, this small investment is vital for capturing star trails with crystal-clear definition, as even the slightest vibration can blur your celestial masterpiece.
Inexpensive Wide-Angle Lens Options for Star Trails
A wide-angle lens serves as the heart of successful star trail photography, and contrary to popular belief, you don’t need to empty your wallet to acquire one.
Several inexpensive options deliver impressive light-gathering capabilities perfect for astrophotography.
Budget-friendly lenses with exceptional light-gathering power make night sky photography accessible to photographers at every level.
- Canon EF-S 10-18mm f/4.5-5.6 IS STM: Under $100 with excellent performance for crop sensor cameras
- Nikon AF-P DX 10-20mm f/4.5-5.6G VR: Budget-friendly wide-angle with good star capture ability
- Rokinon 14mm f/2.8: Affordable full-frame option with fast aperture for maximum light collection
- Sigma 10-20mm f/3.5 DC HSM: Versatile choice for crop sensor users seeking wider compositions
- Yongnuo YN 35mm f/2: While slightly longer focal length, offers good low-light performance
When selecting your lens, prioritize a wide aperture (f/2.8 or larger) to maximize star visibility in your trail images.
Maximizing Battery Life Without Extra Purchases
Battery life can quickly become the limiting factor during lengthy star trail sessions, especially when you’re working on a budget.
To maximize battery life without additional expenses, simply adjust your camera’s settings strategically. Lower your LCD screen brightness markedly when composing shots—this simple change reduces power consumption considerably.
Disable unnecessary features like image stabilization and Wi-Fi connectivity to reduce battery drain during long exposure shots. If you already own a remote shutter release, use it not just for stability but also to conserve power by minimizing handling of the camera.
Take advantage of cooler temperatures at night when planning your shoot—batteries naturally perform better in these conditions.
While having multiple spare batteries is ideal, these techniques help extend your existing camera battery’s life throughout your star trail photography session.
Memory Card Requirements for Long Exposure Sessions
While most photographers focus primarily on camera settings for star trails, your memory card specifications are equally essential for successful long exposure sessions.
Star trail photography generates numerous large files that demand proper storage solutions.
For ideal results with star trail photography under $100, you’ll need:
- High-capacity memory card (32GB minimum) to store numerous 15-30MB images
- Fast write speed (30MB/s+) to prevent buffering during consecutive shots
- UHS-rated cards for quicker data transfer with high-resolution photos
- Class 10 or UHS-I/UHS-II cards to handle continuous shooting requirements
- Format your memory card in-camera before each shoot to prevent corruption
Don’t skimp on memory card quality even when budget shopping.
The right card guarantees you won’t miss critical moments during long exposure sequences and protects your hard-earned night sky images.
Weather Protection for Your Gear on a Budget
When shooting star trails, you’ll often find yourself facing unpredictable weather conditions that could damage your budget-friendly gear.
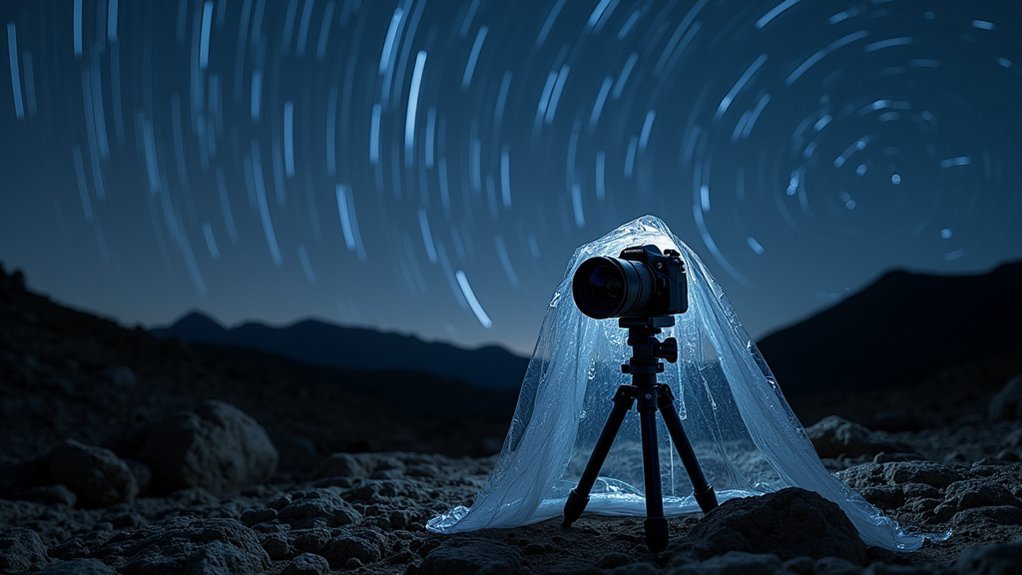
You can protect your camera with inexpensive DIY solutions like shower caps, zip-lock bags, or professional rain covers under $20 that shield against moisture without breaking your budget.
Silica gel packets stored in your camera bag offer additional moisture protection, while a lens hood under $20 serves the dual purpose of keeping raindrops off your lens and reducing unwanted flare in your night sky images.
DIY Weather Shields
Protecting your camera equipment from unexpected weather doesn’t require expensive solutions, especially when you’re on a tight budget. DIY weather shields can effectively protect your camera gear from rain and moisture while capturing star trails.
Create reliable protection with these simple materials:
- Large clear plastic bag secured around your camera and tripod
- Shower cap or trash bag with a lens hole cut out
- Soft cloth or fleece for cold weather insulation
- Ziplock bags for electronic components like intervalometers
- Silicone sleeves for remote shutter releases
Always test your DIY weather shield before your actual shoot to guarantee proper fit and function.
Check that no condensation forms inside the protective covering during use, as this can damage your equipment. These affordable solutions keep moisture away from your gear while maintaining access to essential controls.
Budget Waterproofing Solutions
Beyond DIY options, several affordable commercial waterproofing solutions exist that won’t strain your budget. A dedicated waterproof camera cover or rain sleeve typically costs under $20 and provides reliable protection against unexpected weather during star trails photography.
For even cheaper alternatives, consider applying a weather-resistant spray or silicone sealant to your gear for basic moisture protection. A plastic bag with strategic holes cut for your lens and tripod creates an effective budget-friendly waterproofing solution in a pinch.
Don’t forget to bring a waterproof backpack or large plastic bin to safely store equipment when not in use.
Simple DIY solutions like wrapping your camera in a microfiber cloth or using a shower cap can provide additional protection against light rainfall and splashes while you’re capturing those stunning star trails.
Free Apps and Software for Planning Star Trail Shoots
Although quality star trail photography depends on proper equipment, your planning tools are equally essential for success. Free apps and software can transform your night sky photography experience by helping you find ideal shooting conditions and locations.
Planning tools rival equipment importance for star trail photography—free apps unlock ideal conditions and perfect locations.
You’ll need reliable tools to track celestial events, identify dark sky locations, and monitor weather patterns.
Essential free resources for your star trail photography planning:
- PhotoPills and Star Walk 2 for tracking moon phases and celestial events
- Blue Marble Light Pollution Map for locating dark sky locations with minimal light pollution
- Clear Outside weather app for detailed cloud cover and atmospheric condition forecasts
- SkySafari to explore constellations and determine the best shooting orientations
- Stellarium for real-time night sky visualization to plan compositions based on star movements
These tools guarantee you don’t waste time and battery power on poorly planned shoots.
DIY Light Pollution Filters for Clearer Night Skies
Light pollution presents one of the biggest challenges for budget-conscious star trail photographers.
You can create effective DIY light pollution filters using readily available materials like polarizing film or window tint that reduce artificial light interference by filtering specific wavelengths.
To make a simple filter, cut polarizing film to fit your lens diameter and secure it with tape or a rubber band using a cardboard frame.
Experiment with different tint densities to find the perfect balance between filtering unwanted light and maintaining star visibility.
For better results, try creating a dual-band filter by combining two materials to enhance the contrast between stars and the background sky.
Test your homemade filters under various conditions since light pollution varies depending on your shooting location.
This inexpensive solution can dramatically improve your star trail photography without breaking your budget.
Budget-Friendly Focusing Aids for Night Photography
Achieving sharp focus at night doesn’t require expensive gear when you can create your own focusing aids for pennies.
Mark your lens barrel with fluorescent tape at infinity focus positions so you’ll find perfect settings even in pitch-black conditions. A small laser pointer and your smartphone’s flashlight can further assist your focusing process, making star trail photography accessible without breaking your budget.
Focusing Tape Markers
One of the most frustrating challenges in star trail photography happens when you can’t find your focus point in the darkness.
Focusing tape markers offer an elegant, zero-cost solution to this common problem. By marking your lens’s infinity focus position during daylight, you’ll save precious time when shooting under low-light conditions.
To create your own focusing tape markers:
- Focus your lens on a distant object or bright star during daylight
- Mark the focus ring position with white or reflective tape
- Make sure the infinity mark is clearly visible in darkness
- Use this pre-set position when shooting at night
- Replace tape periodically to maintain adhesion
This simple technique eliminates fumbling with your focus ring in the dark and guarantees consistently sharp focus on celestial objects.
It’s a practical addition to your under-$100 night photography toolkit.
DIY Focusing Tools
When darkness falls, properly focusing your camera becomes exponentially more difficult, yet remains essential for capturing sharp star trails. You can create effective DIY focusing tools without breaking your budget.
Mark your lens’s infinity focus point with white tape for quick reference when natural light fades. During daylight, use a flashlight to illuminate distant objects, allowing you to pre-focus before nightfall.
When darkness arrives, utilize your camera’s live view to zoom in on bright stars while manually adjusting focus. For stability during this precise process, mount your camera on a sturdy tripod and trigger the shutter with a remote shutter release or self-timer.
If your lens features a focus distance scale, set it to infinity, but always verify through live view for true sharpness in low-light conditions.
Repurposing Everyday Items as Photography Tools
Creative photographers don’t need expensive gear to capture stunning star trails, as common household items can effectively replace specialized equipment.
With some ingenuity, you’ll find solutions for almost every technical challenge star trail photography presents.
- Create a sturdy tripod using stacked books or flat surfaces to eliminate vibrations during long exposures.
- Achieve manual focus by using your smartphone’s flashlight to illuminate distant objects before nightfall.
- Fashion a DIY intervalometer with a rubber band and pencil to hold down the shutter button for continuous shooting.
- Craft a homemade lens hood from cardboard to block unwanted light from street lamps or moonlight.
- Use a kitchen timer to track exposure time when shooting in Bulb mode, eliminating the need for digital timers.
These simple hacks let you capture impressive star trails without breaking your budget.
Frequently Asked Questions
What Camera Settings Are Best for Star Trails?
For star trails, you’ll need manual mode with a wide aperture (f/2.8-5.6), low ISO (100-400), and long exposures (20+ seconds). Use Bulb mode for extended shots beyond standard shutter limits.
What Camera Lens Is Best for Star Trails?
For star trails, you’ll want a wide-angle lens (14-20mm for full-frame, 10-18mm for crop sensors) with a fast aperture (f/2.8-f/5.6). Prime lenses offer better sharpness in low light conditions.
How to Create a Star Trail Photo?
To create a star trail photo, set your camera on a tripod, use manual focus on stars, and capture multiple 20-30 second exposures with an intervalometer. Then stack these images using software like StarStaX or Photoshop.
What Shutter Speed Is Needed for Star Trails?
For star trails, you’ll need 20-30 second exposures for stacking multiple shots, or several minutes to hours in Bulb mode for single exposures. Longer shutter speeds create more dramatic, extended trails.
In Summary
You’ve learned that creating stunning star trails doesn’t demand expensive equipment. With a basic DSLR or smartphone, stable tripod, remote shutter, and free planning apps, you’re ready to capture the night sky’s beauty. Don’t let budget constraints limit your creativity—improvise with DIY solutions when needed. The stars are waiting for you, and your sub-$100 setup is perfectly capable of immortalizing their celestial dance.


Leave a Reply