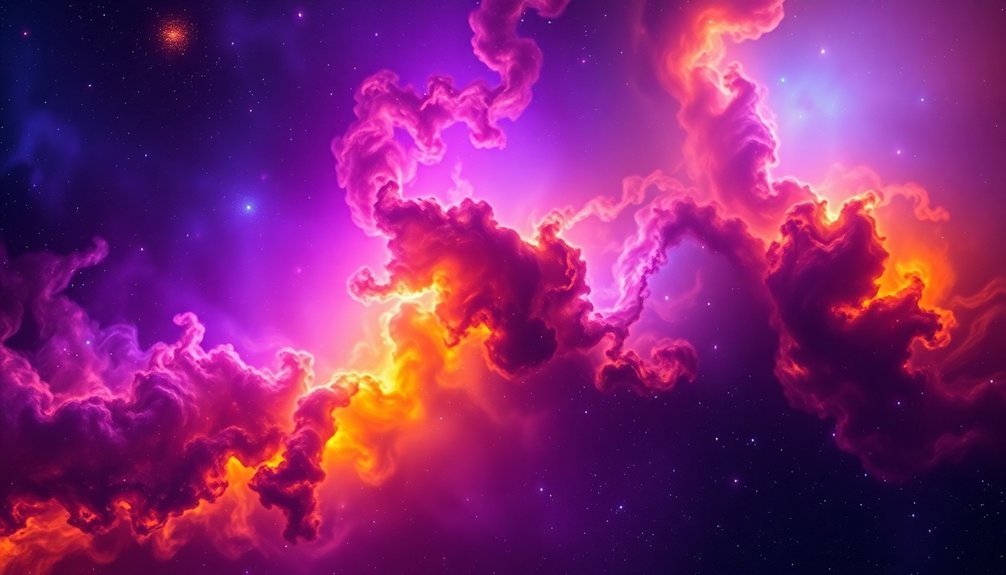
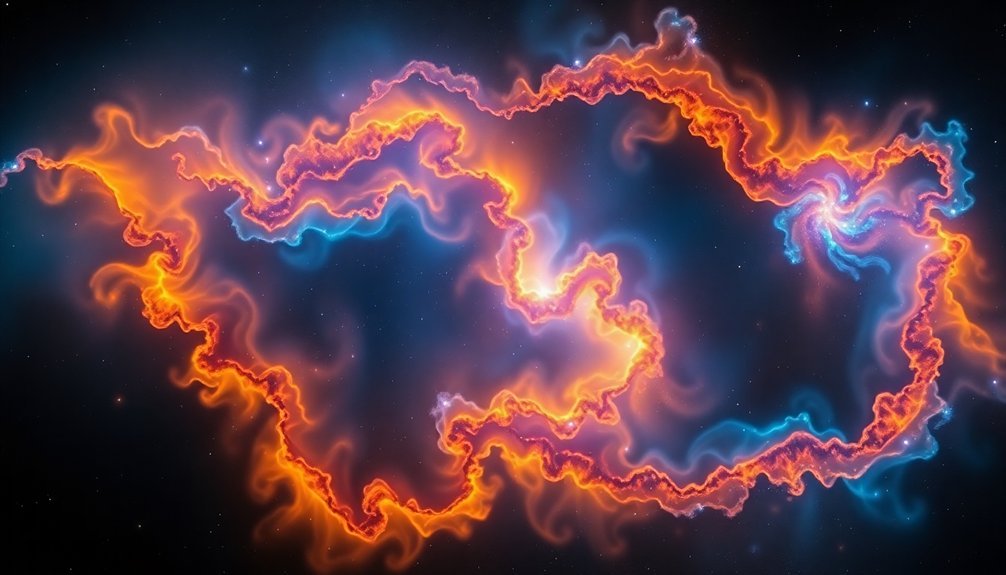
Transforming noisy nebula photos into crystal clear masterpieces requires effective image stacking techniques. You'll need to combine multiple exposures to increase signal-to-noise ratio, apply dark frame subtraction to eliminate thermal noise, and use rejection algorithms to filter out bad frames. Post-processing with selective noise reduction and local contrast enhancement brings out fine details while preserving nebula structures. The right stacking software and ideal exposure settings form the foundation for spectacular deep-sky results that will leave viewers in awe.
The Science Behind Image Stacking in Astrophotography
When you look at stunning astrophotography images of nebulae and galaxies, you're rarely seeing a single photograph. Instead, you're viewing the result of image stacking, a technique that combines multiple shots to enhance image quality dramatically.
Image stacking works by increasing the signal-to-noise ratio—essentially separating your subject (signal) from the unwanted noise. Each photo you take contains both the celestial object and random noise.
The signal persists, the noise varies—stacking lets celestial details shine through while random interference fades away.
When you stack multiple aligned images, the signal strengthens while noise gets averaged out. This technique expands dynamic range too, letting you capture both bright stars and dim nebular details without losing either to overexposure or darkness. Software like Deep Sky Stacker helps astronomers align and combine these images efficiently.
For static deep-sky objects, stacking transforms a series of short, noisy exposures into one clean, detailed image with remarkable clarity.
Selecting the Right Stacking Software for Your Budget
How do you navigate the maze of astrophotography stacking software options without breaking the bank?
Start with free, beginner-friendly options like DeepSkyStacker (Windows) or Siril (all platforms). Both offer automatic alignment and support various file formats, though DSS has a more intuitive interface.
For Mac users, consider Starry Landscape Stacker at $40, specifically designed for nightscapes.
If you're processing planetary images, RegiStax excels with its wavelet processing capabilities.
For wide-field nightscapes, Sequator provides fast stacking process even with calibration frames included.
As your skills advance, you might want to invest in PixInsight or Astro Pixel Processor. They're pricier but offer sophisticated algorithms and multithreaded processing for superior results.
PixInsight works across all platforms but has a steeper learning curve compared to APP's more intuitive interface.
Essential Pre-Processing Steps Before Stacking
Proper calibration frames are your first defense against camera-generated noise, requiring dark, bias, and flat frames to neutralize thermal noise, sensor bias, and vignetting respectively.
You'll need to ruthlessly reject any subframes showing tracking errors, satellite trails, or airplane lights that would compromise your final image.
These quality control measures, though time-consuming, will greatly improve your stacking results and reduce the noise that plagues nebula photography.
Using a program like DeepSkyStacker for registering and stacking your sub-exposures provides the technical foundation needed for successful nebula processing.
Calibration Frame Fundamentals
Before you can transform noisy nebula shots into stunning astronomical images, you'll need to master calibration frames – the unsung heroes of astrophotography pre-processing.
These frames correct distinct issues affecting your signal-to-noise ratio.
Bias frames capture electronic noise using the shortest possible exposure with lens cap on, typically requiring 50-100 frames.
Dark frames match your light frames' exposure time and temperature to remove thermal noise, with at least 20 needed for effective correction. Taking darks during cloudy nights can maximize your imaging efficiency while waiting for clear skies.
Flat frames fix illumination issues and dust spots by using evenly lit white screens, with histograms positioned between 1/2 and 2/3 from left.
For best results, capture 25-50 flats using the same ISO and focus settings as your light frames.
When processed in software like DeepSkyStacker, these calibration frames work together to considerably reduce noise.
Bad Frame Rejection
Even the most carefully captured nebula images can be plagued by problematic frames that undermine your final stacked result. Effective frame rejection guarantees only your sharpest data contributes to the final image.
Preprocessing software evaluates frames based on several criteria. Star trails, blurriness, and poor alignment are automatic candidates for rejection. FWHM measurements help identify less-than-ideal frames, while algorithms like Winsorized Sigma Clipping filter out artifacts during integration.
When shooting nebulae, be aware that bright nebula cores can confuse autofocus routines. Choose star-rich areas for focusing whenever possible. Untracked frames with drifting nebulae may not register properly in automated tools. Dark frame subtraction helps minimize sensor noise and optimizes the quality of your captured images.
You'll minimize rejection rates by using stable mounts and shooting during favorable atmospheric conditions. Remember that some algorithms create false positives—occasional manual review enhances your final results.
Optimal Exposure Settings for Stackable Frames
When capturing nebulae for stacking, achieving the right balance between exposure length, ISO, and aperture becomes critical for producing high-quality final images.
You'll need longer exposures to increase your signal-to-noise ratio, but must avoid star trails by using a tracker.
Start with moderate ISO settings around 1200 to assess your initial exposure, then adjust based on your target's brightness.
While wider apertures gather more light, stopping down to f/2.8 often improves star shapes and overall image quality.
Different targets require tailored approaches—consider bracketing exposures to capture both bright and dim nebula regions for HDR processing later.
Consider that at least one hour integration is necessary for most targets, with significantly more time needed for faint objects or in light-polluted areas.
Monitor your histogram carefully to prevent overexposure while maximizing detail capture.
Remember that proper exposure settings at capture stage will greatly improve your stacking results.
Dark Frame Subtraction for Thermal Noise Elimination
The battle against thermal noise represents one of the greatest challenges in astrophotography, particularly when capturing nebulae. This grainy interference grows with longer exposures and higher sensor temperatures, obscuring the delicate details you're trying to capture.
You'll need to take dark frames—images captured with the same ISO and exposure time as your light frames, but with the lens cap on. These frames record only the thermal noise pattern your camera produces. When subtracted from your nebula shots, the difference is remarkable. This technique effectively addresses hot pixels that would otherwise appear as bright spots in your final image.
For best results, capture multiple dark frames and average them together. Software like DeepSkyStacker can handle this process automatically.
Take your dark frames at the beginning or end of your imaging session, ensuring they match the temperature conditions of your light frames.
Star Alignment Techniques for Perfect Registration
Star alignment sits at the heart of creating noise-free nebula images, with your choice between manual and automatic registration methods greatly affecting final results.
When selecting alignment stars, you'll achieve better outcomes by choosing multiple reference points spread across different regions of your frame rather than relying on a single bright star. For optimal alignment accuracy, consider using an eyepiece with illuminated crosshairs which significantly enhances your ability to precisely center reference stars.
Implementing subpixel alignment techniques can dramatically enhance your image quality by precisely matching star positions between frames down to fractions of a pixel, effectively eliminating subtle registration errors that would otherwise contribute to unwanted noise.
Manual vs. Automatic Registration
Perfect registration between multiple astrophotography frames depends heavily on your choice between manual and automatic star alignment techniques. Each approach offers distinct advantages for your nebula images.
Manual registration gives you precise control and flexibility across various file formats, reducing algorithm-related errors. You'll gain deeper understanding of the alignment process, but be prepared for a time-consuming task that requires skill and can lead to fatigue when working with numerous frames. Achieving proper alignment is essential when using a star tracker to combine multiple sub-exposures into a single image.
Automatic registration shines with its speed, consistency, and ability to handle large datasets efficiently. It integrates seamlessly with stacking software and reduces fatigue.
However, you're dependent on software quality and may encounter errors if the program misinterprets star patterns. You'll also have less control over fine-tuning the alignment process.
Multi-Point Star Selection
When aligning multiple astrophotography frames, selecting the right stars as registration points can dramatically enhance your nebula's clarity and detail.
Software like Starnet++ and DeepSkyStacker use these celestial beacons to precisely match your exposures, reducing noise while preserving delicate structures.
For ideal results, you'll want to:
- Choose distinct, well-distributed stars across your frame as reference points rather than relying on just one or two
- Let algorithms perform least squares optimization on multiple stars to correct for lens distortion and tracking errors
- Consider using guiding cameras for real-time alignment during longer exposures
Multi-point registration works particularly well for deep-sky objects that require stacking numerous frames to reveal faint details hidden beneath the noise floor of individual exposures. This technique is especially valuable when capturing objects like the Orion Nebula under challenging conditions with short exposures of 0.6 seconds each.
Subpixel Alignment Benefits
Beyond selecting the right stars as reference points, how precisely those stars are aligned makes all the difference in your final image quality. Subpixel alignment pushes accuracy beyond the single-pixel level, dramatically reducing noise when stacking multiple exposures.
You'll notice immediate improvements in sharpness as the software averages pixel data across slightly shifted images. This precision eliminates star drift and reveals dim stars that would remain invisible in single exposures. The technique effectively increases your image resolution by integrating data from multiple frames.
For nebulae specifically, subpixel alignment preserves delicate details that would otherwise be lost. When your software uses Gaussian fitting methods to align stars with mathematical precision, you're leveraging algorithms specifically designed to be robust against rotation and noise—essential for bringing those faint cosmic clouds into crystal clarity. Using popular tools like DeepSkyStacker or Siril, you can achieve professional-quality stacking results without expensive software.
Rejection Algorithms: Choosing the Best for Nebulae
Selecting the right rejection algorithm for nebula photography can dramatically impact your final image quality. When dealing with nebula data, consider the specific challenges in your sub-frames—satellite trails require kappa-sigma clipping, while gradients from thin clouds benefit from normalization before rejection. Winsorized sigma clipping preserves more data while effectively reducing outliers.
To optimize your rejection process:
- Lower your "Sigma High" threshold to around 1.9 for enhanced satellite trail removal
- Examine rejection maps to understand exactly which data is being discarded
- Customize parameters based on your specific imaging conditions
The best algorithm varies with your imaging challenges—kappa-sigma excels at removing trails, while linear fit clipping maintains uniformity across gradients. Remember that visible structures in rejection maps can indicate improper rejection criteria that may harm your final image.
Always normalize your gradients before applying rejection to guarantee consistent results.
Post-Stack Processing to Enhance Nebula Details
After stacking your nebula images, you'll need to apply selective noise reduction to target only the background while preserving delicate nebula details.
Enhance your image further with local contrast adjustments that bring out fine structures without amplifying noise in darker regions.
Managing star sizes through techniques like star reduction will prevent bright stars from overwhelming the subtle nebular features you've worked so hard to capture. You can achieve this optimal result by using EZ Star Reduction from the EZ Processing Suite, which offers both automatic mask creation and manual masking options for precise control.
Selective Noise Reduction
While stacking multiple exposures considerably reduces random noise in nebula photography, post-processing techniques can further enhance detail visibility without sacrificing image quality.
You'll need to apply noise reduction selectively to maintain delicate nebula structures while smoothing out grainy backgrounds.
- Use masking techniques to target noise reduction to specific areas like faint nebula regions while protecting stars and detail-rich areas.
- Apply different strategies for color and luminance noise—color noise is often more distracting and can be reduced more aggressively.
- Consider subject-specific approaches, as emission nebulae respond differently to noise reduction than reflection nebulae.
Remember that wavelet-based tools allow you to address noise at different detail scales. Creating a starless image with tools like StarNet 2 can help you apply noise reduction more effectively without degrading star quality.
Software like PixInsight's TGVDenoise or Topaz Denoise AI can dramatically improve your results when applied with restraint and frequent visual assessment.
Local Contrast Enhancement
The delicate structures within nebulae often hide behind a veil of insufficient contrast, waiting to be revealed through specialized processing techniques. You'll find local contrast enhancement particularly effective for bringing out the three-dimensional quality of your nebula images without affecting global contrast. The HDRWaveletTransform tool can significantly recover structures in nebula cores where detail is often lost to overexposure.
| Technique | Best For | Challenge |
|---|---|---|
| Unsharp Mask | Large-scale shifts | Can clip highlights |
| CLAHE | Fine details | May reduce color saturation |
| Wavelet Transform | Multi-scale enhancement | Complex learning curve |
| Luminosity Blending | Preserving colors | Requires layer management |
| Selective Masking | Protecting stars | Time-consuming |
Apply local contrast enhancement before finalizing levels, using masks to protect stars from over-processing. Tools like PixInsight's LocalHistogramEqualization or Photoshop's blending modes can dramatically improve nebula detail visibility by reducing haze while maintaining natural appearance.
Star Size Management
Stars often compete with nebula details for visual prominence, creating a challenging balancing act in astrophotography.
You'll need specialized tools like Starnet++ to create starless layers, allowing you to process nebulosity independently. For more nuanced control, consider BlurXterminator or RC's star shrink to reduce star sizes while maintaining their natural appearance. Using a starless image as a screen layer can significantly enhance the visibility of nebula features.
- Create separate layers for stars and nebulae in your processing software, then use blend modes like Luminosity to enhance details
- Adjust curves and levels to increase contrast between nebula features and the star field
- Apply selective masking to target specific areas for star reduction without affecting the entire image
Overcoming Light Pollution Through Strategic Stacking
Light pollution presents a significant challenge for nebula photographers, but strategic image stacking offers a powerful solution to combat this common obstacle. By limiting your exposure times and combining multiple images, you'll prevent the sky background from overwhelming your target nebula. Tests reveal distinct quality differences between images taken at locations with SQM values of 20.8 versus 19.4.
| Stacking Strategy | Light Pollution Level | Results |
|---|---|---|
| Short exposures + many frames | Severe (urban) | Reduced noise, preserved details |
| Medium exposures + filters | Moderate (suburban) | Enhanced contrast, minimal color cast |
| Longer exposures + fewer frames | Minimal (rural) | Rich details, natural colors |
Use your histogram as a visual guide to avoid overexposure. Consider narrowband filters like H-Alpha for emission nebulae or UHC for deep space objects to isolate specific wavelengths while blocking unwanted light. Remember that higher altitude locations will naturally improve your results by reducing atmospheric interference.
Hardware Considerations for Effective Noise Reduction
Beyond stacking techniques, your hardware choices play a fundamental role in minimizing noise in nebula photography.
Consider investing in a cooling system for your camera – these greatly reduce thermal noise during long exposures, allowing you to capture faint nebula details that would otherwise be lost in the noise.
Thermal noise is the silent destroyer of nebula details—cool your camera and reveal what others miss.
When selecting a camera, examine the sensor specifications closely. Modern CMOS sensors offer impressive low-light capabilities with higher quantum efficiency and reduced read noise compared to older models. The type of sensor in your camera directly contributes to read noise levels during signal processing.
- Experiment with ISO settings – lower values typically produce less noise but require longer exposures
- Match your cooling system to your imaging goals – deep-sky photography benefits remarkably from cooled sensors
- Don't overlook your camera's native capabilities – some bodies handle high ISO values better than others
The right hardware configuration will considerably improve your signal-to-noise ratio before post-processing even begins.
Frequently Asked Questions
How Do Atmospheric Conditions Affect Nebula Imaging Quality?
Atmospheric turbulence blurs your nebula images through temperature and wind variations. You'll get clearer photos at higher altitudes where seeing conditions are better. Turbulence affects nebulae less than stars, but still disrupts light paths.
Can Smartphone Astrophotography Produce Stackable Nebula Images?
Yes, your smartphone can produce stackable nebula images. Modern astrophotography apps like NightCap and DeepSkyCamera allow you to capture multiple exposures that you'll later combine to reduce noise and enhance details.
How Many Exposures Are Typically Needed for Professional-Quality Results?
For professional-quality nebula photos, you'll typically need 24-120 stacked frames with exposure times totaling 1.5-20 hours, depending on your target's complexity. More frames yield better signal-to-noise ratios and cleaner results.
Do Different Nebula Types Require Specialized Stacking Techniques?
Yes, different nebula types do require specialized stacking techniques. You'll need high dynamic range methods for emission nebulae, short exposure stacks for planetary nebulae, and longer integration times for faint reflection nebulae.
How Does Image Stacking Compare to Single Long-Exposure Photography?
While stacking reduces noise and preserves details through multiple combined frames, you'll find single long exposures simpler but riskier. Stacking excels for nebulae, though it demands more post-processing than one-shot techniques.
In Summary
You've discovered that magical alchemy of modern astrophotography—turning noise into celestial clarity through intelligent stacking. Whether you're using free software or premium tools, you'll achieve stunning results by mastering dark frames, rejection algorithms, and proper exposure settings. Don't let light pollution or camera limitations stop you. With the right techniques and a bit of patience, you'll transform those fuzzy nebula shots into breathtaking cosmic portraits worthy of any gallery wall.


Leave a Reply