
For night sky photography, you'll want to start with a budget-friendly DSLR like the Canon EOS Rebel T7, Nikon D3400, or Canon EOS Rebel SL3. These cameras offer essential manual controls, good ISO capabilities, and compatibility with wide-angle lenses – key features for capturing the stars. Pair your choice with a sturdy tripod and remote trigger to minimize camera shake. Learning proper camera settings and techniques will transform your basic DSLR into a powerful tool for astrophotography.
Understanding DSLR Basics for Night Sky Photography
The magic of night sky photography begins with mastering your DSLR camera's essential functions and equipment.
You'll need to familiarize yourself with manual mode settings, as they're vital for capturing clear, sharp images of the night sky.
Start by understanding your camera's ISO capabilities, which typically range from 1600-6400 for night shots. Shooting in cold temperatures will help reduce sensor noise and produce cleaner images.
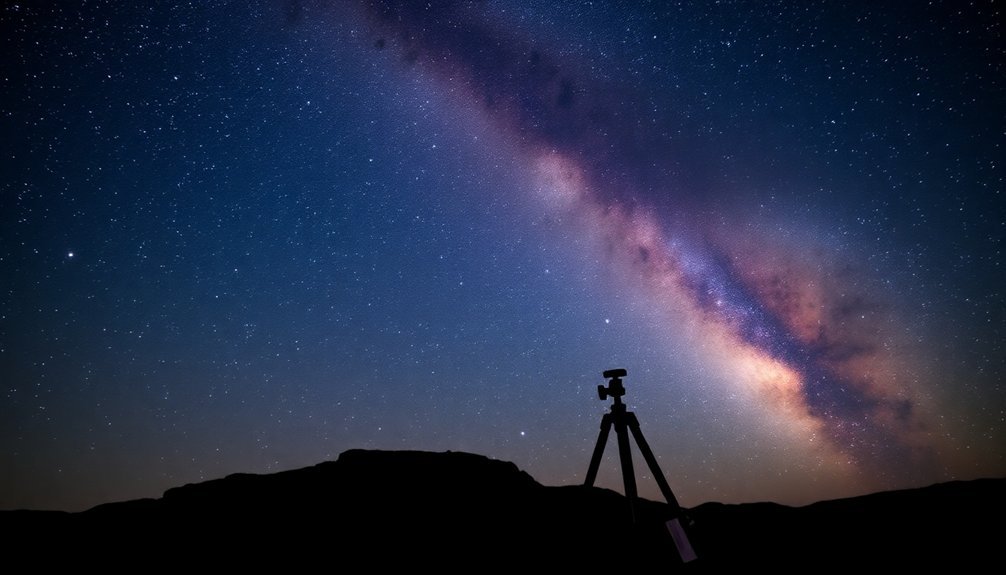
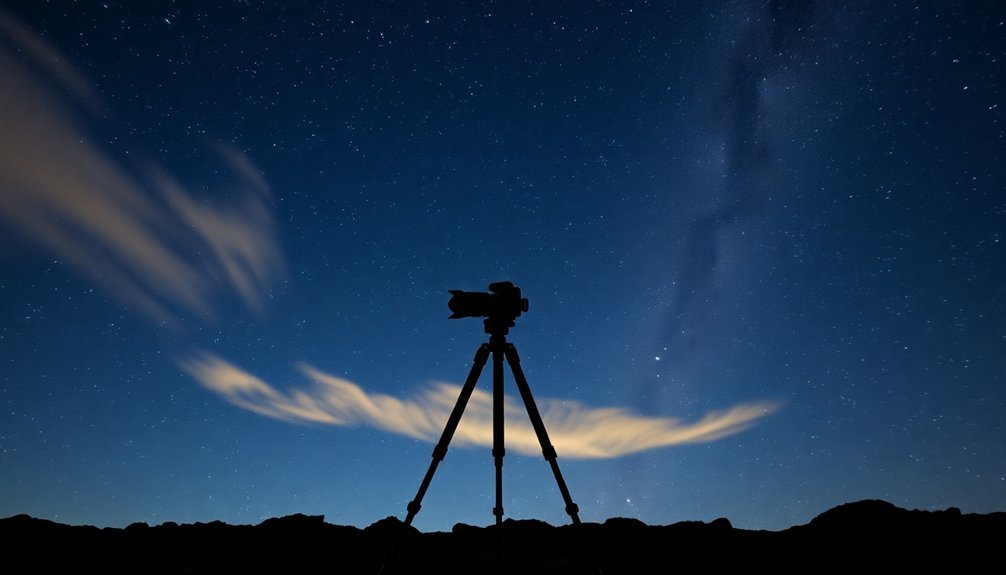
You'll want to pair your DSLR with a sturdy tripod and wide-angle lens that offers an aperture of f/2.8 or lower.
Don't forget to attach a shutter release cable to prevent camera shake during long exposures.
To capture crisp star images, you'll need to work with the 500 rule, which helps determine your maximum exposure time.
Remember to shoot in RAW format, as it'll give you more flexibility during post-processing.
Top Budget-Friendly DSLR Cameras for Stargazing
Five excellent budget-friendly DSLRs stand out for aspiring night sky photographers. The Canon EOS Rebel T7 leads the pack, offering impressive deep-sky and nightscape capabilities at around $250 used.
Nikon's D3400 delivers exceptional battery life and reliable performance for basic astrophotography needs. If you're seeking portability with modern features, the Canon EOS Rebel SL3/250D provides 4K video and robust autofocus. These cameras are ideal for capturing large Milky Way regions when paired with wide-angle lenses like the Rokinon 14mm.
The Canon T6i, though older, remains versatile for night sky shooting. Rounding out the list, the Nikon D3300 serves as a solid entry point for beginners.
When choosing these cameras, you'll benefit from their manual controls and live view features. Pair them with wide-aperture lenses and proper tracking equipment to capture stunning celestial images.
Essential Camera Features for Capturing the Night Sky
While capturing stunning night sky photographs requires skill and patience, selecting a camera with the right features makes an essential difference in your results.
When shopping for your first night sky photography camera, you'll want to focus on these crucial capabilities:
- Full-frame sensors provide superior low-light performance and less noise in your images
- Manual controls let you adjust ISO, aperture, and shutter speed for perfect exposure
- Wide-angle lenses with large apertures (f/2.8 or wider) capture more starlight
You'll also need a camera that handles high ISO settings well, typically up to 6400, and offers effective noise reduction.
Don't forget to take into account weather sealing for those cold nights under the stars.
For beginners on a budget, refurbished Canon Rebels offer an affordable entry point into night sky photography.
Pair these features with a sturdy tripod and remote shutter release to minimize camera shake during long exposures.
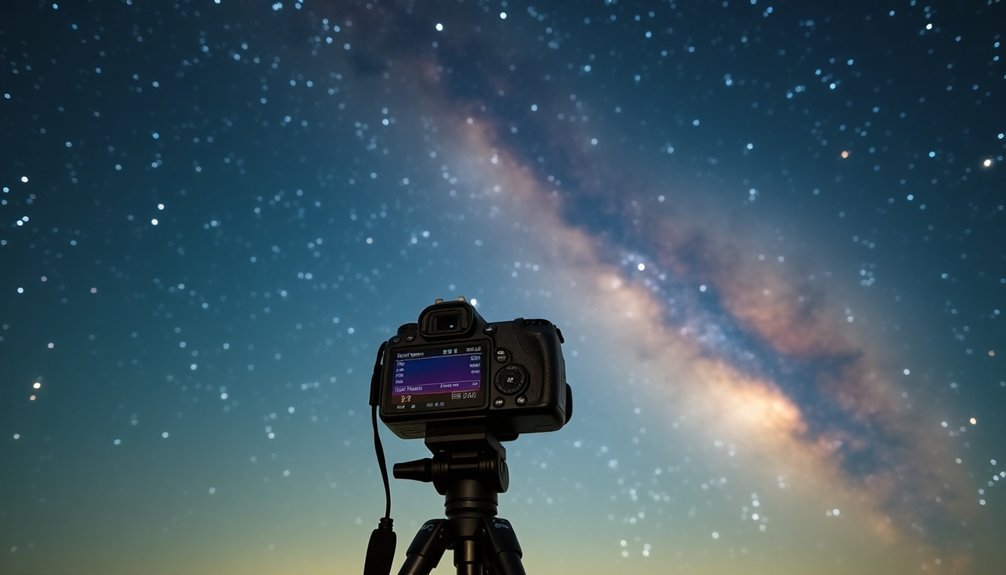
Recommended Camera Settings for Astrophotography
Setting up your camera correctly makes all the difference between capturing stunning star-filled skies and ending up with dark, blurry images.
Start by switching to Manual mode and shooting in RAW format for maximum control and image data.
You'll want to open your aperture as wide as possible (lowest f-number) and set your shutter speed between 20-25 seconds for sharp stars without trails.
Begin with an ISO between 1600-3200, adjusting higher or lower based on your exposure needs.
Turn off auto-focus and manually focus on a bright star for crisp results.
Don't forget to disable your flash and long-exposure noise reduction.
Set your white balance to Daylight, and use a 2-second timer or remote release to prevent camera shake.
For the cleanest images, find a location with minimal light pollution.
Using a sturdy tripod for stability is essential when capturing long exposure shots of the night sky.
Must-Have Accessories for Night Sky Photography
Your success in night sky photography depends heavily on having the right supporting equipment, starting with a sturdy tripod that offers multiple leg positions and a reliable locking mechanism.
You'll need remote triggers and controllers to minimize camera shake and manage exposure timing during long shoots. A reliable power supply unit like the ANKER 757 Portable Power Station ensures uninterrupted imaging sessions in the field.
Essential power banks and extra storage cards will keep you shooting through the night without interruption.
Essential Tripod Features
Three essential tripod features make or break your night sky photography: stability, material quality, and adjustability.
You'll need a sturdy base that can handle your camera's weight while resisting wind and vibrations during long exposures. Using a remote shutter release helps eliminate camera shake when triggering shots.
Consider these critical features when selecting your tripod:
- Carbon fiber construction offers superior weather resistance and lighter weight than aluminum, making it ideal for remote locations.
- A reliable leveling mechanism guarantees precise panoramic shots and proper camera positioning.
- Adequate height adjustment capability lets you compose shots from various angles without compromising stability.
While budget options exist, investing in a quality tripod prevents blurry images and equipment damage.
Look for one that's both portable and robust enough to support your gear in challenging conditions.
Remote Triggers and Controllers
While capturing stunning night sky photographs requires steady hands, remote triggers and controllers eliminate the need to physically touch your camera during shoots.
You'll need a trigger with timer functions and bulb mode control for those long exposure shots of star trails and deep-sky objects.
When choosing a remote trigger, make sure it's compatible with your DSLR model. The Pluto Trigger's companion app features help calculate depth of field and exposure settings for precise night shots.
Consider wireless options like the Canon Connect App for smartphone control, or dedicated devices like the Pluto Trigger that offer specialized features for lightning detection and star trails.
If you're on a budget, simple wired options like Canon's RS-80N3 or RS-60E3 remote switches work reliably for basic control.
Remember to check the cable length for wired triggers, ensuring you'll have enough distance to operate your camera comfortably during nighttime shoots.
Power and Storage Solutions
Long nights of astrophotography demand reliable power and storage solutions to keep your gear running smoothly.
When shooting the night sky, you'll need a portable power station with multiple DC and AC outputs to run your camera, mount, and other accessories. Choose a station that offers quick charging capabilities and silent operation for uninterrupted shooting sessions. The Ultimate Powerbox V3 provides an excellent multi-port power solution specifically designed for astronomy equipment.
For data management, invest in:
- External hard drives with ample storage capacity for your RAW files
- Weather-resistant protective cases to shield your storage devices
- Power distribution hubs to reduce cable clutter and manage multiple devices
Don't forget to pack backup power sources and consider solar charging options for extended shoots.
Your power station should be lightweight and portable, making it easy to transport to dark sky locations while ensuring all your gear stays powered throughout the night.
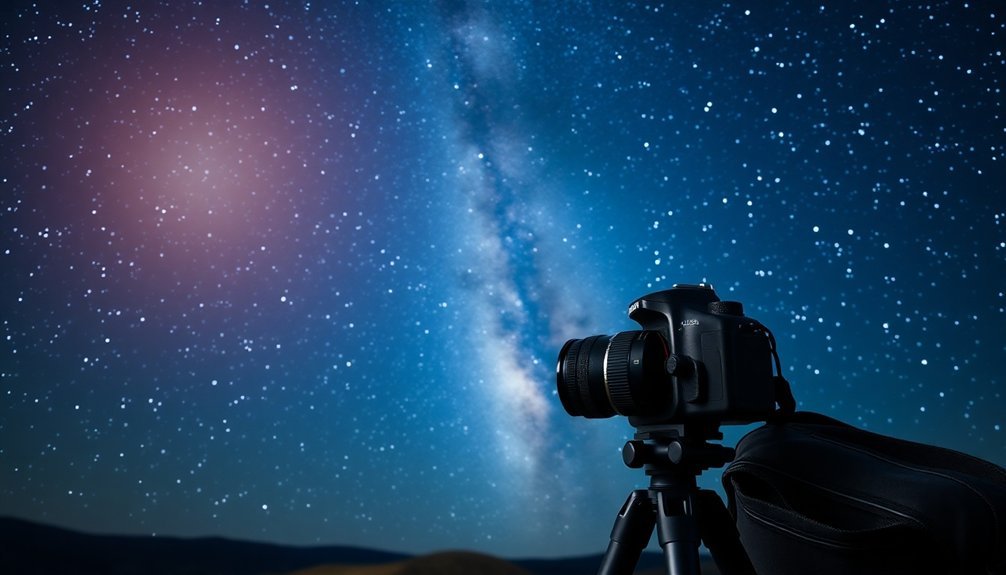
Best Wide-Angle Lenses for Starry Skies
When you're starting out in night sky photography, you'll find excellent value in budget-friendly manual focus lenses like the Rokinon 14mm f/2.8, which delivers impressive results without breaking the bank.
Fast optics at F/2.8 allow this lens to capture plenty of light for detailed night sky images. While autofocus lenses offer convenience in daylight shooting, manual focus actually works better for night sky work since you'll need precise infinity focus control for sharp stars.
The money you save with manual focus wide-angle lenses can go toward other essential gear like a sturdy tripod and intervalometer, making these budget options particularly attractive for beginners.
Cost-Effective Lens Options
A well-chosen lens can make or break your night sky photography, especially when you're working with a limited budget.
You'll find excellent options in the $200-500 range that deliver impressive results without emptying your wallet. Fast aperture lenses are essential for capturing enough light during nighttime exposures.
- Rokinon 14mm F/2.8 stands out as a top budget choice, offering ultra-wide coverage perfect for Milky Way shots.
- The Canon EF 50mm F/1.8 STM provides an affordable entry point for constellation photography.
- Rokinon 12mm F/2 gives APS-C camera users exceptional value with its wide-angle capabilities.
When selecting your lens, prioritize fast apertures (F/2.8 or wider) and manual focusing capabilities.
While these budget options might lack automatic features, they'll help you master the fundamentals of night photography.
Remember to check lens compatibility with your camera system before purchasing, ensuring you're making a sustainable investment for future upgrades.
Manual vs. Autofocus Performance
Since night sky photography demands precision, choosing between manual and autofocus can profoundly impact your final images. In dark conditions, you'll find that autofocus systems often struggle due to their reliance on contrast detection, making manual focus the superior choice for capturing starry skies.
While modern autofocus systems have improved, they're still unreliable when shooting in extremely low light. You'll achieve better results using manual focus techniques, such as Live View mode to zoom in on bright stars and fine-tune your focus. For photographers seeking optimal clarity, low-contrast scenes particularly benefit from manual focusing capabilities.
Though it requires more patience, manual focusing gives you the precise control needed for sharp astrophotography. For the clearest shots, start by setting your lens to the infinity mark, then use Live View to make minor adjustments while focusing on a bright star.
How to Choose Your First Astrophotography Camera
Ready to plunge into astrophotography but unsure which camera will best capture the cosmos? Your first DSLR choice can make a significant difference in your night sky photography journey.
Consider starting with an entry-level crop-sensor camera like the Canon EOS Rebel T7 or Nikon D3500, which offer an excellent balance of features and affordability. Using manual focus mode will be crucial for achieving sharp star images in low-light conditions.
When selecting your camera, focus on these essential features:
- Strong ISO performance for clean low-light images
- Full manual controls for precise exposure adjustments
- Compatibility with both wide-angle and telephoto lenses
Don't feel pressured to invest in a full-frame camera immediately. A crop-sensor DSLR with good battery life and an articulating screen will serve you well as you learn the basics of astrophotography.
Remember to budget for essential accessories like a sturdy tripod and remote shutter release.
Common Mistakes to Avoid in Night Sky Photography
Now that you've selected your camera, let's examine the most common pitfalls that can derail your night sky photography efforts.
Poor exposure settings will ruin your shots – underexposure creates noise when brightened, while overexposure blows out highlights. You'll need to monitor your histogram carefully and consider using graduated filters for challenging dynamic ranges.
Nail your exposure – too dark adds noise, too bright loses detail. Let your histogram guide you toward the perfect balance.
Focus demands special attention at night. Don't rely on autofocus in low light; instead, use manual focus in live view, targeting bright stars or distant lights. Remember that infinity focus marks aren't always accurate.
Watch your composition carefully. Include interesting foreground elements to add depth, and guarantee they're properly exposed.
You'll also want to scout locations with minimal light pollution and use a sturdy tripod. Keep your color adjustments subtle and natural-looking to maintain authenticity in your night sky images.
Tips for Better Star Photography Results
When you're ready to capture stunning star photography, mastering a few essential techniques will dramatically improve your results. Start by shooting in RAW format and using image stacking software to reduce noise while enhancing detail. Using a remote shutter release helps eliminate camera shake that can blur your images.
Plan your shoots during new moon phases to minimize light interference, and use apps like Stellarium to predict the best viewing conditions.
For immediate improvement in your night sky shots:
- Combine multiple exposures to create cleaner, more detailed final images
- Use post-processing tools like Lightroom to adjust color balance and reduce noise
- Experiment with different ISO settings and exposure times to find your camera's sweet spot
Don't forget to incorporate interesting foreground elements and follow the rule of thirds to create more compelling compositions.
With practice and patience, you'll develop a workflow that consistently produces impressive results.
Where to Practice Night Sky Photography
Finding the perfect location for night sky photography can make all the difference in capturing those stunning celestial shots you've been practicing.
In the U.S., you'll find exceptional opportunities at Death Valley and Joshua Tree National Parks, where minimal light pollution meets dramatic landscapes. The red rock formations of Sedona, Arizona provide remarkable foreground contrasts against starlit skies. For international shoots, consider the Kerry International Dark Sky Reserve in Ireland or NamibRand Nature Reserve in Namibia.
To locate your ideal shooting spot, use tools like PhotoPills and Light Pollution Maps. Look for areas that combine dark skies with interesting foreground elements.
Tools like PhotoPills and Light Pollution Maps help photographers discover prime spots where dark skies meet compelling landscapes.
Before heading out, check weather forecasts and moon phases to maximize your chances of success. Don't forget to verify access permissions and take proper safety precautions, especially when shooting in remote locations.
Many locations also host community events where you can learn from experienced photographers.
Maintaining Your DSLR Camera Equipment
When photographing the night sky, you'll need to keep your DSLR camera meticulously clean, focusing especially on the lens to prevent unwanted star trails and light artifacts in your images.
Use a microfiber cloth in circular motions and a handheld air blower to remove dust and debris, but never resort to compressed air which can damage your equipment.
During the off-season, store your camera in a dry, padded bag with moisture-absorbing materials, and don't forget to remove the batteries if you're planning extended periods without use.
Camera Cleaning Best Practices
Keeping your DSLR camera clean is essential for capturing clear, crisp photos of the night sky. When cleaning your camera, work in a dust-free environment and start with a blower to remove loose particles from the body, lens, and sensor.
For stubborn spots, use a microfiber cloth or lens pen, being careful to avoid organic solvents that could damage your equipment.
- Never apply cleaning solution directly to your lens – instead, dampen a soft cloth first
- Always use a lens cap when your camera isn't in use to prevent dust accumulation
- Test your sensor's cleanliness by taking a photo of a plain white surface
For sensitive components like mirrors and sensors, don't hesitate to seek professional cleaning if you're unsure.
Regular maintenance of your camera's contacts and mounts will guarantee peak performance during those critical night shooting sessions.
Storage During Off-Season
Proper storage of your DSLR camera equipment between night photography sessions is just as important as regular cleaning.
Store your gear in a cool, dry environment away from direct sunlight, and use silica gel packets to control humidity. Don't keep your camera in basements or attics where moisture can damage sensitive components.
Invest in a high-quality camera bag with padded compartments to protect against impacts and dust.
Remove batteries before long-term storage to prevent corrosion, and store them separately in a cool place. Keep your lenses upright with caps on, and use breathable storage solutions rather than airtight containers.
Remember to store memory cards in protective cases and label all your equipment for easy identification.
Schedule regular maintenance checks during the off-season to verify your gear stays in prime condition.
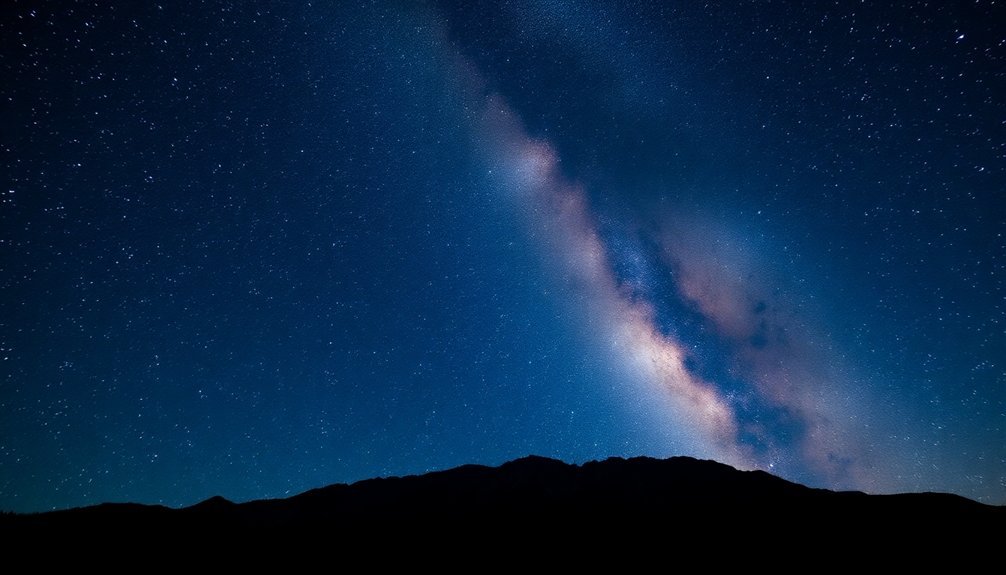
Popular Night Sky Photography Techniques
Night sky photographers rely on several proven techniques to capture stunning celestial images. You'll find these methods particularly effective when you're just starting with astrophotography:
- Star trails require longer exposures or multiple shots to showcase Earth's rotation, creating mesmerizing circular patterns in the sky.
- Milky Way shots work best from June to September in the Northern Hemisphere, when our galaxy's core is most visible against dark skies.
- Moon photography demands telephoto lenses and lower ISOs to capture detailed lunar features.
To master these techniques, you'll need to use your camera's manual focus and live view mode. Zoom in on a bright star to achieve precise focus, and always shoot in RAW format for better editing flexibility.
Manual focus and live view are essential for night photography – lock onto bright stars and capture RAW images for post-processing control.
Remember to check moon phases and avoid shooting during full moons, as excessive moonlight can wash out delicate celestial details.
Resources for Learning Astrophotography
As you begin your journey into astrophotography, you'll find an abundance of valuable learning resources to guide your progress. Online platforms like Galactic Hunter and AstroBackyard offer premium courses covering everything from basic techniques to advanced deep-sky imaging. You'll also benefit from joining local astronomy clubs for hands-on mentorship and connecting with online communities like Cloudy Nights Forum.
| Resource Type | Platform | Focus Area |
|---|---|---|
| Online Courses | Galactic Hunter | Deep Space & Milky Way |
| Software | PixInsight | Image Processing |
| Communities | Local Clubs | Hands-on Learning |
Essential tools include planning software like Stellarium and processing applications such as StarStax. For structured learning, extensive guides like "The Backyard Astronomer's Guide" provide foundational knowledge, while YouTube channels like Eyes on the Sky offer free visual tutorials.
Frequently Asked Questions
How Long Does It Typically Take to Master Basic Night Sky Photography?
You'll need 3-6 months to master basic night sky photography fundamentals with consistent practice. If you shoot weekly and understand your camera's manual settings, you can capture decent shots within this timeframe.
Can Night Sky Photography Damage My Camera's Sensor Over Time?
You won't damage your camera's sensor from night sky photography. The low-intensity starlight is safe, though you'll want to avoid pointing at direct sunlight or lasers without proper filters.
What Weather Conditions Are Ideal for Photographing the Milky Way?
You'll need clear, cloudless skies, a new moon night, and low humidity. Choose a dark location away from light pollution. It's best to shoot during stable, cool temperatures to prevent lens condensation.
How Do City Lights Affect Star Photography From Suburban Areas?
In suburban areas, you'll find city lights create an orange glow that washes out fainter stars. The light pollution affects your camera's ability to capture detail, making it harder to photograph deep-sky objects.
Should I Shoot in RAW or JPEG Format for Night Sky Photography?
You'll definitely want to shoot in RAW format for night sky photos. It captures more detail, offers better dynamic range, and gives you greater control when editing dark skies and bright stars in post-processing.
In Summary
Night sky photography doesn't have to be intimidating or expensive. Start with one of these beginner-friendly DSLRs, learn the basic settings, and grab essential accessories like a sturdy tripod and wide-angle lens. You'll be capturing stunning starscapes in no time. Remember to practice in dark sky locations, maintain your equipment properly, and join online astrophotography communities to keep learning and improving your shots.


Leave a Reply