For beginner night sky photography, you'll want to take into account the Nikon D3500 or Canon EOS 250D/T7 as your entry DSLR. These cameras offer full manual controls, good low-light performance, and RAW shooting capabilities at budget-friendly prices. They're lightweight, user-friendly, and compatible with a wide range of lenses. When paired with a sturdy tripod and wide-angle lens, you'll be ready to capture stunning Milky Way shots. The journey to mastering astrophotography starts with choosing the right gear.
Why Choose a DSLR for Night Sky Photography
When you're starting out in night sky photography, a DSLR camera offers the perfect balance of affordability, versatility, and control.
You'll find these cameras provide an intuitive interface for mastering essential manual settings like ISO, aperture, and shutter speed, which are vital for capturing the night sky.
DSLRs excel at various types of astrophotography, from stunning Milky Way landscapes to detailed lunar shots. You can find quality used DSLR models for as low as $250.
From sweeping views of the Milky Way to crisp close-ups of the moon, DSLR cameras deliver outstanding results in astrophotography.
You can easily upgrade your setup by adding different lenses or connecting to telescopes as your skills advance.
The instant feedback feature lets you review your shots and adjust settings on the spot, speeding up your learning process.
Unlike smartphones or specialized astronomy cameras, DSLRs give you professional-quality results without breaking the bank, making them an ideal entry point into night sky photography.
Essential Features for Astrophotography Cameras
When choosing a DSLR for night sky photography, you'll need full manual control over settings like shutter speed, aperture, and ISO to capture the stars effectively.
Your camera's sensor must excel in low-light conditions, as you'll often shoot at high ISOs to capture faint celestial objects. A tilt-screen display can make composing and focusing your shots much more comfortable when pointing your camera upward at the night sky.
A versatile lens mount system lets you attach specialized astrophotography lenses and telescope adapters, expanding your shooting capabilities beyond standard kit lenses.
Manual Control Settings
Mastering manual control settings serves as the foundation for successful night sky photography. You'll need to take complete control of your camera by switching to Manual Mode and disabling automatic features that can interfere with your shots.
| Setting | Recommended Value |
|---|---|
| Mode | Manual |
| White Balance | Daylight |
| Focus | Manual on bright star |
| Format | RAW |
| ISO | 800-1600 |
Set your exposure compensation to zero and turn off autofocus – these automated features can compromise your night shots. Using a remote shutter release will help prevent camera shake during long exposures. For ideal results, you'll want to shoot in RAW format, which preserves more detail for post-processing. When focusing, locate a bright star or distant light source and adjust manually. Keep your white balance set to daylight to maintain consistent color rendering throughout your session. These fundamental settings create the technical framework needed for capturing stunning night sky images.
Low Light Sensor Performance
Three key sensor characteristics determine a camera's ability to capture stunning night sky images: size, technology, and design.
You'll want to look for a camera with a larger sensor, like full-frame, as it captures more light per pixel and performs better in dark conditions. Backside-illuminated (BSI) sensors are particularly effective because they move circuitry out of the way, allowing more light to reach the photosites.
While higher megapixel counts might seem attractive, lower resolution sensors actually handle noise better in low-light situations. Keep in mind that sensors with larger pixel sizes tend to deliver superior image quality in low light conditions.
For the best results, choose a camera with strong ISO performance and high dynamic range. This combination lets you capture both bright stars and dark sky details clearly.
If you're on a budget, APS-C sensors still offer competitive performance while being more affordable than full-frame options.
Lens Mount Versatility
Selecting a camera with versatile lens mount options proves vital for successful astrophotography.
You'll want a camera that supports interchangeable lenses, giving you the flexibility to switch between wide-angle lenses for nightscapes and telephoto lenses for moon and planetary shots.
Most beginner DSLRs come with either Canon EF/EF-S or Sony E-mount systems. For specialized astrophotography, the Canon EOS Ra offers enhanced capabilities designed specifically for night sky imaging.
These mounts let you use a wide range of lenses, and with adapters, you can even attach lenses from different manufacturers to your camera body.
When choosing your camera, consider that EF mounts work well with telescopes through T-adapters for deep-sky photography, while mirrorless E-mounts often offer more compact setups.
Don't forget to look for cameras that provide manual focus control – it's essential for precise focusing in low-light conditions.
Top Budget-Friendly DSLR Options
Finding your first DSLR for night sky photography doesn't have to break the bank. Several reliable options under $900 offer excellent features for capturing the cosmos.
The Nikon D3500, though discontinued, remains a popular choice for its simplicity and can be found at great prices on the secondhand market.
Despite being discontinued, the D3500 offers beginner astrophotographers an affordable entry point without sacrificing essential features for night sky imaging.
The Canon EOS 250D and T7 are particularly well-suited for beginners, with the 250D offering a compact design and the T7 providing strong astrophotography capabilities. A great alternative is the Canon T8i, featuring a convenient tilt-LCD display for more comfortable night shooting angles.
If you're willing to spend a bit more, the Canon T8i and Nikon D5600 deliver enhanced features like improved autofocus and better low-light performance.
These cameras all support RAW shooting, manual controls, and long exposures – essential features for night sky photography.
They're also compatible with various lenses and telescope mounts for deep-sky imaging.
Understanding Camera Sensor Types
When choosing a camera for night sky photography, you'll need to understand how your sensor type affects image quality, with full-frame sensors offering superior low-light performance compared to crop sensors like APS-C or Micro Four Thirds.
Full-frame sensors capture more light across their larger surface area (36mm x 24mm), resulting in cleaner images with less noise at high ISO settings. The increased sensor resolution of full-frame cameras also lets you capture more detail in stars and celestial objects, though you'll typically pay more for these advantages. Their larger pixel pitch allows these sensors to collect significantly more photons per photosite, making them ideal for low-light astrophotography.
Full-Frame Vs Crop Sensors
Understanding the difference between full-frame and crop sensors is essential before investing in your first DSLR for night sky photography. Full-frame sensors match the size of 35mm film (24mm x 36mm), while crop sensors are smaller. For night photography, full-frame sensors offer superior low-light performance and less digital noise, but they're markedly more expensive. The photosites capture detail more effectively in full-frame sensors, leading to improved dynamic range and color accuracy.
| Feature | Full-Frame | Crop Sensor |
|---|---|---|
| Size | 24mm x 36mm | Smaller (varies) |
| Low Light | Superior | Good |
| Cost | Higher | Budget-friendly |
| Weight | Heavier | Lighter |
| Depth of Field | Shallower | Deeper |
If you're just starting out, don't feel pressured to invest in a full-frame camera. Many crop sensor cameras produce excellent night sky images while being more portable and affordable. You'll find the learning curve more manageable with a crop sensor DSLR.
Low-Light Performance Impact
The ability to capture clear images in low light depends heavily on your camera's sensor technology and its signal-to-noise ratio (SNR).
You'll want to look for cameras with larger pixels, as they collect more photons and reduce noise in your night sky shots. While bigger pixels mean lower resolution, they're essential for stellar astrophotography. A camera with pixels of 3µm or larger will provide optimal performance for night photography.
Your camera's SNR plays an important role in image quality – the higher the ratio, the cleaner your photos will be. When paired with a large aperture lens (small f-stop number), you'll maximize your camera's ability to gather light.
Modern sensors, especially in full-frame cameras, are particularly efficient at handling high ISO settings with minimal noise. You'll find that today's mirrorless cameras often outperform older DSLRs in low-light situations, thanks to their advanced sensor technology.
Sensor Resolution Benefits
Sensor resolution stands at the heart of digital photography, directly impacting your ability to capture stunning night sky images. When shooting the stars, you'll benefit from higher resolution sensors that offer greater flexibility in post-processing and cropping options.
For astrophotography, you'll want to evaluate how sensor resolution affects your camera's low-light performance. Full-frame sensors typically provide the best balance, offering both high resolution and larger pixels that capture more light. Superior algorithms can help compensate for smaller pixel sizes in newer camera models.
While more megapixels can improve detail capture in star fields and nebulae, they aren't everything – sensor size matters just as much. You'll need to weigh the trade-offs: higher resolution sensors might give you more detail, but they can also introduce more noise in low-light conditions if the pixels are too small.
Recommended Camera Settings for Success
Successful night sky photography relies on mastering a specific combination of camera settings.
Mastering the right camera settings is the key that unlocks stunning night sky photography and stellar astrophotography results.
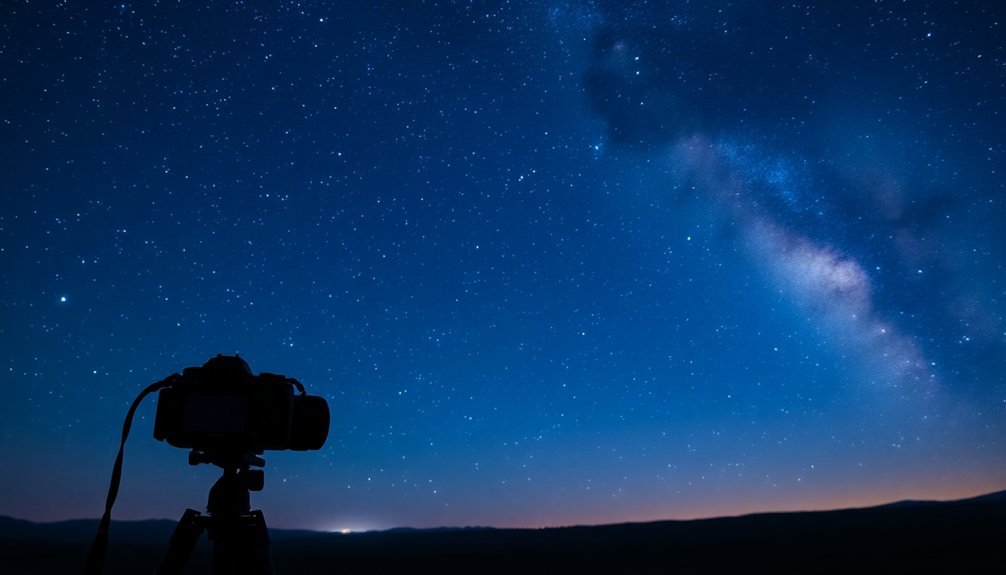
You'll want to start by selecting a low f-stop (f/1.4 to f/2.8) to maximize light gathering and set your shutter speed between 15-30 seconds for clear star capture. Mounting your camera on a secure tripod setup is absolutely essential for sharp, shake-free images.
Switch to manual focus mode and set your ISO between 1600-3200 for ideal visibility.
For the best results, configure these essential settings:
- White balance on daylight to preserve authentic star colors
- RAW format for enhanced post-processing flexibility
- Long exposure noise reduction if your camera offers it
Remember to take multiple exposures and consider image stacking to improve your final results.
If you're shooting in areas with light pollution, you might need to adjust your ISO higher, but be prepared to combat additional noise in post-processing.
Additional Equipment for Your Camera Setup
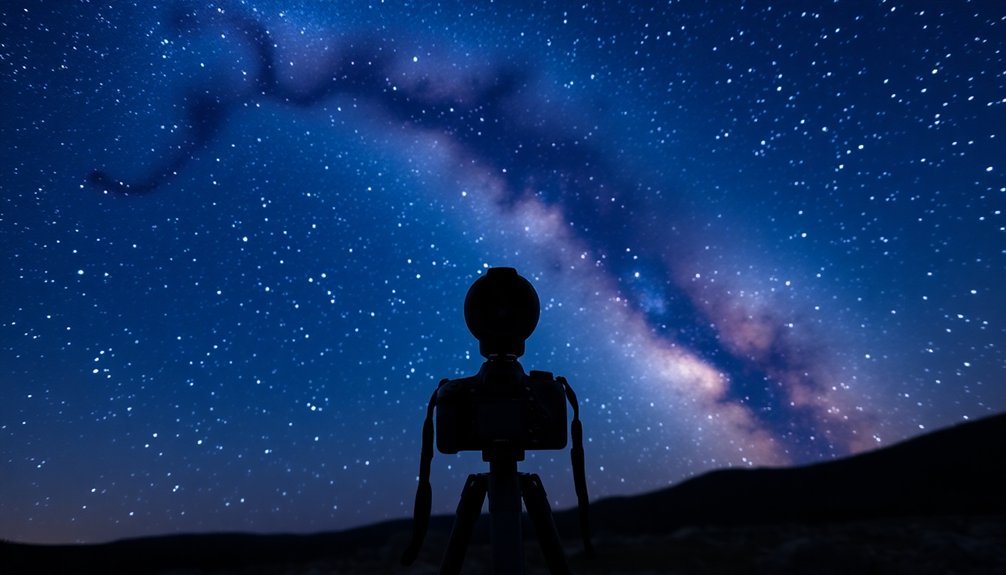
Beyond mastering camera settings, capturing stunning night sky photographs requires the right combination of supporting equipment.
You'll need a sturdy tripod to eliminate camera shake during long exposures, along with a remote shutter release or intervalometer to avoid touching the camera.
A red light headlamp helps you see your equipment while keeping your night vision intact.
For lens selection, start with a wide-angle prime lens that offers large apertures for maximum light gathering.
While zoom lenses work, they typically don't perform as well in low-light conditions.
If you're planning deep-sky photography, you'll want to invest in a reliable telescope with appropriate T-rings and adapters for your camera.
Don't forget power management – pack extra batteries or a portable power pack for extended sessions.
Consider adding an autoguiding system and field flatteners as you advance to more complex astrophotography projects.
Frequently Asked Questions
How Long Does a Typical DSLR Battery Last During Night Sky Photography?
You'll get about 200-400 shots per charge during night sky photography, but this varies based on exposure length, temperature, and LCD usage. Cold conditions can cut your battery life by up to 50%.
Can I Use My Smartphone Lens Filters on a DSLR Camera?
You can't effectively use smartphone filters on a DSLR. They're not designed to fit DSLR lens threads, and they're typically smaller in size with lower quality materials that won't match DSLR optical standards.
What Weather Conditions Should I Avoid When Photographing the Night Sky?
You'll want to avoid cloudy skies, high humidity, strong winds, and foggy conditions. Don't shoot during storms, when there's dust or smoke in the air, or on nights with high light pollution.
How Do I Protect My Camera From Condensation During Nighttime Shoots?
You'll want to use lens hoods, insulate your gear with camera bags, and add silica gel packs. Let your equipment acclimate slowly, and consider using hand warmers or heating strips for extended shoots.
Should I Shoot in RAW or JPEG Format for Astrophotography?
You'll definitely want to shoot in RAW format for astrophotography. It'll give you more flexibility in post-processing, preserve more image data, and allow better adjustments to exposure and noise reduction during editing.
In Summary
Getting started in night sky photography doesn't have to be intimidating or expensive. With the right entry-level DSLR, basic understanding of settings, and essential accessories, you'll be capturing stunning celestial images in no time. Remember to focus on key features like sensor size, ISO performance, and manual controls when choosing your camera. Start practicing in dark locations, be patient with your learning curve, and you'll soon create memorable astrophotography shots.


Leave a Reply