For beginner astrophotography, you'll want to start with a budget-friendly DSLR like the Canon EOS Rebel T7 or Nikon D3400, both under $500. These cameras offer essential manual controls, good low-light performance, and compatibility with telescope adapters. Pair your choice with a fast lens like the Canon EF 50mm f/1.8 STM for constellation shots or Rokinon 14mm f/2.8 for Milky Way photography. There's much more to take into account beyond just the camera body to capture those stunning night sky images.
Understanding DSLR Basics for Night Sky Photography
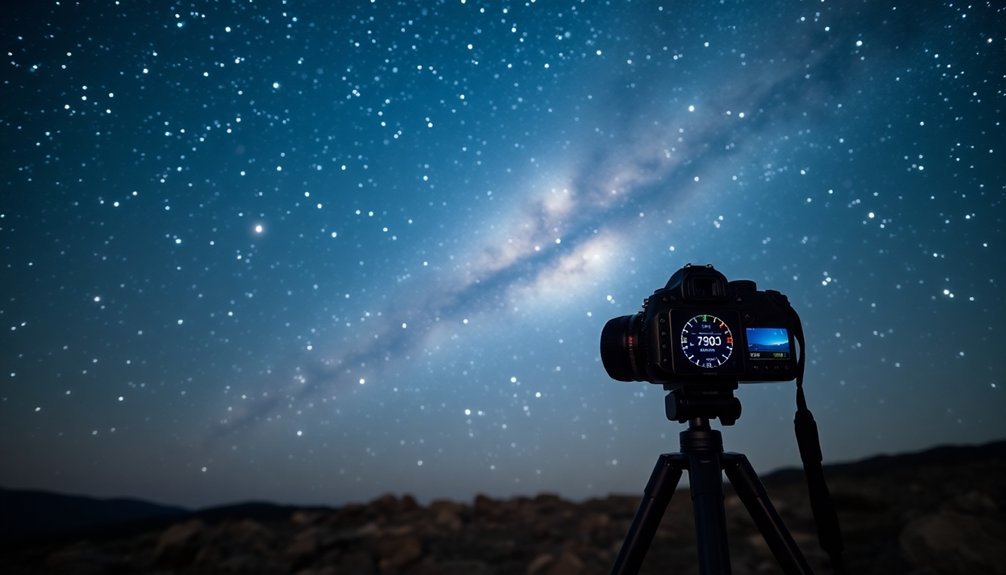
When venturing into astrophotography, understanding your DSLR's fundamental operations becomes essential for capturing the night sky.
You'll need to master manual mode, as it gives you complete control over your camera's settings. Popular brands like Canon and Nikon offer excellent options for beginners. Use the 600 rule to determine your maximum shutter speed and prevent star trails in your images.
Manual mode mastery unlocks your camera's full potential, giving photographers the control needed to capture stunning night sky images.
For night sky shots, you'll need to focus manually since autofocus struggles in dark conditions. Set your ISO between 1600 and 6400 to capture enough light, but be aware that higher ISOs can introduce noise.
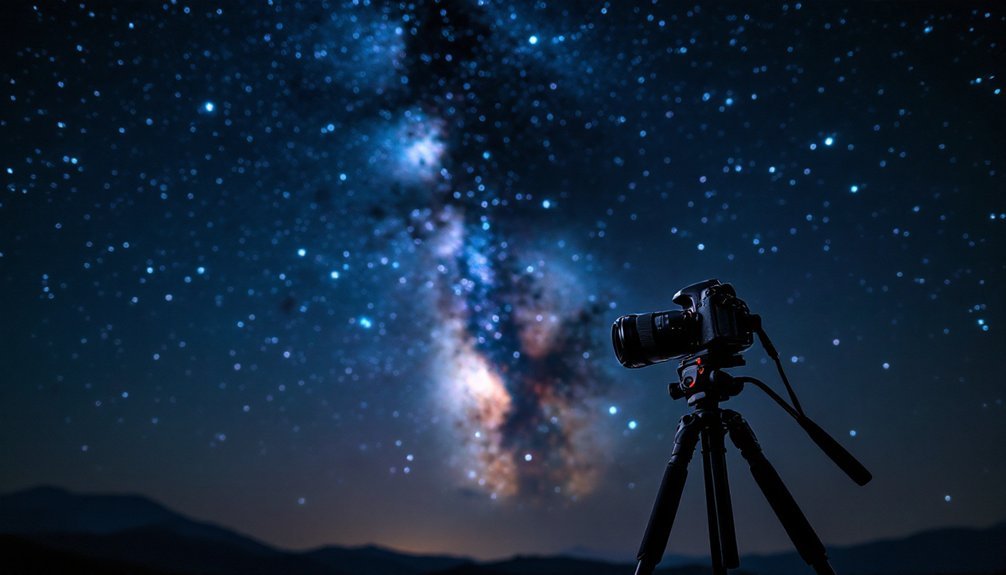
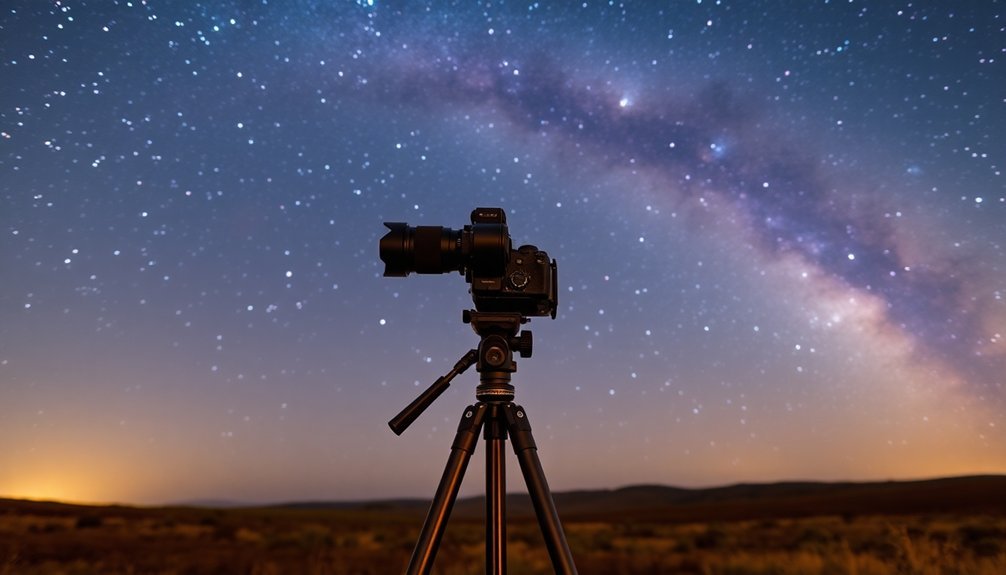
Keep your camera steady using a sturdy tripod, and consider using a remote shutter release to prevent camera shake. A fast lens with a wide aperture (f1.8 or f2) will help gather more light, while wide-angle options around 14mm let you capture broader sections of the sky.
Key Features to Look for in an Astronomy DSLR
Building on your understanding of DSLR basics, let's explore the specific features that make certain cameras ideal for astrophotography.
When choosing your first astronomy DSLR, you'll want to focus on capabilities that enhance night sky shooting.
- Manual controls are vital – you'll need full control over exposure time, aperture, and ISO settings to capture faint celestial objects effectively.
- Live View functionality helps you achieve precise focus on stars, especially when using a telescope.
- A mirror lock-up feature reduces internal vibrations during long exposures, resulting in sharper images.
- Built-in intervalometer capabilities allow you to capture multiple exposures automatically, perfect for star trails and time-lapse sequences.
Look for cameras with good low-light performance and compatibility with telescope adapters. Entry-level DSLRs like the Canon Rebel XSi offer an excellent balance of features and affordability for beginners.
Higher megapixel counts will give you more detail, but they're not essential for beginners.
Top Budget-Friendly DSLR Options Under $500
If you're working with a tight budget, several high-quality DSLRs under $500 can kickstart your astrophotography journey. The Canon EOS Rebel T7 and Nikon D3400 stand out with their 24MP sensors and user-friendly interfaces, while the Nikon D5300 adds GPS tracking and Wi-Fi connectivity. The Canon EOS SL3 offers modern features like a touchscreen LCD and 4K video capability. With options like the Sony A5100 mirrorless, photographers can also explore compact alternatives that deliver professional-grade results.
| Camera Model | Key Feature | Best For |
|---|---|---|
| Canon T7 | 24.1MP Sensor | Beginners |
| Nikon D3400 | Long Battery Life | Traditional Users |
| Nikon D5300 | GPS + Wi-Fi | Tech-Savvy Users |
These entry-level DSLRs provide essential features like lens interchangeability and manual controls, making them ideal for capturing the night sky without breaking the bank.
Essential Camera Settings for Stellar Images
Setting up your DSLR correctly can mean the difference between capturing stunning star fields or ending up with blurry, noisy images.
You'll want to start with an ISO of 800 and exposure times between 15-30 seconds, while ensuring your manual focus is precisely set using live view to zoom in on bright stars.
For natural-looking results, set your white balance to daylight and remember to disable autofocus and image stabilization when your camera is mounted on a tripod. Using the 500 rule formula will help you calculate the maximum exposure time before stars begin to trail in your images.
ISO and Exposure Times
Two fundamental camera settings make or break your astrophotography: ISO and exposure time. You'll need to master both to capture stunning night sky images. While higher ISOs increase your camera's sensitivity to light, they also introduce more noise. Start with ISO settings between 400-1600, depending on your lighting conditions and subject.
For exposure times, consider these critical factors:
- Untracked shots work best between 15-30 seconds to avoid star trails.
- Using a tracking mount allows several minutes of exposure for deep-sky objects.
- Ambient temperature affects your noise levels, so adjust ISO accordingly.
- Stack multiple exposures to improve your signal-to-noise ratio.
Remember to shoot in RAW format and use manual mode for complete control over your settings. Bulb mode becomes essential when you need exposures longer than 30 seconds. For planetary imaging, capturing 1-2 minute videos rather than single shots will yield superior results due to atmospheric variations.
Manual Focus Tips
Mastering manual focus stands as the cornerstone of successful astrophotography, since your camera's autofocus won't reliably lock onto dim celestial objects.
To achieve sharp focus, switch to Live View mode and locate a bright star like Sirius or Vega. Setting your aperture to f/2.8 or wider will help gather maximum light for easier focusing. Zoom in on the star using your LCD screen's magnification feature, then slowly adjust the focus ring until the star appears as its smallest possible point.
Once you've achieved perfect focus, secure the focus ring with tape to prevent accidental adjustments.
If you're having trouble finding bright stars initially, you can practice by focusing on distant streetlights. Remember to use a red light during setup to preserve your night vision, and always remove your lens cap before beginning the focusing process.
Document your successful focus settings for future reference.
White Balance Settings
While many beginners overlook white balance in their initial astrophotography attempts, it plays a vital role in capturing the true colors of celestial objects.
For Milky Way photography specifically, setting your camera to 4100K temperature creates an appealing blue tint that enhances the overall image quality.
When using your DSLR for night sky photography, you'll want to start with the daylight or sunny white balance setting, as it provides a solid baseline for most situations.
For the best results, follow these essential white balance guidelines:
- Always shoot in RAW format to maintain maximum flexibility for white balance adjustments during post-processing.
- Use custom white balance settings if you're working with a modified camera or special filters.
- Consider your local light pollution levels, as they can greatly affect your white balance needs.
- Keep auto white balance as a backup option, but avoid relying on it for consistent results.
Required Accessories for Your First Astrophotography Kit
A successful astrophotography kit relies on three core accessories beyond your DSLR camera: a sturdy tripod, an intervalometer, and essential mounting adapters. Your tripod must be heavy-duty to minimize vibrations during long exposures, while an intervalometer lets you capture multiple shots without touching the camera. A reliable power supply source with battery backup will ensure uninterrupted imaging sessions throughout the night.
| Accessory | Purpose |
|---|---|
| T-Ring | Connects camera to telescope |
| Dew Heater | Prevents lens condensation |
| Red Headlamp | Preserves night vision |
You'll also need cleaning supplies to maintain your equipment and a red headlamp to preserve your night vision while working in the dark. Don't forget vibration suppression pads for your tripod's feet – they'll make a noticeable difference in image sharpness. For maximum versatility, include a wide-angle lens like the Rokinon 14mm f/2.8 in your kit.
Comparing Canon Vs Nikon for Night Sky Shooting
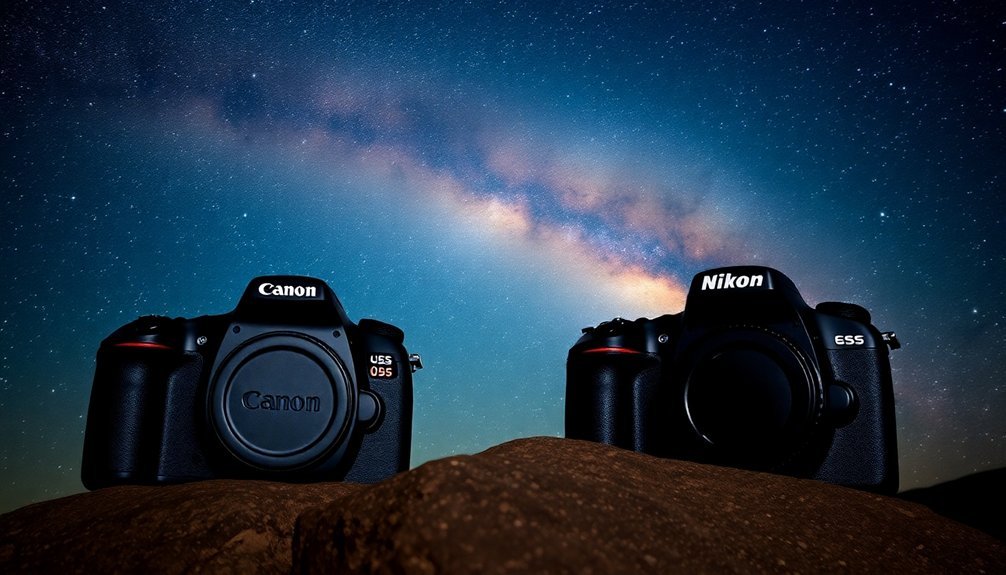
Two leading brands dominate the astrophotography landscape: Canon and Nikon. While both manufacturers offer excellent low-light performance and sensor quality, Canon has traditionally held the edge in astrophotography with specialized models like the EOS 60Da and more robust software support through BYEOS.
When choosing between these brands, consider these key differences:
- Canon provides more astrophotography-specific models and features built-in star tracking capabilities.
- Nikon's D810A offers superior infrared sensitivity for deep-sky imaging, though fewer specialized options overall.
- Canon's larger astrophotography community means better access to tutorials and support.
- Both brands support third-party lenses, but Canon's ecosystem is more beginner-friendly. Both manufacturers' cameras can achieve up to 20 fps when shooting in continuous mode, making them suitable for capturing fast-moving celestial events.
If you're just starting out, Canon's user-friendly interface and extensive community resources make it a slightly better choice for newcomers to astrophotography.
Modified Vs Unmodified DSLRS: What to Choose
Choosing between modified and unmodified DSLRs represents one of the most essential decisions for aspiring astrophotographers.
If you're just starting out, an unmodified DSLR offers versatility and affordability while still capturing impressive shots of the Moon and star clusters. You'll appreciate its portability and ease of use for learning basic techniques.
However, if you're specifically interested in photographing deep-sky objects like emission nebulae, you might want to contemplate a modified DSLR. These cameras offer enhanced sensitivity to H-Alpha wavelengths, markedly improving your ability to capture nebulae detail. The removal of IR filters allows significantly more red wavelength light to reach the camera's sensor.
Just keep in mind that modifications can affect daytime photography color balance and you'll need additional filters for normal shooting. While modified DSLRs are more cost-effective than dedicated astrophotography cameras, they still represent a notable investment.
Mounting Solutions for Your First DSLR Setup
Securing the right mounting solution stands as the cornerstone of successful astrophotography with your DSLR.
For beginners, an Alt-Azimuth mount offers simplicity, while an equatorial mount provides precise celestial tracking. Star trackers like the Sky-Watcher Star Adventurer or iOptron SkyTracker Pro are perfect starter options for your DSLR setup. Ensure your mount is positioned on solid ground surface, using wood planks if needed for enhanced stability.
When choosing your first mount, consider these essential factors:
- Start with a payload capacity that's double your setup's weight to guarantee stability.
- Choose a mount with built-in polar alignment tools for accurate positioning.
- Consider portability if you'll need to travel to dark sky locations.
- Look for GoTo capabilities if you want help locating celestial objects.
Don't forget to invest in a sturdy tripod and stabilizer – they're vital for sharp, long-exposure shots.
Best Lenses to Pair With Your Starter DSLR
A reliable lens serves as the essential link between your DSLR and the night sky, making it one of your most important investments.
For beginners, the Canon EF 50mm f/1.8 STM offers excellent value, allowing you to capture detailed constellation shots without breaking the bank.
If you're interested in photographing the Milky Way, you'll want to take into account wide-angle options like the Rokinon 14mm f/2.8 or Samyang XP 14mm f/2.4. Many photographers in the astrophotography community share their experiences with these lenses through online forums and tutorials.
These lenses provide the broad field of view you'll need for expansive night sky scenes.
When choosing your lens, focus on three key features: a fast aperture (f/2.8 or wider), manual focus capability, and minimal chromatic aberration.
Don't feel pressured to buy new – quality used lenses can deliver outstanding results while keeping costs down.
Software Tools for Processing Your Night Images
When processing your night sky images, you'll need both stacking software like Siril (free) or Astro Pixel Processor (paid) to combine multiple exposures and reduce noise.
Your choice between free tools like GIMP and paid options like PixInsight or Adobe's suite will depend on your budget and processing needs. You can plan your imaging sessions effectively using planetarium software tools that show celestial object positions and optimal shooting times.
Working with RAW files is essential for preserving image data, and you can start with free software like Siril for basic RAW processing before deciding if you need more advanced paid tools.
Free Vs Paid Apps
Three main paths exist for processing your astrophotography: free software, paid applications, or a combination of both.
You'll find capable free options like GIMP and Registax that offer core functionality, while paid software like PixInsight provides specialized tools for deep-sky imaging.
Consider these key factors when choosing your software path:
- Budget constraints – Free tools like GIMP and Autostakkert can handle basic processing needs without investment.
- Learning curve – Free software often has extensive community support and tutorials.
- Project complexity – Paid options like PixInsight excel at advanced techniques and noise reduction.
- Time investment – Professional software can streamline your workflow, potentially saving hours of processing.
You don't need to commit to just one approach – many astrophotographers use both free and paid tools depending on their specific needs. Tools like Deep Sky Stacker are excellent free options for combining multiple exposures into a single high-quality image.
Stacking Multiple Exposures
Stacking multiple exposures represents one of the most powerful techniques in astrophotography, allowing you to extract stunning details from the night sky. You'll need specific software tools to align and combine your images effectively.
| Software | Best For | Key Feature |
|---|---|---|
| DeepSkyStacker | Deep sky objects | Automated alignment |
| PixInsight | Professional work | Advanced processing |
| Siril | Cross-platform use | Scripting support |
| RegiStax | Planetary imaging | Wavelet processing |
| Sequator | Landscape astro | Star tracking |
The stacking process reduces noise, enhances detail, and improves dynamic range in your final image. You'll want to capture as many exposures as possible while maintaining consistent conditions. Most astrophotographers use median stacking methods to effectively eliminate random noise patterns in their images. For best results, use manual focus, proper exposure timing, and remember to collect calibration frames (dark, flat, and bias) to remove unwanted artifacts from your final image.
RAW Processing Essentials
Successfully processing RAW files serves as the foundation for stunning astrophotography.
You'll need robust software tools to handle these data-rich files and transform your night sky captures into breathtaking images. Adobe Lightroom and PixInsight stand out as premier choices, with DxO PhotoLab offering excellent AI-powered noise reduction capabilities.
For effective RAW processing, focus on these essential workflow steps:
- Start with noise reduction to clean up grain while preserving critical details
- Apply precise color correction to accurately represent celestial objects
- Enhance contrast to bring out subtle features in both bright and dark areas
- Use local masking to separately adjust different parts of your image
Remember to verify your camera's RAW format compatibility with your chosen software before making your purchase decision.
Common Mistakes to Avoid When Buying Your First Kit
Excited to buy your first DSLR for astrophotography? Before making a purchase, be aware of common pitfalls that can impact your success and wallet.
| Mistake to Avoid | Better Approach |
|---|---|
| Focusing on fancy features without considering your needs | Match camera capabilities to your astrophotography goals |
| Overlooking total costs (lenses, memory cards, software) | Plan your budget to include essential accessories |
| Skipping hands-on testing | Test the camera's ergonomics and controls before buying |
Don't fall into the trap of thinking expensive gear equals better photos. Entry-level DSLRs with kit lenses are excellent starting points. Instead of chasing high-end equipment, focus on mastering fundamentals like exposure settings and camera operation. Consider portability and compatibility with future telescope setups. Most importantly, verify you're investing in gear that matches your skill level and learning curve.
Upgrading Your DSLR System: When and Why
Your growing frustration with image quality and limited capabilities are clear signs it's time to upgrade your DSLR system.
You'll know you're ready when you've mastered your current equipment and find yourself consistently pushing against its technical limitations, especially in capturing deep-sky objects.
While upgrades can be costly, investing in better components like cooling systems, specialized filters, or improved mounts can dramatically enhance your imaging capabilities and match your advancing skills.
Signs You Need Upgrades
While mastering astrophotography takes time and practice, certain technical limitations can hold back even the most skilled photographers. Understanding when to upgrade your equipment is essential for advancing your celestial imaging capabilities.
You'll know it's time to upgrade when you encounter these key indicators:
- Your long exposure shots show excessive noise levels, suggesting the need for a cooled camera system or dedicated astro-camera.
- Stars appear distorted at the edges of your frame, indicating you need field flatteners or correctors.
- Your mount can't track objects accurately, resulting in star trails when they're not intended.
- You're consistently getting poor focus or noisy images despite proper technique, pointing to the need for DSLR modification or better optics.
Understanding these limitations will help you make informed decisions about when to invest in new equipment.
Cost vs. Feature Benefits
Making informed decisions about DSLR upgrades requires balancing cost against tangible benefits for your astrophotography goals. While entry-level DSLRs under $800 can get you started, you'll need to evaluate how modifications and accessories impact your overall investment.
| Feature | Benefit |
|---|---|
| Hα Modification | Enhanced nebula detail capture |
| Quality Lenses | Sharper star fields, reduced aberration |
| T-Ring System | Direct telescope mounting capability |
| Cooling Solution | Decreased noise in long exposures |
You don't need to buy everything at once. Start with an unmodified DSLR like the Canon EOS Ra, which offers specialized astrophotography features out of the box. As your skills grow, invest in quality lenses and mounting accessories. Remember that software improvements and third-party modifications can extend your DSLR's capabilities without requiring a complete system upgrade.
Connecting Your DSLR to a Telescope
Connecting a DSLR camera to a telescope requires specific adapters and careful attention to compatibility. You'll need a T-ring adapter specifically designed for your camera brand, whether it's Canon, Nikon, or Sony. The prime-focus method is your best bet for deep-sky imaging, offering direct connection to your telescope's focuser.
- For refractor telescopes, you'll need a T-ring and 1.25" or 2" adapter.
- Newtonian telescopes require additional adapters to achieve proper backfocus.
- SCT telescopes may need specific adjustments to reach focus with your DSLR.
- Dobsonian telescopes work well with DSLRs but require stable mounting solutions.
Remember that some setups might need coma correctors or Barlow lenses depending on your imaging goals.
Always verify your telescope's focuser can support your camera's weight before making the connection.
Frequently Asked Questions
Can I Use My Smartphone Camera Instead of a DSLR Initially?
Yes, you can start with your smartphone! It's a great way to learn astrophotography basics. Modern phones have decent night modes and you'll get instant results while deciding if you're ready for DSLR investment.
How Long Do DSLR Cameras Typically Last for Astrophotography Before Needing Replacement?
You'll typically get 5+ years from your DSLR for astrophotography if you maintain it well. However, you might choose to upgrade sooner as your skills improve or when newer models offer better low-light performance.
Is It Better to Buy Used Professional DSLRS or New Entry-Level Ones?
You'll get more value from a used professional DSLR if you're comfortable with learning curves and modifications. However, if you want hassle-free operation and modern features, go with a new entry-level model.
What Insurance Options Should I Consider for My Astrophotography Equipment?
You'll want to contemplate specialized photography equipment insurance for extensive coverage. Don't rely solely on standard homeowner's insurance – get coverage that specifically protects your gear during outdoor astrophotography sessions and travel.
Can Extreme Weather Conditions Permanently Damage DSLR Sensors During Night Shoots?
Yes, extreme weather can permanently damage your DSLR's sensor. You'll need to protect against moisture, extreme temperatures, and dust. Using camera housings and monitoring weather conditions will help prevent sensor damage.
In Summary
Choosing your first astrophotography DSLR doesn't have to be overwhelming. Start with an entry-level Canon or Nikon that has manual controls and good low-light performance. You'll need basic accessories like a tripod and intervalometer, plus processing software to enhance your shots. As you progress, you can upgrade to more advanced equipment, but remember – it's your skills and patience, not just the gear, that'll create stunning night sky images.


Leave a Reply