A dew shield prevents condensation from forming on your camera lens during cool, humid conditions. It creates a protective barrier of stable air, slowing heat loss and keeping your lens above the dew point. Without one, moisture can ruin your shots, reduce contrast, and potentially damage your equipment over time. You’ll enjoy clearer images, less interruption during shooting sessions, and protection against stray light. Discover how this simple, cost-effective accessory can transform your photography experience in challenging environments.
Why Your Camera Needs A Simple Dew Shield
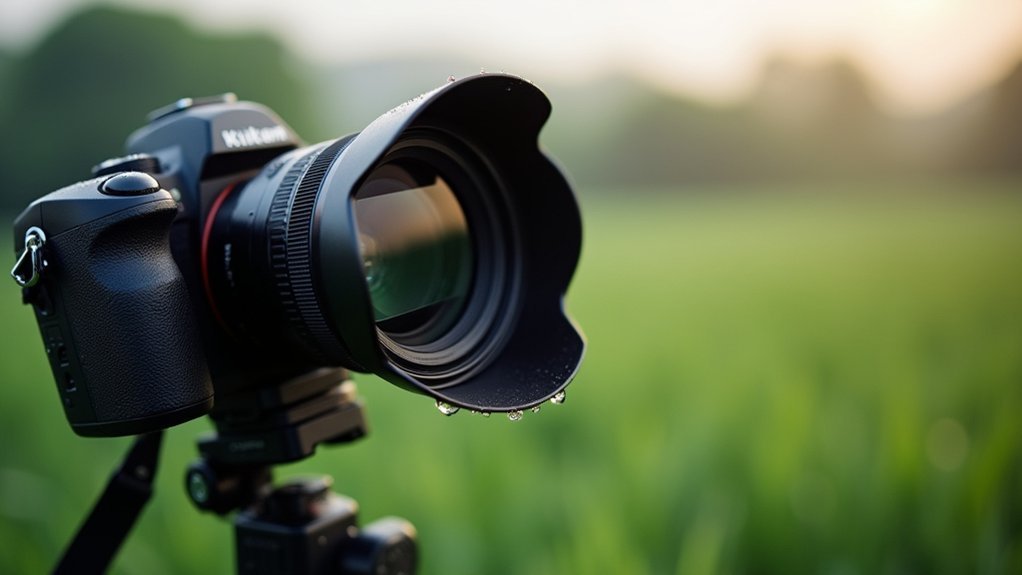
Every photographer knows the frustration of finding their lens fogged up at a crucial moment. This common problem has a simple solution: a dew shield. These unassuming accessories create a protective barrier of stable air around your lens, preventing humidity from causing condensation.
Beyond moisture protection, dew shields offer multiple benefits you shouldn’t overlook. They act as light baffles, reducing stray light and enhancing image contrast. They effectively slow heat loss, keeping your lens temperature above the dew point for extended periods.
They’re also remarkably cost-effective compared to electric heaters, while providing passive, maintenance-free protection.
For astrophotographers and outdoor shooters, these shields are particularly beneficial, extending your shooting time without interruption. They’ll protect your valuable glass from not just dew but also dust and debris, prolonging your equipment’s lifespan and reliability in challenging conditions.
The Science Behind Dew Formation on Camera Lenses
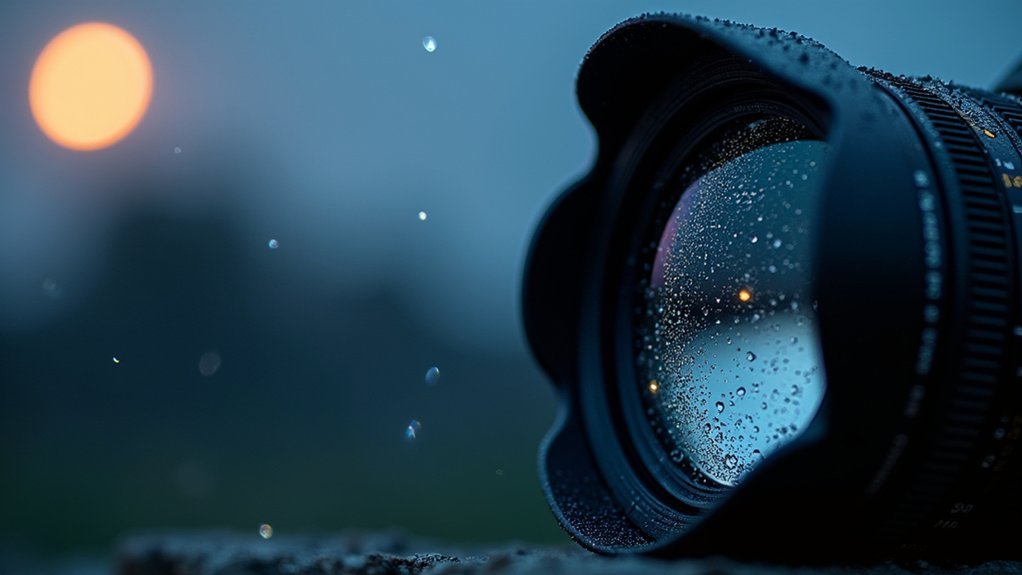
Understanding why your lens fogs up requires a basic grasp of condensation physics. When your lens temperature drops below the dew point of surrounding air, water vapor transforms into liquid droplets on the glass surface. This happens because glass cools faster than air due to its higher thermal conductivity. Long imaging sessions in astrophotography substantially increase your risk of encountering dew problems.
| Condition | Result | Prevention |
|---|---|---|
| High humidity | Faster dew formation | Use dew shield |
| Rapid temperature changes | Immediate condensation | Acclimate equipment gradually |
| Night photography | Cooling below dew point | Apply gentle heat |
Environmental factors greatly influence dew formation. Moving between temperature zones, shooting near water bodies, or working in calm, humid conditions increases your risk. Without protection, this condensation scatters light, ruins image quality, and can eventually damage lens coatings or promote fungal growth.
How Dew Ruins Your Astrophotography Sessions
While you might’ve perfect celestial conditions and premium equipment, dew formation can quickly transform your astrophotography session from promising to frustrating. Those innocent water droplets act like filters on your lenses and mirrors, drastically reducing contrast and sharpness while making stars appear fuzzy with halos.
Even a minimal dew layer can obscure fine details and compromise your subframes, leading to poor stacking results that mightn’t be immediately apparent during quick inspections.
The silent saboteur of astrophotography—dew’s subtle interference often reveals itself only after processing, when recovery becomes impossible.
You’ll face constant interruptions to clear optics, breaking your imaging workflow and risking damage if done aggressively. In severe cases, dew can completely stop guiding, making it impossible to track celestial objects accurately.
Beyond ruined images, condensation accelerates equipment aging by promoting corrosion and fungal growth.
Implementing proper dew protection isn’t optional—it’s essential for preserving image quality, extending gear lifespan, and maintaining uninterrupted sessions under humid nighttime conditions.
DIY Materials That Make Effective Camera Dew Shields
You’ll find numerous household materials can transform into effective camera dew shields without breaking the bank.
Foam camping mats offer lightweight insulation that’s easy to cut and shape, while self-adhesive neoprene sheets provide superior moisture resistance and thermal barriers.
Both materials can be secured with Velcro strips for quick attachment and removal during your imaging sessions. Black yoga mats can also be effectively repurposed as dew shields, particularly for cameras with smaller lenses.
Household Materials Guide
When conditions grow damp during night photography sessions, you don’t need to invest in expensive commercial dew shields to protect your camera gear. Your home likely contains everything needed for effective DIY solutions.
Thermal insulators like Reflectix (aluminum-backed bubble wrap), craft foam sheets, or even yoga mats provide excellent protection against temperature differentials. Many astronomers recommend using camping sit-mats as they’re both lightweight and efficient for preventing dew formation. For structure, repurpose plastic containers, coffee cans, or cardboard tubes to create the perfect cylindrical shape.
Secure your creation with Velcro strips for easy removal or black duct tape for a more permanent solution. Add moisture-blocking enhancements by incorporating aluminum foil or Mylar sheets between insulation layers.
For maximum effectiveness, line the inside with black flocked paper to reduce internal reflections while maintaining thermal properties. These household alternatives perform remarkably well at a fraction of commercial costs.
Foam Vs Neoprene Comparison
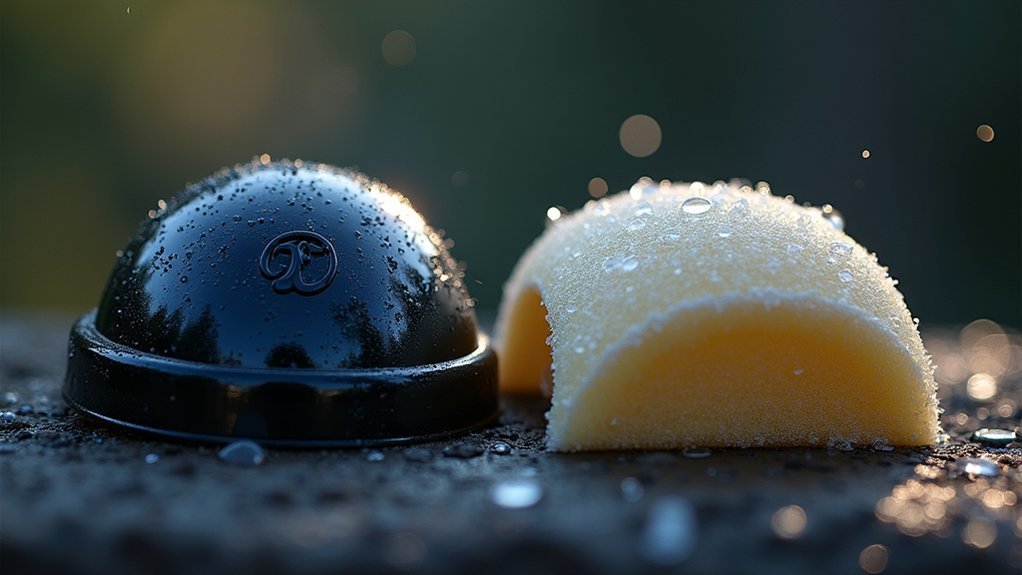
Among the household materials mentioned, two options stand out for DIY camera dew shields: foam and neoprene. When choosing between them, you’ll find each offers distinct advantages.
Foam provides flexibility and cost-effectiveness for your project. It’s easy to cut and shape precisely to fit your camera. However, it absorbs moisture and may deteriorate faster in humid conditions.
Neoprene delivers superior water resistance and durability. Its natural moisture-repelling properties make it more effective at preventing condensation on your lenses. While slightly more expensive than foam, neoprene’s flexibility allows it to conform well to different camera shapes. For optimal effectiveness, ensure your DIY shield has proper fit and length similar to commercial options like AstroZap.
For occasional use in mild conditions, foam will suffice. If you’re shooting regularly in humid environments, neoprene’s longevity and performance justify the additional cost.
Both materials can be secured using adhesive tape or Velcro.
Step-by-Step Guide to Crafting Your Own Camera Dew Shield

You’ll need a few basic materials and tools like foam board, measuring tape, and adhesive to create an effective dew shield for your camera.
Properly sizing your shield is essential—aim for a length at least 1.5 times your lens diameter to guarantee adequate protection from moisture.
Once you’ve gathered your supplies and taken measurements, assembly is straightforward: cut your material to size, form it into a cylinder slightly larger than your lens, and secure it with adhesive or Velcro for easy installation and removal.
The shield works by trapping pockets of air with lower relative humidity around your lens, helping maintain a stable temperature that prevents dew formation.
Materials and Tools
To craft an effective camera dew shield, you’ll need to gather specific materials and tools before beginning your project.
For materials, consider aluminum for durability, or lighter alternatives like yoga mats, foam camping mats, or Reflectix insulation. Car sunshades and craft foam also work well, providing good thermal barriers against dew formation.
Essential tools include a hot glue gun for assembly, scissors for cutting your chosen material to size, and Velcro tabs or tape for securing the shield to your camera lens. For more complex designs, you might need a drill to create attachment points.
Choose materials with sufficient thickness for insulation without blocking your view. Black-finished interiors help absorb stray light, enhancing your overall photography experience while preventing moisture buildup on your lens. A quality dew shield is vital for preventing condensation formation that could potentially damage your camera’s anti-reflection coatings if wiped improperly.
Shield Sizing Tips
With your materials and tools gathered, the next challenge is determining the exact dimensions for your dew shield. Your shield should extend 2.5-3 times the diameter of your lens aperture for maximum dew prevention.
Measure your lens diameter carefully with calipers for a precise fit. The shield’s inner diameter should match or slightly exceed this measurement to prevent vignetting.
For calculation precision, use this formula: Maximum shield extension = (Inner diameter radius – Objective radius) / tan(½ field of view).
Consider your equipment’s field of view to avoid light cutoff. Larger apertures require proportionally longer shields. A shorter shield approximately 1.5 times diameter may suffice for casual use, though this represents the minimum recommended length.
Don’t forget practical considerations—your shield must be portable while still blocking ambient light and preventing dew formation.
Test-fit before finalizing to verify the shield doesn’t interfere with mounting hardware or accessories.
Assembly and Installation
Crafting your own camera dew shield involves five key steps that transform simple materials into an effective moisture barrier for your equipment.
Start by measuring and cutting closed-cell foam to fit snugly around your camera lens, allowing it to extend 1.5-2 times the diameter of your lens for ideal protection.
Roll the foam into a cylindrical shape and secure the seam with neoprene cement, allowing it to dry completely.
Then spray the interior with flat black paint to minimize light reflection. For additional options, refer to the Dew Shield DX manual that provides model-specific instructions for C6 and C8 variants.
- Attach Velcro strips to create a secure but removable fastening system
- Consider slightly widening the front opening to prevent sagging over time
- Test the fit before final assembly to verify it doesn’t obstruct your view
Cost Comparison: Homemade vs. Commercial Dew Solutions
When considering dew prevention for your camera equipment, the cost difference between homemade and commercial solutions can be substantial.
DIY options typically cost under $10 using materials like reflective visors or foam tape, while commercial products start around $25 for basic models and can exceed $100 for advanced features.
Commercial shields offer advantages in durability, using robust materials like aluminum or ABS plastic, often backed by warranties.
They’re designed for specific telescope models, ensuring precise fits. Premium options include heating elements for active dew prevention rather than just passive insulation. Astrozap’s product line includes specialized Flexi-Heat Dew Shields that incorporate heating elements to prevent condensation.
While homemade shields can be tailored to your equipment, their effectiveness depends on your crafting skills.
Consider your long-term needs—investing in a quality commercial product from established brands like Astrozap might save money through extended durability and performance.
Real-World Performance of Budget Dew Shields
Budget dew shields deliver surprisingly effective results despite their lower price points, as evidenced by numerous amateur astronomers who rely on them for basic protection.
Though they may lack integrated heating elements, these shields still considerably delay dew formation by creating a physical barrier between your optics and humid air.
The real-world effectiveness of budget options becomes apparent through:
- Improved image contrast and reduced glare by blocking stray light—functioning similarly to a camera lens hood
- Extended viewing sessions in moderate humidity conditions before dew forms
- Added protection against dust, dirt, and minor bumps during transport and use
When paired with simple fan circulation, even basic shields dramatically increase your observation time before condensation becomes problematic. For maximum effectiveness, the interior of budget dew shields should be painted flat black to minimize internal reflections.
Their performance-to-cost ratio makes them a sensible first investment.
Combining Passive Dew Shields With Other Low-Cost Prevention Methods
Passive dew shields become considerably more effective when paired with other affordable prevention methods, creating a layered defense against moisture.
Adding a lens hood to your shield reduces exposed surface area vulnerable to condensation while providing additional protection against stray light and precipitation.
For challenging conditions, consider supplementing your passive shield with low-cost heating elements.
Simple resistive heat tapes attached to your shield maintain temperature above the dew point without creating air turbulence that could affect image quality.
Material selection also matters considerably.
Choose shields made from insulating materials like foam or aluminum with an insulation layer to prevent radiative heat loss.
Astrozap Flexi-Heat Dew Shield offers an excellent solution that combines active and passive dew prevention methods in one integrated system.
For maximum protection, apply anti-fog or water-repellent coatings to your lenses and keep your equipment pointed away from the horizon where moisture tends to accumulate.
Weather Conditions When Dew Shields Become Essential
Recognizing weather conditions that promote dew formation is essential for photographers who want to protect their equipment and maintain image clarity. Your camera becomes particularly vulnerable when the temperature approaches the dew point, typically on clear nights when rapid cooling occurs.
Protect your gear when temperatures near the dew point—typically during clear nights with rapid cooling.
You’ll need your dew shield most during:
- High humidity environments, especially near bodies of water or in maritime climates where moisture-laden air readily condenses on cool surfaces
- Clear, calm nights when radiative cooling is most pronounced and equipment temperatures drop quickly below ambient air
- Pre-dawn shooting sessions when temperatures reach their lowest point and the risk of condensation peaks
Wiping moisture off your camera lenses can potentially damage the anti-reflection coatings, making prevention through dew shields a much better option.
If you’re monitoring weather forecasts, pay special attention to humidity levels, predicted temperature drops, and minimal wind conditions—all indicators that your dew shield will be essential equipment.
Frequently Asked Questions
Can Dew Shields Affect Autofocus Performance in Cold Conditions?
Yes, dew shields can improve your autofocus performance in cold conditions by preventing condensation on optical surfaces, maintaining consistent lens temperature, and reducing temperature fluctuations that would otherwise disrupt your camera’s autofocus precision.
Do Dew Shields Impact Wireless Connectivity or Remote Camera Operation?
No, standard dew shields won’t affect your wireless connectivity or remote operations. They’re simply physical barriers against moisture. However, heated shields might require power management that could complicate your remote setup if not properly integrated.
How Do Dew Shields Interact With Lens Filters and Hoods?
Dew shields work harmoniously with your lens filters and hoods. You’ll find they’re designed to accommodate filter insertion while providing extra protection. When combined with lens hoods, they’ll enhance glare reduction and moisture protection simultaneously.
Are Dew Shields Effective for Underwater or Extreme Humidity Photography?
For underwater photography, dew shields aren’t effective as they’re not designed for that environment. In extreme humidity, they’ll delay dew formation but won’t prevent it completely—you’d need dew heaters for better protection.
How Much Added Weight Do Dew Shields Contribute to Portable Setups?
Dew shields typically add 0.5-2 pounds to your portable setup. You’ll notice lightweight options (plastic or carbon-infused materials) add minimal weight, while traditional aluminum shields (around 1.8 pounds) contribute more noticeable heft to your gear.
In Summary
Don’t let dew ruin your astrophotography experience. You’ve now got everything you need to create your own affordable dew shield with simple materials from home. Whether you’re shooting on clear, humid nights or in rapidly dropping temperatures, your DIY solution will protect your equipment just as effectively as commercial options. Start using your new dew shield tonight, and you’ll immediately notice the difference in your images.


Leave a Reply