For ideal galaxy photography, choose the new moon phase when skies are darkest, revealing faint celestial details without moonlight interference. During crescent phases, you’ll still capture decent starfields while gaining subtle landscape illumination. First quarter moon offers balanced foreground lighting but reduces stellar visibility. Use a DSLR with at least 200mm focal length, a sturdy tripod, and consider image stacking to enhance details. The right combination of timing, equipment, and processing transforms ordinary night shots into spectacular cosmic portraits.
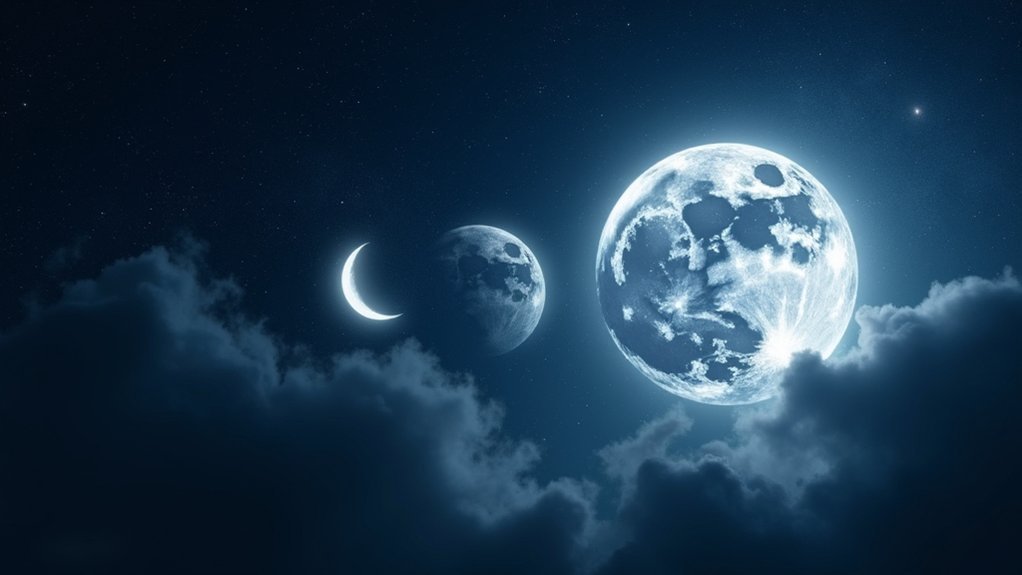
Understanding Moon Phases for Optimal Galaxy Photography
When planning your astrophotography sessions, the moon’s phase dramatically influences your ability to capture galaxies and deep-sky objects.
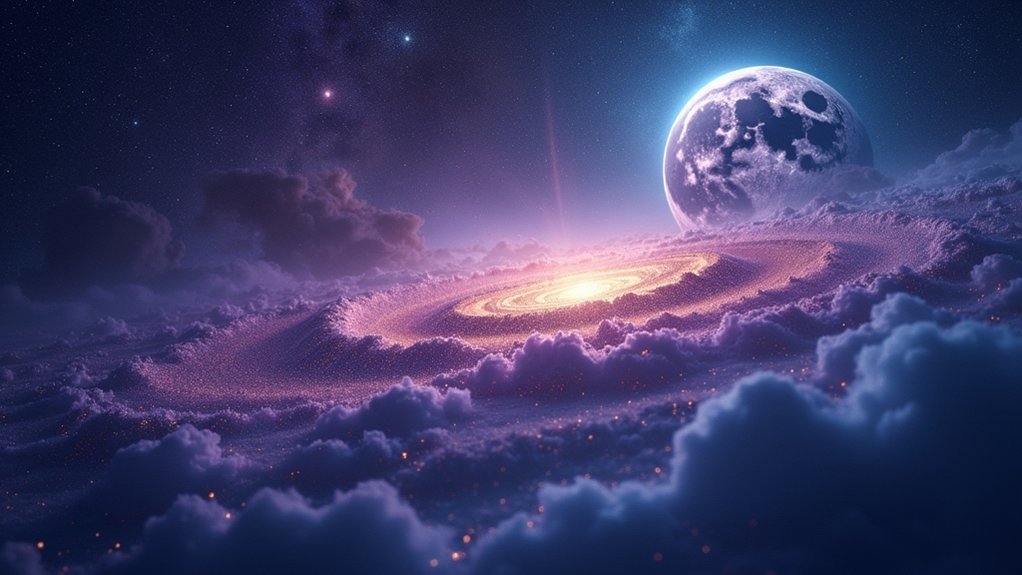
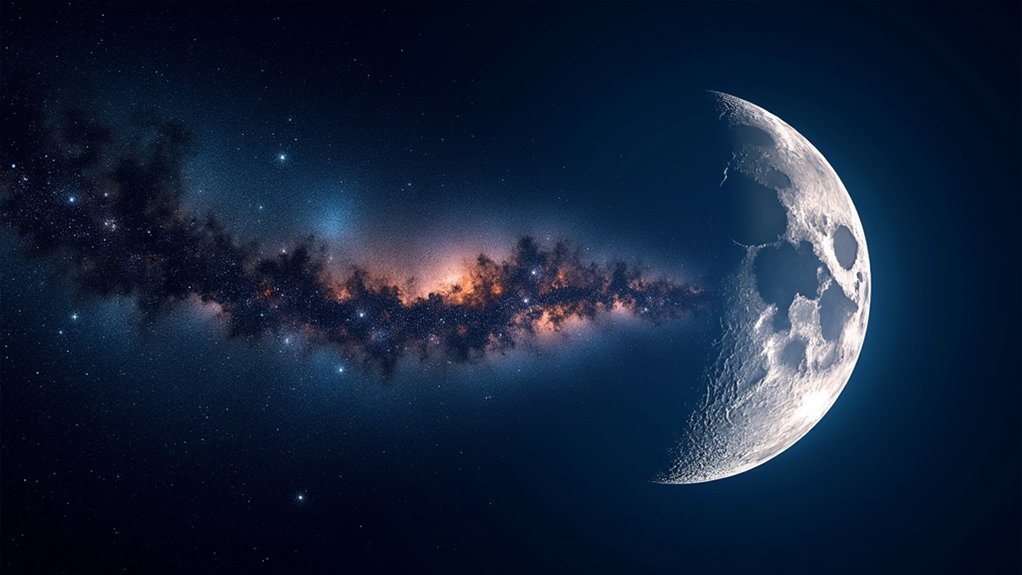
New Moon periods offer the darkest skies, perfect for revealing faint Milky Way details that would otherwise remain invisible.
The New Moon’s darkness unveils the Milky Way’s hidden treasures—cosmic details that vanish under brighter lunar illumination.
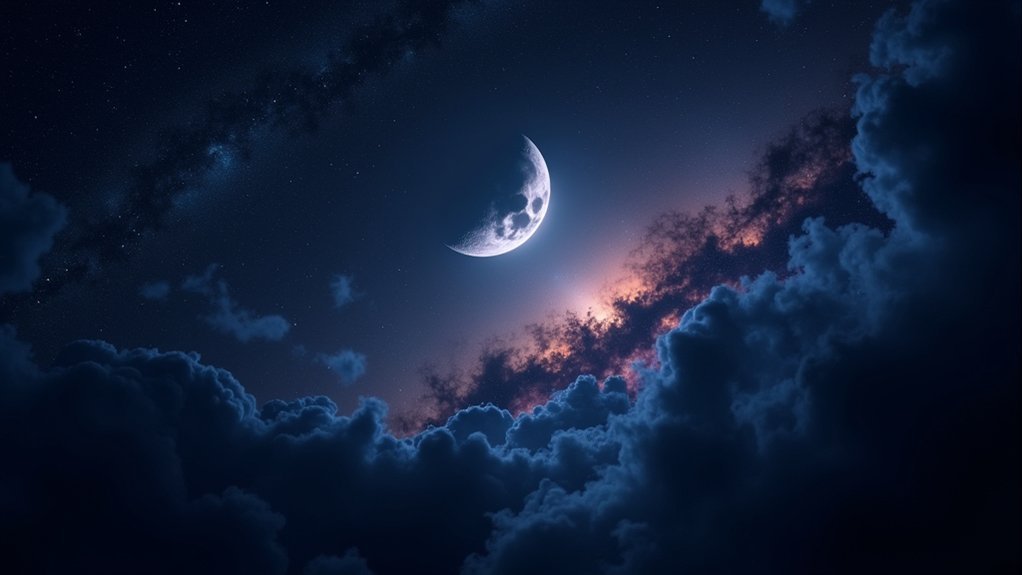
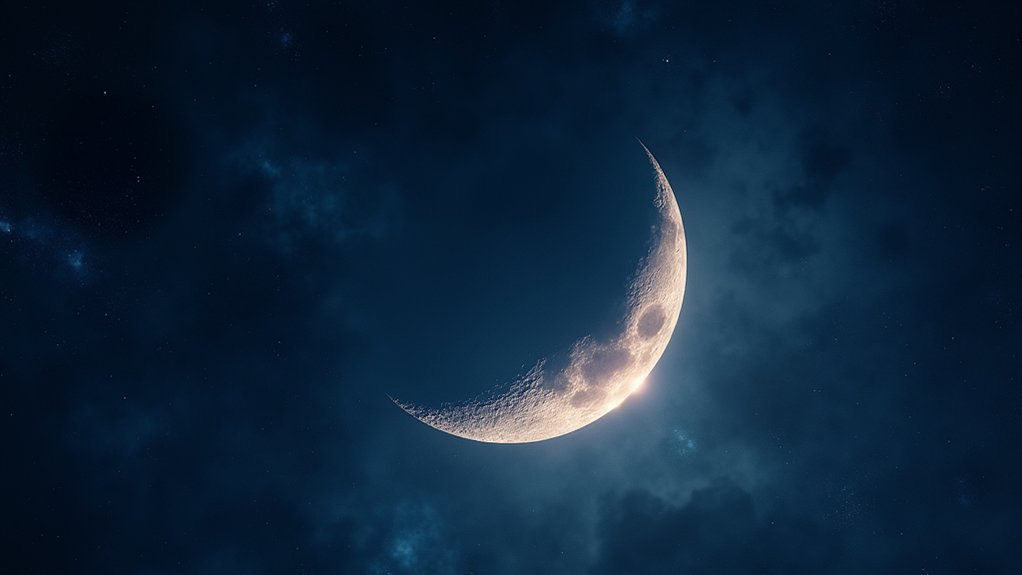
If you’re shooting during crescent phases, you’ll benefit from minimal moonlight that subtly illuminates landscapes while preserving stellar visibility.
First Quarter moons provide moderate brightness—ideal for balancing foreground details with star preservation.
Avoid full or gibbous phases for galaxy photography, as their brightness overwhelms faint celestial objects.
Instead, use these brighter phases for dramatic moonlit landscapes.
For best results, schedule your deep-sky sessions during “moonless nights” when the moon rises or sets during daylight hours.
Use apps like PhotoPills to predict the best shooting windows.
Remember that during New Moon nights, you can have up to 10 hours of complete darkness for uninterrupted astrophotography.
New Moon Opportunities: Capturing Deep Space Objects
During the new moon, you’ll experience dramatically improved starfield visibility with thousands more stars becoming apparent to both your eyes and camera.
Without moonlight interference, the faintest galaxies and nebulae reveal intricate details that remain hidden during other lunar phases. Consider using narrowband filters when transitioning from new moon to fuller phases, as they can significantly extend your imaging opportunities.
Your deep space images will showcase previously invisible celestial structures like delicate galaxy arms, faint companion galaxies, and the wispy filaments of distant nebulae.
Starfield Visibility Maximized
Why do serious astrophotographers mark their calendars around the new moon? Simply put, it delivers the darkest skies possible, dramatically enhancing star field contrast.
During this phase, you’ll capture galaxy details that remain invisible when moonlight washes out the night sky. Equipping yourself with a robust equatorial mount ensures precise tracking during extended exposures required for deep sky objects.
To maximize visibility, you’ll need narrowband or light pollution filters that reduce interference from both moonlight and urban glow.
Position yourself in locations with natural shielding from city lights whenever possible.
Your timing strategy matters too—scheduling sessions just before or after the new moon can extend your productive observation window.
Keep an eye on atmospheric transparency and weather forecasts, as clouds or high humidity will negate the benefits of moon-free conditions.
With proper preparation, you’ll reveal stunning galaxy details and dusty backgrounds normally hidden from view.
Celestial Details Emerge
The new moon not only maximizes starfield visibility but also reveals the universe’s most elusive treasures. During this phase, you’ll notice enhanced contrast and detail in celestial objects that typically hide behind moonlight’s veil.
With your DSLR or CCD camera mounted on a tracking system, you can now capture nebulae, galaxies, and star clusters with remarkable clarity. Take advantage of longer exposure times without the risk of overexposure that moonlight causes. The Orion Nebula and Andromeda Galaxy become particularly stunning targets. Dark sky locations will yield dramatically better results as they experience a more significant impact from the absence of moonlight compared to urban imaging sites.
For best results, plan your imaging sessions when the moon is between new and crescent phases. Use narrowband filters to isolate specific light wavelengths, and don’t forget to check weather forecasts for ideal transparency.
Later, you’ll transform your raw captures into breathtaking images using processing software to enhance details and colors.
First Quarter Strategies: Balancing Moonlight and Detail
When photographing the first quarter moon, you’ll face a unique balance of challenges and opportunities. The right-angle positioning of Earth, moon, and sun creates ideal contrast for capturing surface textures and shadows.
The first quarter moon offers photographers that perfect sweet spot where light and shadow dance across lunar features in stark relief.
To maximize detail, use shutter speeds between 1/125 to 1/250 seconds and keep your ISO low (100-400) to minimize noise. Manual focus will give you sharper results than autofocus. Consider using an aperture around f/8 to f/11 for crisp images. Utilizing a super telephoto lens will allow you to capture detailed features on the lunar surface that would be invisible with standard lenses.
For compelling compositions, incorporate foreground elements like trees or buildings. If you want to include stars, switch to longer exposures (5-15 seconds).
Remember that the moon moves quickly, so be ready to adjust your settings. Seeking locations with minimal light pollution will dramatically improve your results.
Equipment Selection for Different Lunar Conditions
Beyond mastering techniques, your equipment choices will make or break your lunar photography efforts. For any phase, you’ll need a DSLR or mirrorless camera paired with a lens of at least 200mm focal length—300mm or higher is preferable for detailed captures.
A sturdy tripod is non-negotiable, while a remote shutter release prevents camera shake. Check all lenses for dust or smudges before beginning your imaging session.
Consider your target phase when selecting gear: full moons require careful exposure settings, while crescent phases highlight textural details.
For serious lunar photographers, tracking mounts like the Sky-Watcher Star Adventurer 2i keep the moon centered during longer exposures.
Look for cameras with high dynamic range and effective noise reduction when upgrading.
Don’t forget accessories like intervalometers for eclipse photography and the PhotoPills app for planning your sessions.
Processing Techniques to Enhance Galaxy Details in Moonlit Skies
When processing your galaxy photos taken during moonlit conditions, you’ll need to master image stacking to combine multiple exposures for reduced noise and enhanced details.
You can counter the moon’s interference by selecting narrowband filters like H-alpha, which isolate specific wavelengths while minimizing unwanted light.
Balancing contrast through gradient removal tools and selective adjustments will help reveal subtle galaxy structures that would otherwise be washed out by moonlight. The investment in developing a personalized processing workflow often leads to significantly improved results in Milky Way photography.
Stacking Deep-Sky Images
Capturing detailed galaxy images during moonlit nights presents considerable challenges for astronomers, but image stacking techniques can dramatically improve your results. By combining multiple exposures, you’ll greatly enhance your signal-to-noise ratio, revealing details otherwise lost in a single frame.
DeepSkyStacker provides an accessible platform for beginners to start stacking. You’ll need to collect light frames (your actual images) along with flat frames to correct for vignetting and bias frames to account for electronic noise. Modern cameras like the D850 or Z8 often don’t require dark frames. The kappa-sigma clipping method is particularly effective for removing satellite trails from your final stacked image.
After registering (aligning) your images, the software combines them into a linear TIFF file that you’ll need to stretch to reveal galaxy details.
Even under moonlit conditions, this process will help uncover structure that would otherwise remain invisible.
Filter Selection Tricks
While stacking improves your signal-to-noise ratio, proper filter selection can dramatically enhance galaxy details when shooting under moonlit skies. When the moon is bright, use light pollution filters that reject sodium (589nm) and mercury (546nm) wavelengths common in urban areas. Visual Light Pollution Filters significantly reduce unwanted skyglow effects, allowing galaxy structures to emerge more clearly in your images.
For galaxy photography, match your filter strategy to moon phase:
| Moon Phase | Filter Choice | Expected Result |
|---|---|---|
| New Moon | LRGB or UV/IR cutoff | Maximum detail in galaxy cores |
| Quarter Moon | LP filter + Luminance | Good contrast with moderate detail |
| Full Moon | Ultra-narrowband (3nm) | Targets emission regions only |
Consider dedicating 70% of your exposure time to narrowband filters and double your exposure duration per sub when using these filters to compensate for reduced light transmission.
Contrast Balancing Methods
Processing your galaxy images taken under moonlit skies requires specialized contrast balancing techniques to reveal details that would otherwise remain hidden.
Start with histogram adjustments to balance brightness, then apply range masking to reduce background glow while preserving faint structures.
Background subtraction is essential—remove the moonlit sky to enhance subtle features. Use non-linear stretching to highlight galaxy details without overexposing stars.
For more refinement, try local contrast adjustments in specific areas of your image. Consider using an arcsinh stretch technique which excels at retaining star color and size while effectively handling the contrast in galaxy images.
When finalizing, employ curve tools for precise contrast tuning and consider layer blending modes to merge different exposures.
Don’t forget noise reduction tools that preserve detail in faint regions. Capturing multiple exposures at different lengths will give you more data to work with during post-processing.
Budget-Friendly Approaches to Moon and Galaxy Photography
For many aspiring astronomers, the cost of equipment often seems like a barrier to entry into astrophotography.
However, you don’t need expensive gear to capture stunning celestial images. Entry-level telescopes paired with small sensor cameras offer excellent results at a fraction of professional equipment costs.
Don’t let high prices deter you—modest telescopes with basic cameras can produce breathtaking space images at budget-friendly costs.
Consider used equipment to save considerably without compromising quality. DIY adapters can connect your camera to telescopes inexpensively, while smartphone adapters provide an even more affordable starting point.
Take advantage of your camera’s crop factor, which effectively increases focal length for moon photography. The ideal focal length of 1200mm to 2400mm equivalent is recommended for properly capturing the moon in your frame.
For galaxy shots, seek dark locations and master long exposure techniques.
Remember that post-processing with affordable software like GIMP can dramatically enhance your images.
With careful planning and creative solutions, impressive astrophotography is within your financial reach.
Frequently Asked Questions
How Do Atmospheric Conditions Affect Moon Phase Photography?
Atmospheric conditions considerably impact your moon photos. Pollution scatters light creating color shifts, thermal distortion blurs details, clouds diffuse moonlight, humidity reduces contrast, and air instability causes distortion. Shoot on clear, calm nights for best results.
Can I Photograph Galaxies During a Lunar Eclipse?
Yes, you can photograph galaxies during a lunar eclipse. You’ll benefit from darker skies when the moon is eclipsed, but you’ll need proper equipment and should focus on areas away from the moon itself.
What Phone Apps Help Track Optimal Moon-Galaxy Viewing Times?
You’ll find “My Moon Phase” most helpful for tracking ideal moon-galaxy viewing times. It offers cloudiness forecasts, moon phase notifications, and photography planning features. “SkySafari 7 Pro” provides additional galaxy information for astronomers.
How Do Different Colored Filters Impact Galaxy Visibility?
Different colored filters aren’t very effective for galaxy viewing. You’ll find they actually reduce visibility since galaxies emit light across the full spectrum. Instead, focus on finding dark skies for better observations.
When Should I Choose Composite Imaging Versus Single-Exposure Techniques?
Choose composite imaging for galaxies in low-light conditions to reduce noise and enhance faint details. You’ll want single-exposure techniques when light is good or when capturing high-contrast scenes requiring immediate results.
In Summary
You’ve now gained essential knowledge to navigate the lunar calendar for galaxy photography. Whether you’re shooting during the new moon’s darkness or adapting to first quarter illumination, you’ll capture better images by planning around moon phases. Remember, your equipment choices and processing techniques matter more than perfect conditions. With practice and patience, you’ll soon create stunning galaxy images regardless of the moon’s presence in our night sky.


Leave a Reply