
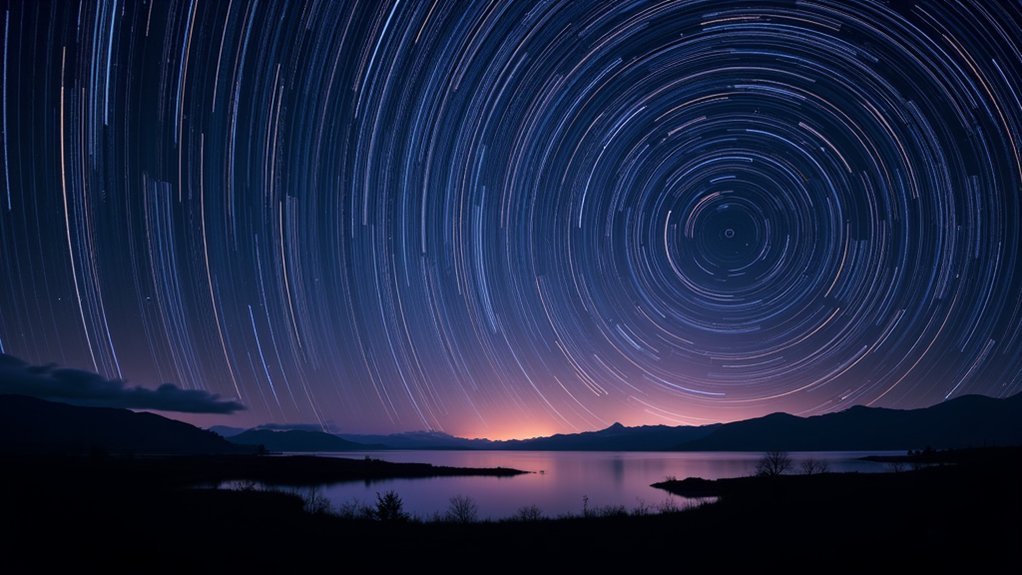
To create breathtaking star trails, you’ll need five key techniques: the Lighten Blending method for continuous trails, Cumulative Stacking to build brightness gradually, Gap-Free Sequential Exposures for seamless lines, Foreground Isolation through masking for dramatic compositions, and Advanced Processing to eliminate moiré patterns and artifacts. Use an intervalometer to automate 15-30 second exposures and apply minimal adjustments before stacking. These techniques transform ordinary night sky shots into celestial masterpieces that showcase Earth’s rotation.
The Lighten Blending Method: Perfect for Continuous Trails
When creating stunning star trail images, the Lighten blending mode stands as the cornerstone technique in Photoshop. This powerful feature allows the brightest elements from multiple exposures to show through, creating a continuous flow of star trails across the night sky.
To implement this method, select all your layers in the Layers panel and change the blend mode from “Normal” to “Lighten.” You’ll immediately notice enhanced visibility of each star’s path.
For ideal astrophotography results, minimize adjustments before stacking images—this helps avoid troublesome moiré patterns that can disrupt your composition.
The Lighten blending technique excels particularly in capturing celestial movement over time while preserving the brilliance of each star point, resulting in seamless integration of trails that dynamically illustrate the night sky’s rotation.
Cumulative Stacking: Building Brightness Gradually
Unlike simple overlay methods, cumulative stacking creates extraordinarily vibrant star trails by methodically building brightness with each additional exposure. This technique requires careful attention to exposure times as you layer images to gradually enhance luminance without washing out details.
Cumulative stacking methodically amplifies star trail brightness, delivering vibrant celestial records that simple overlays simply cannot match.
For ideal results with cumulative stacking:
- Select shorter exposure times to minimize gaps between star positions
- Apply the “if brighter” algorithm during the stacking process for smoother trails
- Adjust all global settings before initiating the stack to maintain consistency
- Layer images sequentially to build brightness progressively
- Monitor the overall luminance to prevent overexposure in the final composite
You’ll find this method particularly effective when you want complete control over how brightness accumulates across your star trails, creating more dynamic and visually striking night sky compositions.
Gap-Free Sequential Exposures With Interval Timing
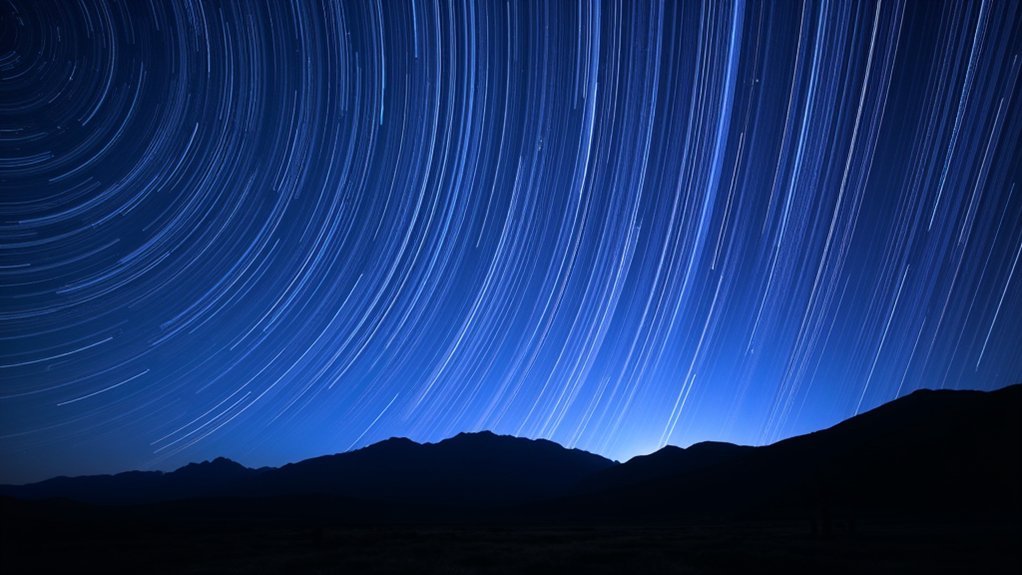
Creating seamless star trails requires perfectly timed consecutive exposures that eliminate the distracting gaps often seen in amateur compositions.
You’ll achieve this consistency by using a remote shutter release or intervalometer to automate your shooting sequence without manual intervention.
Keep your exposures between 15-30 seconds to minimize processing delays between shots. This shorter duration maintains continuity while adapting to ambient light conditions.
For the smoothest results, disable your camera’s dark frame subtraction and noise reduction features, as these can interrupt continuous shooting and create unwanted breaks.
Ensure your tripod setup remains absolutely stable throughout the sequence.
Planning your timing carefully before starting will yield more professional results—the small technical adjustments you make before shooting will dramatically improve your final stacked star trails.
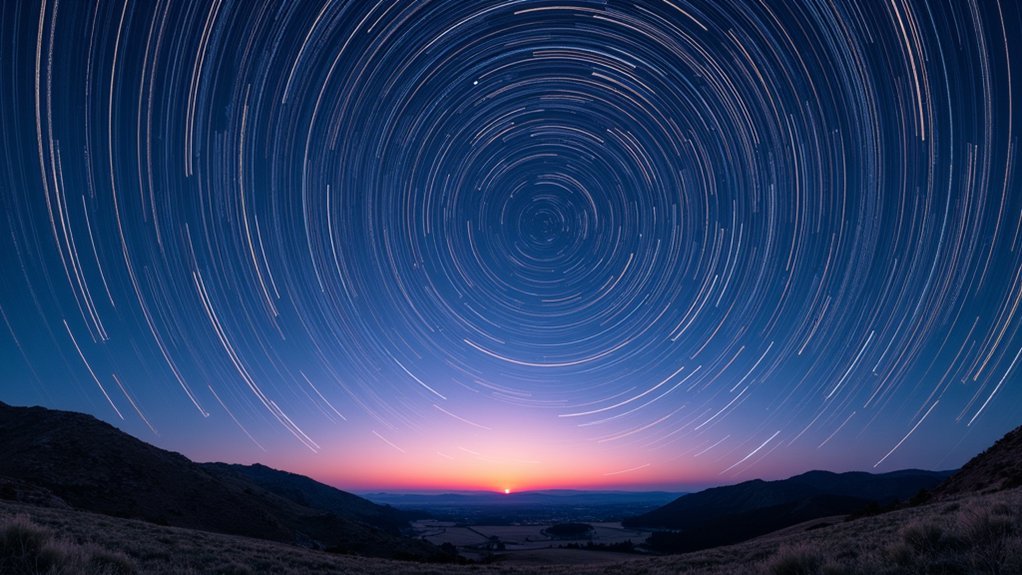
Foreground Isolation and Composite Masking
The foundation of compelling star trail photography lies in the relationship between celestial streaks and earthbound elements. Effective foreground isolation begins by selecting your light painting layer as the base for accurate composite masking.
To achieve a seamless blend between layers:
- Use Photoshop’s Select Sky tool to quickly highlight the sky area
- Apply Select Inverse to focus on the foreground elements
- Click the Add a Mask icon to hide the sky while revealing terrestrial features
- Make careful adjustments of the mask to eliminate harsh shift edges
- Review at multiple zoom levels to detect unwanted artifacts
When working with star trail images, patience during this masking process pays dividends.
The contrast between pinpoint light streaks and stationary foreground elements creates visual tension that elevates your composition from simple documentation to artistic expression.
Advanced Processing: Dealing With Moiré and Artifacts
Once you’ve mastered foreground isolation, you’ll need to address the technical challenges that often emerge during star trail stacking. Moiré patterns frequently appear when different processing algorithms interact across layers, especially with high-resolution images.
| Issue | Solution |
|---|---|
| Moiré patterns | Zero out adjustments before stacking |
| Stray light | Zoom in to identify and mask out |
| Plane trails | Use clone or healing tools selectively |
| Algorithm conflicts | Minimize pre-stack processing |
| Lens distortion | Apply corrections after stacking |
To maintain image quality, avoid aggressive edits before combining your frames. If artifacts persist after stacking, Lightroom’s final editing tools can remove remaining imperfections. Remember that lens corrections should be applied post-stacking, as they can intensify moiré issues. Always inspect your composite at 100% magnification to catch subtle trails or pattern issues before finalizing.
Frequently Asked Questions
How to Stack Star Trail Images?
To stack star trail images, you’ll need to organize your photos sequentially, edit them in Lightroom for consistency, open them as layers in Photoshop, change blending mode to “Lighten,” then finalize your composite image.
What Is the 500 Rule for Star Trails?
The 500 rule helps you avoid star trails by limiting exposure time. Divide 500 by your lens’s focal length in mm. For a 24mm lens, you’d shoot at 20.8 seconds maximum to keep stars as points.
What Is the 400 Rule in Astrophotography?
The 400 rule helps you avoid star trails in astrophotography. You’ll divide 400 by your lens’s focal length to calculate the maximum exposure time in seconds before stars start to streak across your image.
What Shutter Speed for Star Trail Photography?
For star trail photography, you’ll want to use 15-60 second exposures. You can use shorter times (15-30 seconds) to minimize gaps between shots or longer exposures with bulb mode for continuous trails.
In Summary
You’ve now mastered five powerful techniques to transform ordinary night skies into mesmerizing star trail images. Whether you’re using the Lighten blending method for smooth trails or isolating your foreground with composite masking, you’ll create more dynamic and professional astrophotography. Don’t be afraid to experiment with interval timing and post-processing to eliminate artifacts. With practice, you’ll soon capture stunning celestial movements that tell the story of our rotating Earth.


Leave a Reply