You can capture impressive deep sky images on a budget with entry-level DSLRs like the Canon Rebel T7 or Nikon D3400. Consider astro-modified used cameras for enhanced nebula sensitivity. Add affordable star trackers like the iOptron SkyGuider Pro, utilize free stacking software, and invest in light pollution filters. Start with wide-field imaging using existing lenses, and employ calibration frames to reduce noise. These budget-friendly techniques will transform your night sky photography while keeping costs under $500.
10 Best Deep Sky Photography Methods Under $500
While deep sky photography often conjures images of expensive equipment and complex setups, you can actually begin capturing stunning celestial objects with less than $500.
An entry-level DSLR camera like the Canon EOS Rebel T7 or Nikon D3400 provides the foundation you need, offering long-exposure capabilities essential for deep sky imaging.
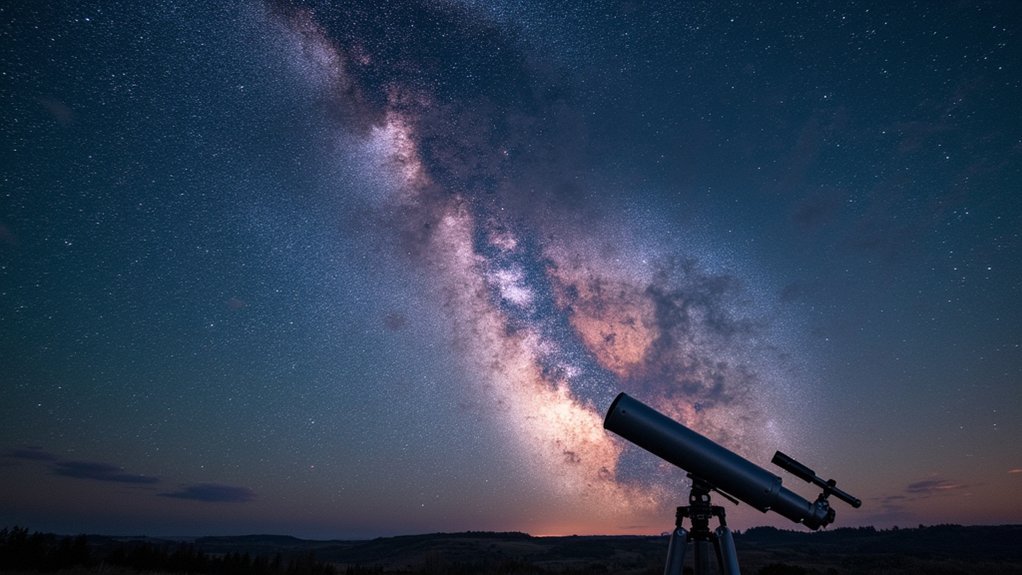
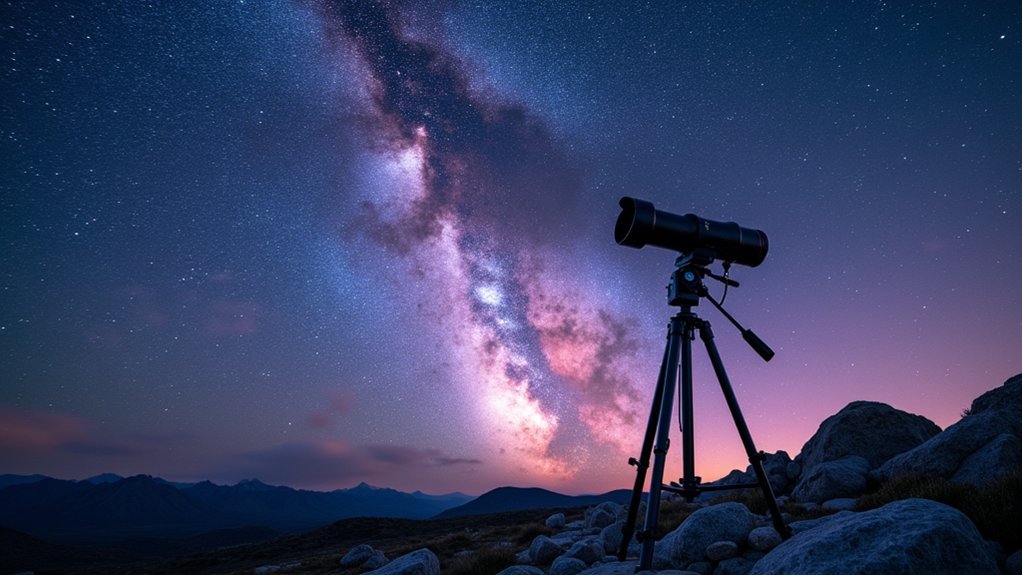
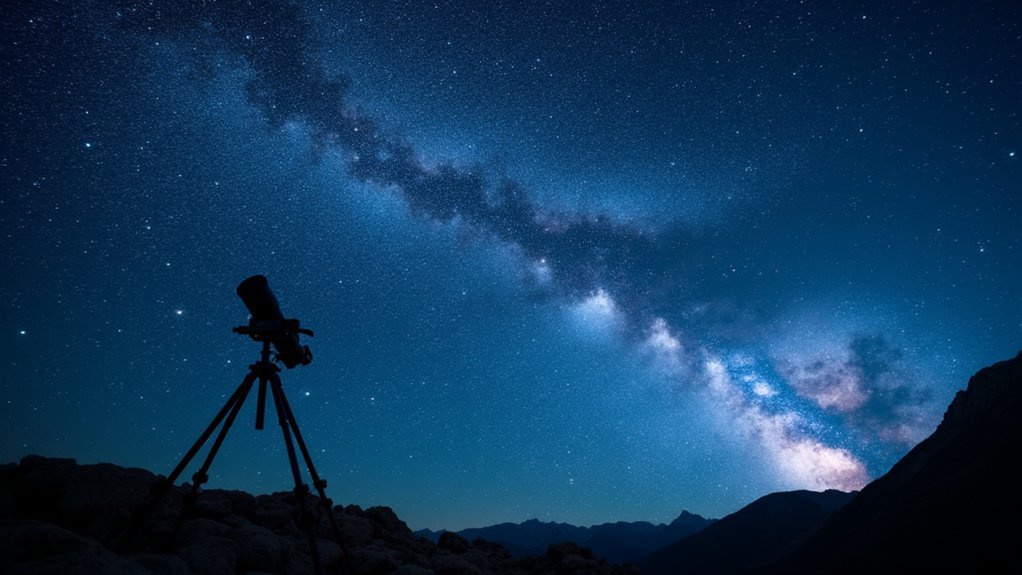
Invest in a sturdy tripod or, better yet, a star tracker like the Sky-Watcher Star Adventurer to prevent star trailing during longer exposures.
When selecting optics, prioritize faster focal ratios (f/6 or better) to capture more light from distant objects.
Don’t overlook light pollution filters if you’re shooting from urban areas—they’ll dramatically improve contrast and detail.
Connect with online astrophotography communities for free advice on equipment setup and target selection.
Entry-Level DSLR Cameras for Deep Sky Imaging
The cornerstone of affordable deep sky photography, entry-level DSLRs offer remarkable capabilities without breaking your budget.
Models like the Canon EOS Rebel T7 or Nikon D3400 provide excellent starting points at $250-$500.
These cameras excel at long exposure photography through bulb mode and intervalometers—essential features for capturing faint celestial objects.
You’ll benefit from their low dark noise and superior dynamic range at lower ISO settings when photographing nebulae and galaxies.
What makes entry-level DSLR cameras particularly attractive for deep sky imaging is their compatibility with T2 rings and telescope adapters, requiring minimal setup.
For enhanced performance, especially with emission nebulae, consider basic modifications like removing the stock IR cut filter to increase sensitivity to specific wavelengths.
Modified Used Cameras: Getting More for Less

You’ll get dramatically better deep-sky results with an astro-modified DSLR that reveals the hydrogen-alpha wavelengths typically blocked by stock cameras.
Canon Rebel T7 and Nikon D3400 models with IR filter modifications offer exceptional value at $250-$350, capturing nebulae details invisible to standard cameras.
Hunting for these pre-owned gems on astronomy forums or dedicated astrophotography marketplaces can stretch your budget further, leaving room for essential accessories like a sturdy tripod and intervalometer.
Astro-Modified DSLR Benefits
Hidden beneath the unassuming exterior of a used DSLR lies tremendous potential for deep sky astrophotography when modified for astronomical use. By removing the stock IR cut filter, these astro-modified DSLRs capture considerably more hydrogen-alpha wavelengths, revealing nebulae details invisible to standard cameras.
You’ll find this affordable entry point into serious imaging costs around $250 for models like the Canon Rebel XSi—a fraction of dedicated astronomy cameras. These modified workhorses maintain their user-friendly interfaces while delivering enhanced capabilities for celestial targets.
The benefits extend beyond sensitivity: you’ll appreciate their lower dark noise and improved dynamic range at low ISO settings, especially helpful when shooting from light-polluted locations.
With interchangeable lenses and simplified long-exposure shooting, an astro-modified DSLR offers remarkable value while capturing the cosmos on a budget.
Sourcing Pre-Owned Gems
Savvy astrophotographers know that hunting for pre-owned equipment substantially stretches your imaging budget.
When sourcing modified DSLR cameras, you’ll find older Canon models like the Rebel T3i or 2000D available for $250-$350—a fraction of new astrophotography cameras’ cost.
These pre-modified gems often have their IR cut filters removed, dramatically improving sensitivity to hydrogen-alpha emissions in nebulae.
- Check online marketplaces and astronomy forums for specialized listings
- Verify the quality of modifications and overall condition before purchasing
- Look for wear indicators that might affect the camera’s performance
- Connect with the astrophotography community for seller recommendations
- Consider the specific wavelength sensitivity of different modifications for your target objects
Remember that a well-chosen used camera often delivers better deep-sky results than a pricier stock model.
Star-Tracking Mounts on a Budget
Two affordable star-tracking mounts stand out for deep-sky photography enthusiasts working with limited funds: the iOptron Skyguider Pro and Sky-Watcher Star Adventurer 2i.
These compact devices prevent star trails during long exposures, transforming your basic camera setup into a capable deep sky imaging rig.
Both mounts feature built-in polar scopes for accurate alignment, essential for precise tracking of celestial objects.
Proper polar alignment remains the cornerstone of successful astrophotography, with integrated scopes making this critical task accessible to beginners.
Battery life is impressive – the Skyguider Pro offers up to 20 hours on a single charge, while the Star Adventurer 2i delivers an astounding 72 hours using just four AA batteries.
At only 2-3 pounds, you’ll easily transport these mounts to dark-sky locations.
Don’t skimp on your tripod, though – a stable foundation eliminates vibrations that could ruin your shots during long exposures.
Stacking Software Techniques for Noise Reduction

You’ll dramatically improve your deep sky images by using stacking software that employs image registration to align stars perfectly across multiple exposures.
Modern applications offer sigma clipping methods that intelligently discard outlier pixels caused by satellites, planes, or random noise spikes.
The kappa-sigma rejection approach takes this further by statistically analyzing each pixel stack, automatically removing values that deviate markedly from the mean while preserving genuine celestial details.
Image Registration Benefits
When capturing faint celestial objects, a single exposure rarely delivers the stunning detail you’re hoping for. This is where image registration through stacking software becomes essential in your deep sky photography journey.
By aligning and combining multiple exposures of the same target, you’ll dramatically enhance subtle details while reducing random noise patterns.
- Increases signal-to-noise ratio, revealing details otherwise lost in noise
- Minimizes thermal artifacts and other unwanted elements in your final image
- Corrects for slight tracking errors between exposures
- Makes previously invisible faint deep sky objects clearly visible
- Allows you to extract maximum detail from budget equipment
You’ll be amazed how this technique transforms mediocre individual frames into stunning composite images that reveal the true beauty of nebulae, galaxies, and star clusters—all achievable with affordable gear.
Sigma Clipping Methods
Having established how image registration aligns your exposures, let’s look at what happens with the actual pixel data during stacking.
Sigma clipping is a powerful statistical method that dramatically improves your final image by excluding outlier pixels. When you stack multiple frames, this technique only averages pixels falling within a specified range of the mean value.
For effective noise reduction, take multiple exposures of your target. Programs like DeepSkyStacker and Siril include sigma clipping algorithms that you can adjust by setting the standard deviation parameter.
This flexibility lets you fine-tune the process based on your images’ specific noise characteristics.
The beauty of this approach is how it preserves actual celestial details while eliminating thermal noise and cosmic ray hits—all accessible through affordable astrophotography software under $500.
Kappa-Sigma Rejection Approach
While sigma clipping sets a general threshold for outlier rejection, the kappa-sigma approach refines this process with remarkable precision.
When you stack multiple exposures of deep sky objects, this method calculates the mean and standard deviation of pixel values, then rejects pixels that fall outside 2-3 times (κ) the standard deviation.
- You’ll achieve considerably improved signal-to-noise ratios in your final images
- Software like DeepSkyStacker and Siril include built-in kappa-sigma rejection algorithms
- The effectiveness increases as you stack more frames
- You can adjust the kappa value based on your specific imaging conditions
- This technique works within any budget under $500, requiring only compatible software
For ideal noise reduction in your stacked images, kappa-sigma rejection stands out as an accessible yet powerful technique that delivers professional-quality results without breaking the bank.
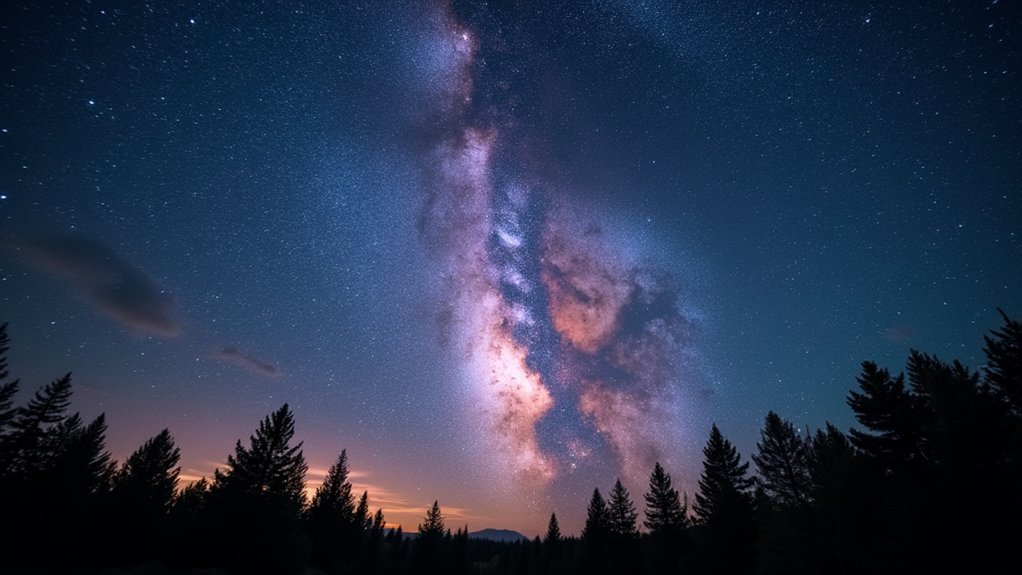
Wide-Field Imaging With Camera Lenses
The gateway to deep sky astrophotography often begins with wide-field imaging using camera lenses you might already own. This technique allows you to capture expansive views of the Milky Way and large nebulae without investing in expensive telescopes.
Starting your astrophotography journey with familiar camera lenses opens doors to capturing breathtaking cosmic vistas without telescopes.
For best results, choose lenses with a fast aperture (f/2.8 or wider) to gather more light and enable shorter exposures. The popular Rokinon 14mm f/2.8 offers an excellent balance of wide field coverage and sharpness without breaking your budget.
You’ll need a steady tripod or an affordable star tracker like the iOptron SkyGuider Pro to prevent star trailing during longer exposures.
Don’t forget to take into account light pollution filters—they’ll dramatically improve your images by reducing artificial light interference, even from urban locations.
Autoguiding Solutions for Longer Exposures
Once you’ve mastered basic wide-field techniques, you’ll quickly discover that longer exposures reveal considerably more detail in deep sky objects.
Implementing autoguiding is essential for those stunning long exposure shots that capture faint nebulae and distant galaxies. You don’t need to break the bank – several affordable options exist under $500.
- Standalone autoguiders like Synguider II offer computer-free operation ideal for beginners
- Laptop-based solutions using PHD2 software provide excellent flexibility for various setups
- Dedicated guide cameras such as the ZWO ASI120MC deliver superior sensitivity for tracking
- Off-axis guiders (OAGs) work best with larger telescopes by using the same optical path
- Both standalone and computer-based autoguiding systems dramatically improve image quality by eliminating star trailing
Choose the solution that matches your equipment and budget to access the full potential of deep sky photography.
Light Pollution Filters Worth the Investment
When selecting light pollution filters, you’ll want to evaluate which wavelengths affect your imaging targets most and choose filters that specifically block those frequencies.
At under $100, quality multi-coated filters offer remarkable value by dramatically increasing contrast and revealing details in deep-sky objects that would otherwise be lost in urban skies.
Your investment in narrowband options like H-alpha or OIII filters can yield even more dramatic improvements for nebulae photography, often transforming mediocre urban captures into stunning celestial portraits.
Filter Selection Criteria
Steering through the complex world of astrophotography filters can dramatically improve your deep sky images, especially if you’re shooting from light-polluted areas.
When establishing your filter selection criteria, focus on both functionality and compatibility with your setup.
- Choose narrowband filters (H-alpha or OIII) for targeting specific nebula emission lines even in heavy light pollution.
- Consider broadband light pollution filters for improved contrast and reduced skyglow while maintaining color balance.
- Verify filter diameter compatibility (typically 1.25″ or 2″) with your camera and telescope setup.
- Look for high-quality optical glass with anti-reflective coatings to minimize light loss.
- Balance your budget priorities—quality filters under $500 can still deliver impressive results when matched to your specific imaging conditions.
Cost-Benefit Analysis
Despite their seemingly high upfront cost, light pollution filters represent one of the most impactful investments you’ll make in your sub-$500 deep sky photography journey.
At $100-$300, these filters deliver exceptional value by markedly enhancing contrast and revealing details in celestial objects that would otherwise remain hidden.
When you’re shooting from light-polluted urban areas, these filters selectively block artificial light wavelengths while allowing the important astronomical light to pass through.
This means you’ll capture notably clearer images with better color and detail without upgrading your entire setup.
Compatible with most popular astrophotography cameras, light pollution filters offer an affordable investment that yields immediate, noticeable improvements in your final images.
Dollar for dollar, few accessories provide such substantial enhancement to your deep sky photography results.
Portable Power Options for Remote Imaging
The dark skies that astrophotographers seek are often found far from power outlets, making portable power solutions essential for successful deep sky imaging.
When planning your remote imaging sessions, consider these affordable power options that’ll keep your astrophotography equipment running through the night.
- TalentCell’s Rechargeable Lithium-ion Battery Pack delivers reliable 12V power for mounts and cameras at a budget-friendly price
- The iOptron Skyguider Pro’s built-in battery offers up to 20 hours of tracking without external power
- Compact USB power banks can keep your DSLR charged during extended shooting sessions
- Solar generators provide eco-friendly power for your entire setup, including laptops
- Power distribution hubs minimize cable clutter and efficiently manage connections between multiple devices
Image Calibration With DIY Flats and Darks
While capturing stunning deep sky images is exciting, proper calibration makes the difference between amateur snapshots and impressive astrophotography.
Image calibration eliminates noise and corrects optical flaws, greatly improving your final results.
Create DIY flat frames by photographing an evenly lit white surface using the same settings as your main shots. For dark frames, simply cover your telescope aperture and take exposures matching your imaging duration to address thermal noise.
Aim to collect at least 10-20 of each frame type for effective calibration.
Process everything in budget-friendly software like Siril, which can integrate your flat frames and dark frames with main images.
This affordable approach greatly enhances signal-to-noise ratios without expensive equipment, giving your deep sky photography a professional quality that stands out.
Frequently Asked Questions
What Is the Best Budget Friendly Astrophotography Camera?
You’ll find the Canon EOS Rebel T7 is your best budget-friendly astrophotography camera. It offers user-friendly operation and good low-light performance under $500, making it ideal for beginners.
What Is the Best Camera for Dark Sky Photography?
For dark sky photography, your best camera is an entry-level DSLR like the Canon EOS Rebel T7 or Nikon D3400. They’re user-friendly with good sensitivity, while dedicated astrophotography cameras offer enhanced performance for serious enthusiasts.
What Is the Best ISO for Astrophotography in Deep-Sky?
For deep-sky astrophotography, you’ll get the best results using ISO 800-1600. This range balances sensitivity with noise control. Your specific camera model might perform better at certain settings within this range, so experiment accordingly.
What Is the Best Focal Length for Deep-Sky Astrophotography?
For deep-sky astrophotography, you’ll find 400-600mm focal lengths offer the best balance. They’ll capture enough detail while maintaining a good field of view for most celestial objects like nebulae and galaxies.
In Summary
You don’t need expensive gear to capture breathtaking deep sky images. By combining a modified DSLR, budget tracker, and free stacking software, you’ll achieve results that once required thousands in equipment. Remember, technique often trumps technology. Master calibration frames, embrace patience, and you’ll soon be showcasing stunning nebulae and galaxies that will amaze both yourself and fellow astronomy enthusiasts. The universe awaits your affordable exploration!


Leave a Reply