
To stack moon photos like pros, you’ll need to master five key methods: Traditional Alignment and Averaging for combining multiple sharp DSLR images; Lucky Imaging with AutoStakkert!3 to select only the sharpest frames; Wavelet Processing in RegiStax6 for refining details; PIPP Pre-processing to filter quality frames; and Basics of Lunar Photography for capturing 100+ consistent exposures with proper focus. The techniques build on each other to reveal lunar details invisible in single shots.
5 Methods To Stack Moon Photos Like Pros

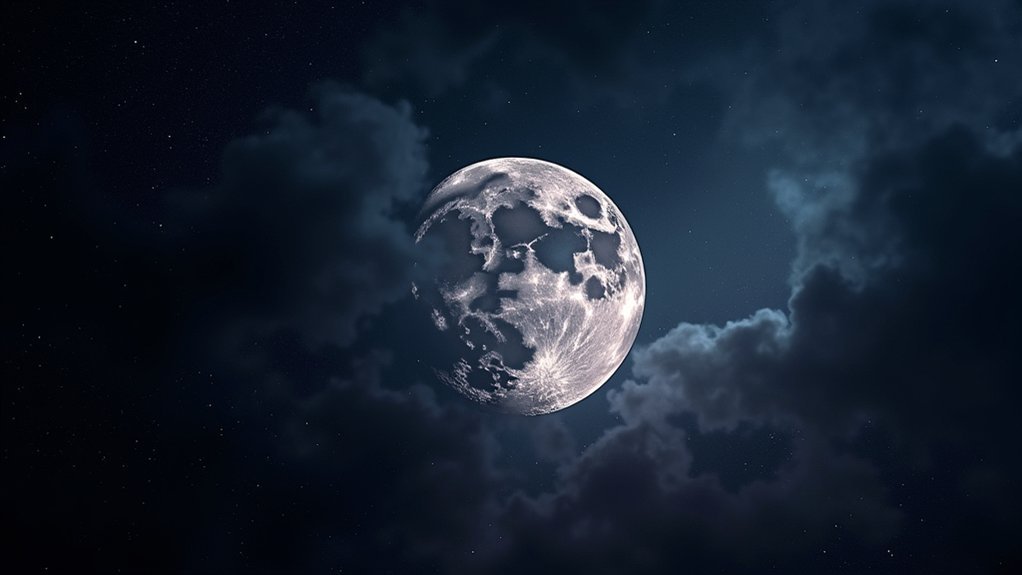
While capturing a single shot of the moon might seem adequate, professional-quality lunar photography requires stacking multiple images.
To achieve stunning lunar imaging results, start by shooting at least 100 sharp frames using a telephoto lens with consistent exposure settings—ISO 100, aperture between f/5.6 and f/7.1, and shutter speeds around 1/125 second.
For effective stacking, first convert your captures to TIFF files using PIPP, which helps select only the best frames.
Then process these in AutoStakkert!, the preferred stacking software among lunar photographers. This combines your sharpest images to dramatically improve detail and reduce noise.
Remember that proper focus is critical—even the best stacking software can’t fix blurry originals.
After stacking, use RegiStax for final sharpening and adjustments to bring out those subtle lunar features that single exposures simply can’t reveal.
Traditional Alignment and Averaging Technique
Because precise alignment forms the foundation of successful lunar photography, the traditional alignment and averaging technique stands as the most reliable method for creating detailed moon images.
When implementing this stacking routine, you’ll need to capture multiple sharp photos with your DSLR camera while maintaining consistent exposure settings.
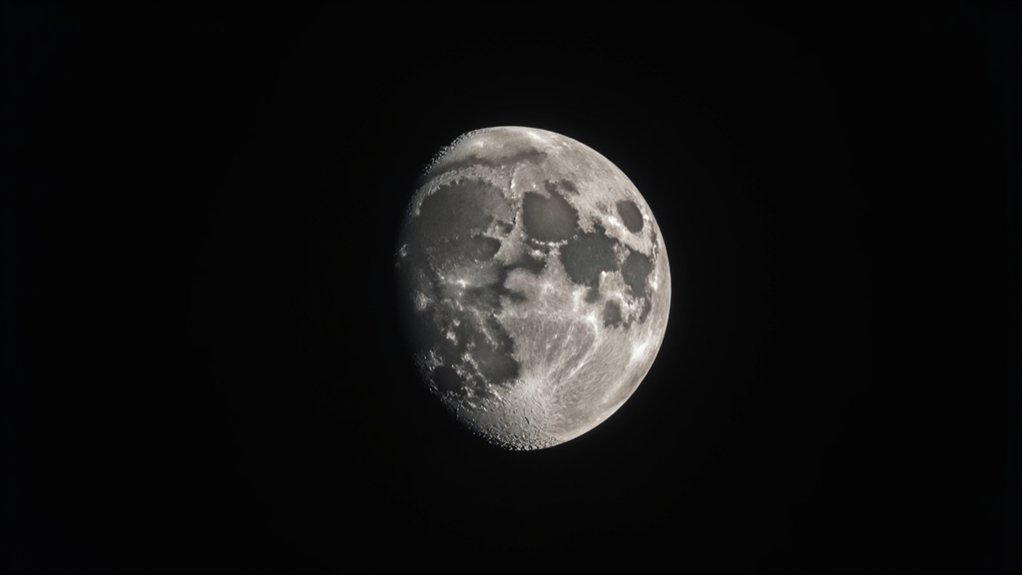
Using software like AutoStakkert!, place an alignment point grid over your lunar images to guarantee precise positioning. The averaging process combines pixel data from multiple frames, dramatically improving the signal-to-noise ratio and revealing subtle lunar surface details that remain hidden in single exposures.
Aligned and averaged frames unlock lunar details invisible to the single exposure.
When processing using this technique, carefully select only the sharpest, most focused frames.
Lucky Imaging With Autostakkert!3
Three key advantages make lucky imaging with AutoStakkert!3 the preferred technique for serious lunar photographers.
First, it captures multiple short exposure frames to bypass atmospheric distortion, resulting in dramatically sharper lunar details when stacked.
You’ll need to convert your RAW files to TIFF format since AutoStakkert!3 doesn’t process RAW directly.
For best results, pre-cropping blank areas notably reduces file sizes and speeds up processing time.
When configuring your stack, adjust the Frame percentage to stack between 85-90% of your sharpest images, enhancing the signal-to-noise ratio in your final output.
Don’t overlook the Alignment Point grid feature, which precisely aligns images before stacking.
This systematic approach produces remarkably detailed moon photographs that showcase fine surface features previously lost to atmospheric turbulence.
Wavelet Processing in RegiStax6
After stacking your images in AutoStakkert!3, your lunar photograph needs refinement through wavelet processing in RegiStax6. This critical step enhances your moon photos by sharpening specific frequency bands to reveal stunning details.
Begin by selecting a detailed area with prominent craters for preview sharpening. Then manipulate the six layer sliders to achieve ideal enhancement levels:
- Adjust lower sliders for large-scale features
- Use middle sliders to bring out medium details
- Apply higher sliders cautiously to avoid noise
- Fine-tune each setting while monitoring image quality
Don’t rush this process—experiment with different settings to find the perfect balance between clarity and noise reduction. Over-processing can diminish your final image, while proper wavelet processing prepares your lunar photograph for further editing in software like Adobe Lightroom.
PIPP Pre-processing Workflow
Before stacking your lunar images, you’ll need to prepare them properly using PIPP (Planetary Imaging Pre-Processor).
Start by importing your 100+ full moon photos and selecting “Solar-Lunar Full Disk” mode. Crop your frame to focus on your desired lunar region.
The key to successful stacking lies in quality control. Enable the “Only Keep The Best Quality Frames” option to automatically filter out images with poor sharpness or those affected by atmospheric turbulence or shutter issues.
This guarantees only the finest images make it to your stack.
Finally, export your processed images as TIFF files, which maintain high quality while remaining compatible with stacking programs like AutoStakkert!3.
This workflow greatly improves your final stacked image by optimizing each individual frame before combining them.
Frequently Asked Questions
How to Stack Moon Photography?
To stack moon photography, you’ll need to capture 100+ sharp RAW images, convert to TIFF format, then use AutoStakkert!3 or RegiStax6 to align, stack, and enhance your final image for incredible lunar detail.
What Is the Best Software for Stacking Moon Photos?
is your best choice for moon photo stacking due to its user-friendly interface. You’ll also want RegiStax for post-stack sharpening and PIPP for preprocessing your images before stacking begins.
How Do You Capture the Moon Like a Pro?
You’ll need a telephoto lens (300mm+), tripod, and remote release. Shoot in RAW at 1/125s, f/11, ISO 100-400. Use spot metering, manual focus, and capture multiple frames during good atmospheric conditions for stacking later.
What Is the 11 Rule for Moon Photography?
The 11 rule suggests setting your camera to ISO 100, aperture f/11, and shutter speed around 1/125 seconds. It’s designed to properly expose the moon’s bright surface while capturing detailed crater features.
In Summary
You’ve now got 5 powerful methods to transform your moon photography from amateur to extraordinary. Whether you’re using simple alignment techniques or advanced software like Autostakkert!3, RegiStax6, or PIPP, you’ll capture details you never thought possible. Don’t be intimidated by the learning curve—each method gets easier with practice. Your next moon shots will showcase incredible clarity and detail that’ll amaze both you and your viewers.


Leave a Reply