
Stacking multiple exposures dramatically improves your astrophotography by averaging out random noise while preserving celestial details. You’ll achieve cleaner backgrounds, sharper stars, and richer cosmic features by combining several shorter exposures rather than one long shot. For best results, use 10-15 second exposures for the Milky Way and 60-120 seconds for deep-sky objects. Free software like Deep Sky Stacker and Siril can automate alignment and integration. The techniques below will transform your night sky captures forever.
Stack Multiple Exposures for Crystal-Clear Astrophotography Results

While single exposures might capture a glimpse of the night sky, stacking multiple exposures transforms your astrophotography from ordinary to extraordinary. Each frame you add greatly improves your signal to noise ratio, effectively averaging out random noise while preserving celestial details.
Combine short exposures and long exposures to maximize your dynamic range—capturing both bright stars and faint nebulosity in one stunning image.
Don’t skip calibration frames; dark frames and flats are vital for eliminating sensor noise and optical imperfections.
Processing software like Deep Sky Stacker automates alignment and integration, making the stacking process accessible even for beginners.
As you experiment with different stacking techniques, you’ll develop an intuitive understanding of how exposure quantity affects image quality. The results will speak for themselves—cleaner backgrounds, sharper stars, and richer details in your cosmic portraits.
The Science Behind Stacking: Signal-to-Noise Enhancement
Numbers tell the compelling story behind astrophotography stacking. When you combine multiple frames, you’re mathematically improving your signal-to-noise ratio by a factor equal to the square root of your total exposures. Each doubling of frames reduces random noise by approximately 1.41 times, though diminishing returns eventually set in.
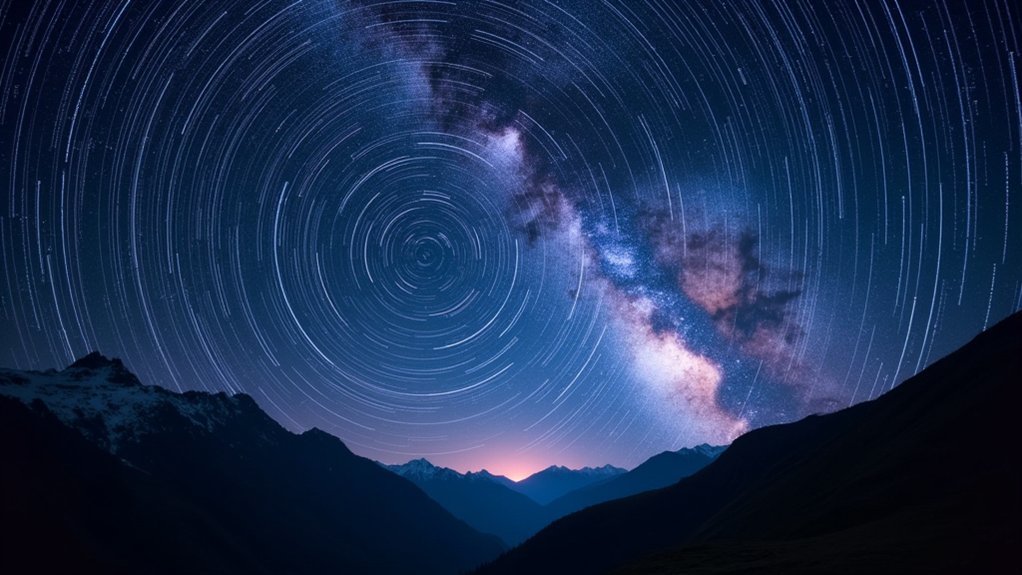
The stacking process works because it averages out sensor imperfections while preserving consistent signals. You’ll get better results taking many shorter exposures (avoiding star trails) than one long shot.
For superior results, verify your exposure times are long enough to swamp read noise by a factor of three, especially when shooting through light pollution.
Don’t overlook techniques like sigma clipping, which rejects poorly exposed pixels during processing. Combining dark frames with your stacked images further enhances the final image’s clarity and detail.
Optimal Exposure Strategies for Different Celestial Objects
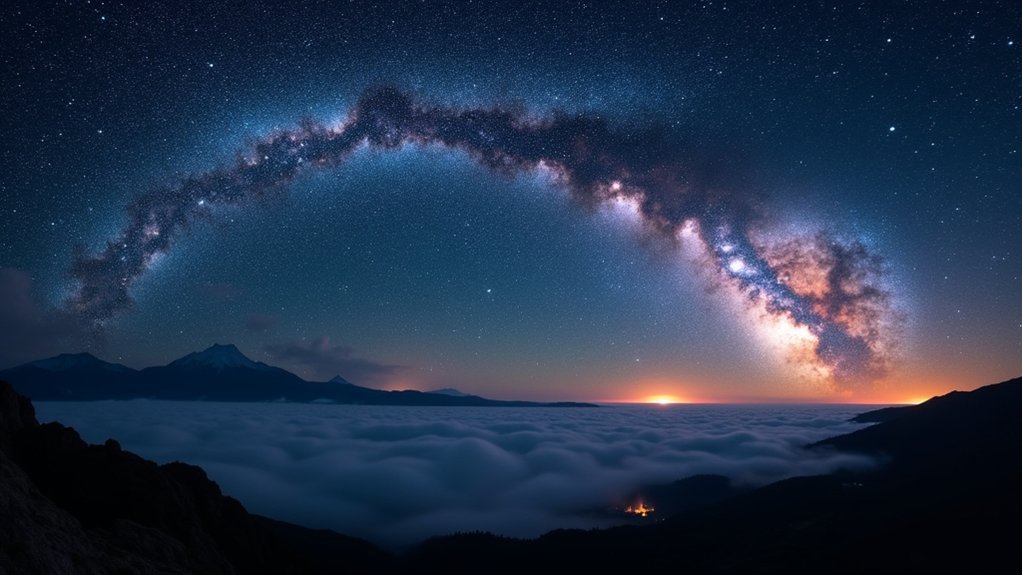
Because each celestial object presents unique challenges, your exposure strategy must adapt accordingly. Capturing the Milky Way requires 10-15 second exposures at ISO 3200-6400 to prevent star trailing while maximizing light capture.
For deep-sky objects, longer exposures of 60-120 seconds gather sufficient light, provided you maintain proper alignment.
When planning your astrophotography session, consider:
- Signal-to-noise ratio – Stack multiple shorter exposures (30 seconds or less) for bright objects to enhance detail without overexposure.
- Light pollution – Combine short exposures for the sky with longer exposures for foreground elements to create balanced compositions.
- Calibration frames – Shoot dark frames under identical conditions as your light frames for ideal noise reduction during post processing.
Remember that stacking software works best when your ideal exposure settings match your target’s characteristics.
Registration Techniques for Perfect Frame Alignment
Capturing well-exposed images is only half the battle in astrophotography; you’ll need precise alignment between frames to create stunning final images. Registration is the critical process that guarantees stars and celestial objects remain perfectly positioned across multiple exposures during stacking.
Most modern stacking software like Deep Sky Stacker and PixInsight offer automated registration tools that align images based on stellar patterns. To maximize these tools’ effectiveness, implement dithering—slightly moving your tracking mount between exposures—which prevents repetitive pixel noise and improves averaging quality.
Pay close attention to your alignment results; even minor misalignment can introduce artifacts and blurring that degrade your stacked image.
For best detail preservation, utilize high-quality bicubic or bilinear interpolation methods during the registration process, which maintain fine details while correcting for any minor positional differences between frames.
Processing Multi-Exposure Data With Free Software Tools
Three powerful free tools have revolutionized astrophotography processing for beginners and enthusiasts alike. Deep Sky Stacker, Siril, and Sequator make image processing accessible without breaking the bank.
You’ll achieve better noise reduction by learning to stack them together properly, transforming multiple light exposures into crystal-clear results.
For the best results when using these free software tools:
- Sort and register your exposures automatically with DSS to perfectly align frames before combining them.
- Normalize image levels in Siril to guarantee consistent brightness across frames, essential for good data integration.
- Apply median stacking techniques to eliminate outlier pixels and reduce noise, especially effective when dealing with shorter exposure times.
Experiment with each program’s interface, particularly Siril’s Plot Tab, to evaluate your data and produce cleaner final images.
Frequently Asked Questions
How Many Images Should I Stack for Astrophotography?
You should stack at least 10-12 light frames and 5-8 dark frames for astrophotography. You’ll see improvement with each additional image, though you’ll get diminishing returns after several hours of data collection.
What Is the Ideal Image Stack?
Your ideal image stack consists of 10-20 exposures (30-60 seconds each) with a mix of light and dark frames. You’ll want at least 1-2 hours total integration time for the best signal-to-noise ratio.
What Is the Best Image Stacker for Astrophotography?
The best image stacker depends on your skill level. PixInsight is the gold standard for advanced users, while beginners might prefer Deep Sky Stacker’s user-friendly interface. Siril’s normalization options are ideal for HDR imaging.
How Does Stacking Reduce Noise?
Stacking reduces noise because it averages out random sensor noise across multiple frames. You’ll see clearer results as the signal adds up while noise gets diminished, improving your signal-to-noise ratio by roughly the square root of frames used.
In Summary
You’ve now discovered the power of image stacking in astrophotography. By combining multiple exposures, you’ll dramatically improve your signal-to-noise ratio, revealing details invisible in single shots. Whether you’re capturing galaxies, nebulae, or star clusters, you’ve got the knowledge to select ideal exposures, align your frames precisely, and process them with accessible software. Your night sky images will show incredible clarity that’ll amaze both you and your viewers.
Leave a Reply