You can make a free telescope dew shield tonight using common household items like cardboard tubes, plastic containers, or camping mats. Simply measure your telescope’s aperture diameter, cut your material to 1.5-3 times that length, and secure it around the front end with tape or Velcro. This DIY solution prevents condensation by maintaining optics above the dew point during night viewing. The following guide will transform your star-gazing experience with this simple yet effective astronomy hack.
9 Second-Level Headings for DIY Dew Shield Blog Post

Organization is key to helping your readers successfully complete this project. When creating your tutorial on building dew shields, structure your content with clear sections that guide them through each step.
Clear organization transforms your dew shield tutorial from confusing instructions into an achievable evening project.
Include headings like “Materials Needed,” where you’ll mention free coffee containers and black foam alternatives like neoprene insulation.
Add “Gathering Supplies” to explain how to source these materials without cost from local cafés.
Create sections for “Measuring and Cutting,” “Installing Insulation Layers,” and “Sealing the Edges.”
Don’t forget a “Testing Your Dew Shield” section and “Adding Optional Features” for discussing dew heater band integration.
This logical progression will guarantee your readers can quickly follow along and complete their dew shield in one evening.
Understanding Dew Formation on Telescope Optics
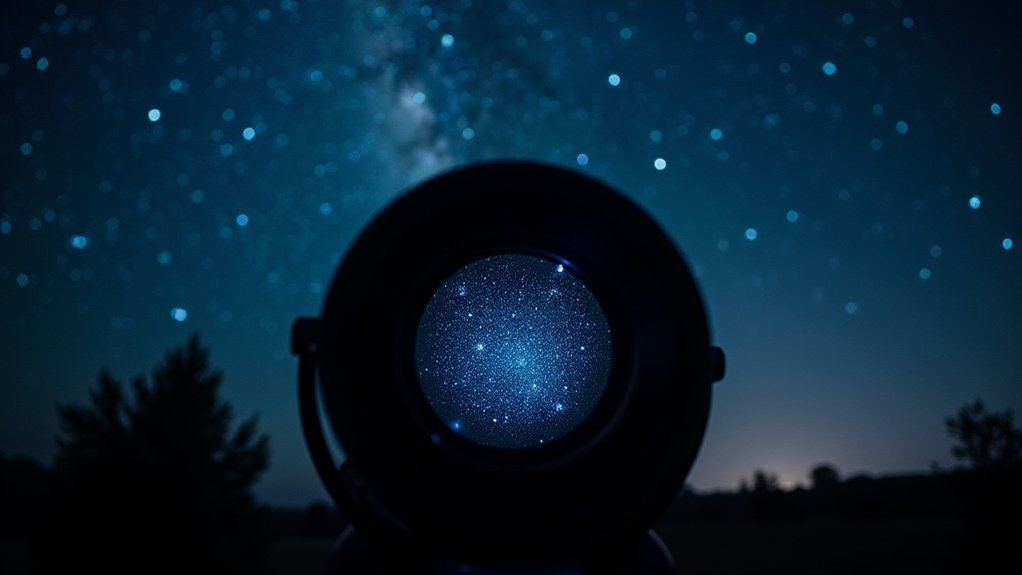
Your telescope lens can rapidly cool below the dew point on clear nights, creating troublesome condensation that ruins visibility.
This happens because optics radiate heat into space while remaining cooler than the surrounding humid air, which deposits moisture when it contacts these cold surfaces.
You’ll need to maintain your telescope’s front elements above the dew point to prevent this condensation—a challenge we’ll solve with our no-cost shield design.
Temperature Gradient Basics
While stargazing might seem like a straightforward hobby, understanding the physics of dew formation can save your observing session from frustration.
Your telescope creates a temperature gradient when its optics cool faster than the surrounding air. As your telescope radiates heat to the night sky, its temperature can drop below the dew point—the critical temperature at which air becomes saturated with moisture. This is when condensation occurs on your optical surfaces.
The greater the difference between your telescope’s temperature and the ambient air, the more likely dew will form. This effect is most pronounced on clear, still nights when your optics can cool rapidly without air movement to equalize temperatures.
The higher the humidity, the closer the air temperature is to the dew point, making condensation even more likely.
Dew Point Science
Amateur astronomers often face the frustrating challenge of dew formation, which occurs through a precise physical mechanism. When your telescope optics cool below the dew point—the temperature at which moisture condenses out of the air—water droplets form on your valuable lenses and mirrors.
This happens because your telescope radiates heat to the night sky, causing its temperature to drop faster than the surrounding air. Higher humidity raises the dew point, making condensation more likely during your observing sessions. That’s why you’ll notice dew forming more readily on humid nights.
A dew shield works by slowing this radiative cooling process. It reduces your optics’ exposure to the cold night sky, keeping their temperature closer to the ambient air and above the critical dew point threshold.
Preventing Condensation Formation
To effectively combat dew formation on telescope optics, you’ll need to understand the precise conditions that cause it.
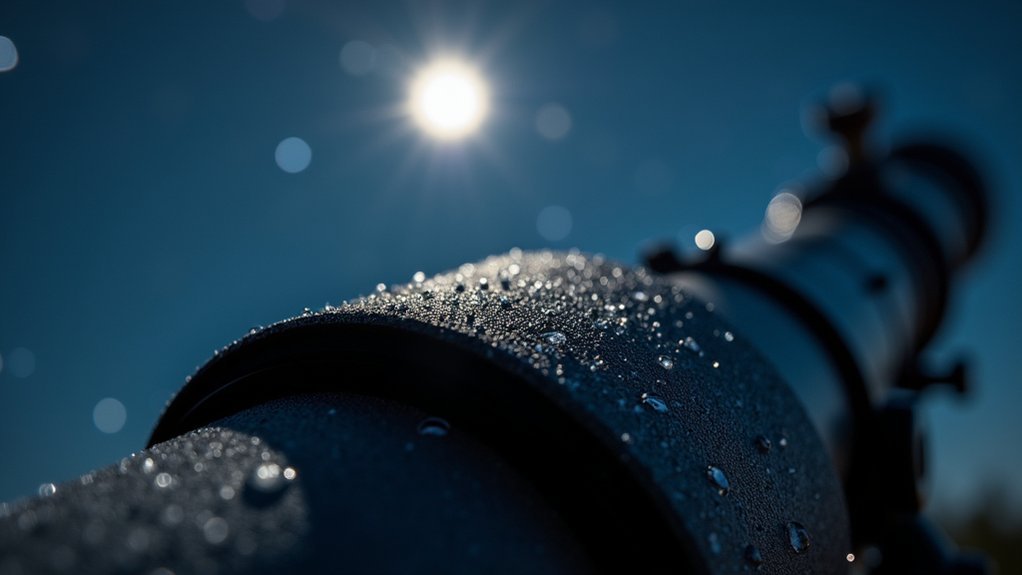
Condensation occurs when your telescope lens cools below the dew point, allowing airborne moisture to settle on your optics and ruin visibility.
Your telescope naturally radiates heat to the night sky faster than the surrounding air cools, making it particularly vulnerable to dew.
The solution lies in maintaining the temperature of your optics. A dew shield works by reducing this heat loss, with longer shields providing better protection against condensation.
You can also prevent dew by creating gentle air movement around your telescope, which minimizes temperature differences between your optics and the ambient air.
These simple techniques help maintain clear viewing throughout your observation session.
Gathering Household Materials for Your Shield
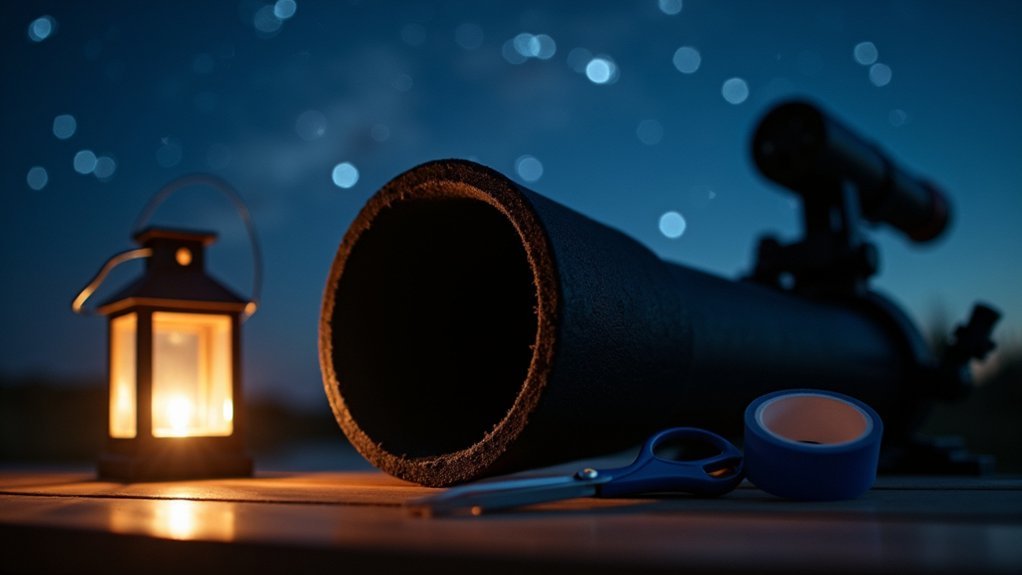
Five common items already in your home can be transformed into an effective telescope dew shield at zero cost.
Start by checking your recycling bin for cardboard tubes or plastic containers that match your telescope’s diameter. Old camping mats provide excellent insulation and can be easily cut and shaped to form a flexible shield.
Repurpose everyday household items like cardboard tubes and camping mats to create custom-fitted telescope shields without spending a cent.
Look through your craft supplies for black materials that won’t reflect light. Bubble wrap and fabric scraps offer good thermal protection while remaining lightweight.
Secure everything with duct tape you likely have in your toolbox or junk drawer.
Don’t overlook unconventional options like empty coffee cans, which can be modified to create a sturdy shield.
The key is finding materials that can be easily cut, shaped, and darkened to prevent dew formation.
Measuring Your Telescope for the Perfect Fit
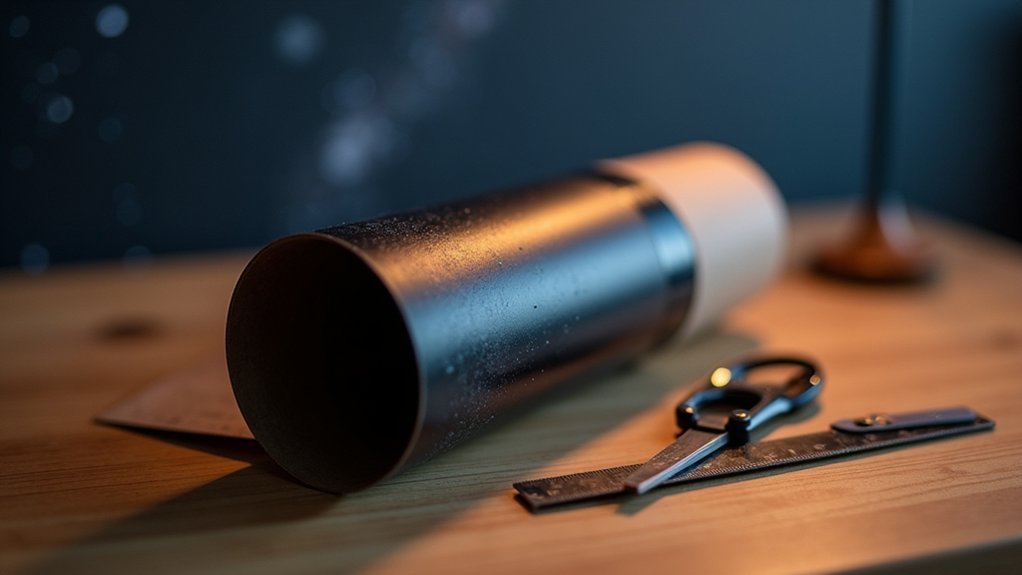
Proper measurements serve as the foundation for a functional dew shield that actually works. You’ll need to take three key measurements of your telescope tube with precision.
First, determine your aperture diameter using a measuring tape. Then measure from the front lens to where your shield will attach. Aim for a length between 1.5-3 times your aperture diameter for ideal dew prevention. Finally, wrap your measuring tape around the telescope tube to get the exact circumference.
| Measurement | Purpose | Tool | Target |
|---|---|---|---|
| Diameter | Shield opening size | Ruler | Exact aperture width |
| Length | Shield extension | Measuring tape | 1.5-3× diameter |
| Circumference | Material sizing | Measuring tape | Snug fit |
| Attachments | Account for accessories | Ruler | Clearance allowance |
Don’t forget to account for any dew heaters or filters before cutting your materials.
Step-by-Step Shield Construction Guide
Once you’ve gathered your measurements, constructing your no-cost dew shield becomes a straightforward process requiring just a few household items.
Start by cutting the bottom from your coffee container, ensuring it slides snugly over your telescope’s objective end.
Precision-cut your coffee container for that perfect telescopic fit—snug enough to stay put, loose enough to remove with ease.
Next, apply the 6mm self-adhesive foam neoprene around the container’s exterior. Cut the foam to match the circumference precisely, pressing it firmly against the surface and aligning it flush with the rim.
Cover any seams with additional strips for a seamless finish.
Wrap the exterior with black duct or electrical tape to weatherproof your dew shield and improve its durability.
For extra protection during humid nights, consider embedding a dew heater band inside the shield—though this remains optional for your truly no-cost solution.
Proper Installation Techniques
To guarantee your homemade dew shield performs at its best, you’ll need to install it correctly on your telescope. Measure your telescope tube’s diameter precisely before cutting your materials, guaranteeing a snug fit that won’t interfere with movement.
Paint the interior surface matte black to maximize light absorption and minimize glare. When applying self-adhesive flocking material, press firmly to eliminate air bubbles for peak performance.
| Material | Attachment Method | Drying Time |
|---|---|---|
| Sonotube | Velcro strips | 30 minutes |
| Foam sheet | Duct tape | 15 minutes |
| Flocking paper | Self-adhesive backing | 60 minutes |
| Cardboard | Black electrical tape | 10 minutes |
Secure your shield with Velcro or duct tape for easy removal during your observing sessions. Allow sufficient drying time for any adhesives used—this guarantees everything stays in place when you’re stargazing.
Testing Your Shield’s Effectiveness
You’ll know your DIY dew shield works when your optics remain clear throughout your observing session, even as temperatures drop below the dew point.
Compare the temperature difference between your telescope’s objective lens with and without the shield installed, using a simple thermometer to verify that your shield is maintaining warmer optical surfaces.
Track how long you can observe before any moisture appears on your optics, which should greatly increase with a properly constructed shield.
Testing Your Shield’s Effectiveness
How well does your homemade dew shield actually perform? The proof is in the testing. Take your telescope out on a humid night and observe how long you can view without dew forming on your optics. Compare these results with previous sessions when you didn’t use a shield.
| Testing Condition | Without Shield | With DIY Shield |
|---|---|---|
| Viewing Duration | 30-45 minutes | 2-3+ hours |
| Image Quality | Deteriorates | Stays clear |
| Optics Temperature | Drops quickly | Remains stable |
| Frustration Level | High | Minimal |
Measure the temperature of your optics before and during your observing session to confirm the dew shield keeps temperatures above the dew point. Capture comparison photos to evaluate image clarity. Don’t hesitate to share your testing results with fellow astronomers—their feedback will help you refine your design.
Before-After Temperature Comparison
Recording precise temperature measurements offers irrefutable evidence of your dew shield’s effectiveness.
Using a reliable thermometer, measure your telescope’s optical elements before attaching your shield and again after several hours of observation. You’re looking for a 5-10°F difference, which indicates successful insulation against dew formation.
Conduct your temperature comparison during ideal testing conditions—clear, calm nights when temperatures drop rapidly after sunset and humidity levels rise. These conditions create the perfect environment for dew to form on unprotected optics.
Document readings at 30-minute intervals throughout your observing session. This systematic approach will help you quantify your dew shield’s performance over time.
If results show minimal temperature differences, you might need to adjust your shield’s design or materials for better protection.
Dew Formation Timing
When testing your homemade dew shield, timing becomes critical for accurate performance evaluation. Dew formation typically occurs when temperatures drop after sunset and before sunrise, precisely when you’re most likely to be observing.
Your shield’s effectiveness depends on its ability to maintain optics at a temperature above the dew point during these critical hours.
To properly test your dew shield’s performance:
- Compare observation duration with and without your shield on similar nights – track how long you can observe before dew appears.
- Test during high-humidity conditions when dew formation is most likely to challenge your setup.
- Monitor temperature differences between shielded optics and ambient air – effective shields maintain optics several degrees warmer.
Weather Considerations and Seasonal Adjustments
Although many amateur astronomers focus primarily on clear skies for ideal viewing, weather conditions play an essential role in determining how much dew will form on your telescope optics.
You’ll notice that high humidity combined with low temperatures dramatically increases dew formation risk, especially on calm nights when air remains still around your equipment.
Summer observing sessions typically demand more robust dew protection due to higher humidity levels, while winter observations might require less.
Before heading out, always check local forecasts for temperature and dew point—when these values converge, dew formation becomes almost inevitable.
Consider adjusting your dew shield length seasonally.
Extend it during humid months to maximize protection, while a shorter shield might suffice during drier periods.
This simple seasonal adjustment enhances your shield’s effectiveness without adding cost.
Enhancing Performance With Simple Modifications
While a basic dew shield offers adequate protection, several simple modifications can greatly improve its effectiveness without adding cost. The right adjustments can transform your homemade shield from functional to professional-grade, enhancing your viewing experience considerably.
While homemade dew shields work, a few simple tweaks can elevate them to professional quality without extra expense.
- Interior treatment – Apply flat black paint or line with black felt inside your dew shield to absorb stray light, greatly improving contrast and image quality.
- Extended length – Increase your shield to 2-3 times your telescope’s aperture for ideal dew protection while maintaining balance.
- Insulation layers – Combine materials like foam and Reflectix to create a multi-layer shield that regulates temperature more effectively than single-material designs.
These modifications take minutes to implement but will provide hours of clearer, uninterrupted observation, especially during humid nights or extended viewing sessions.
Frequently Asked Questions
How to Protect a Telescope From Dew?
To protect your telescope from dew, you’ll need a dew shield that extends 1.5-3 times your aperture length. Use black foam sheeting or insulating materials like neoprene, and apply a matte black interior finish.
How Long Should a Telescope Dew Shield Be?
For ideal protection, your telescope dew shield should be 1.5 times your telescope’s aperture. You’ll get better performance in damp conditions with lengths up to 4 times the diameter, but shorter shields work better in wind.
Do I Need a Dew Shield for My Telescope?
Yes, you need a dew shield for your telescope to prevent moisture buildup on lenses, improve contrast, and protect your equipment. It’s especially important if you observe in humid conditions or for extended periods.
How Do You Stop Condensation on a Telescope?
To stop condensation on your telescope, use a dew shield that’s 1.5-3 times your aperture size, add neoprene lining for insulation, keep your optics slightly warmer than ambient air, and monitor humidity levels regularly.
In Summary
You’ve now built your own cost-free dew shield using common household items. With this simple addition, you’ll enjoy clearer views and extended observing sessions regardless of humidity conditions. Remember to adjust your shield seasonally as weather patterns change. Don’t hesitate to experiment with modifications for even better performance. Keep your optics clear and your stargazing uninterrupted—all without spending a dime on commercial alternatives.


Leave a Reply