
Computer fans offer superior dew control at a fraction of the cost of commercial heaters ($30 vs. $100+). They consume less power (under 5 watts), extending your battery life during stargazing sessions. Their gentle airflow prevents condensation without creating heat turbulence that can distort images. You’ll enjoy sharper star images and better contrast while saving money on both equipment and power consumption. The following sections will reveal how to build and optimize your own affordable system.
13 Headings for “Why Computer Fan Dew Control Beats Expensive Heaters?”
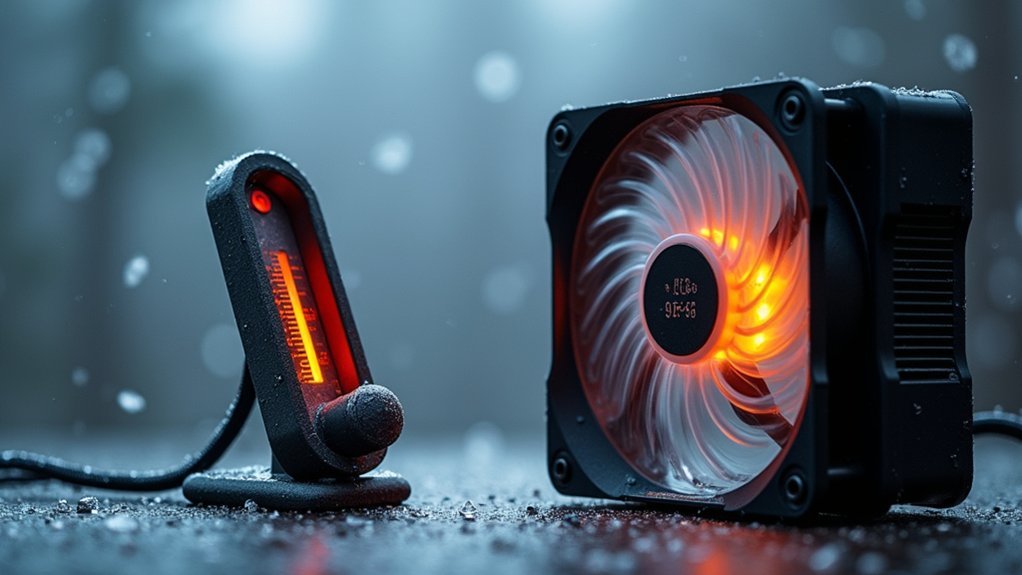
While many astronomers invest in costly dew heaters to protect their equipment, computer fans offer a surprisingly effective alternative at a fraction of the cost.
You’ll find these repurposed cooling devices provide excellent dew control by maintaining airflow around your optics, preventing moisture buildup during long observing sessions.
The energy efficiency is remarkable – computer fans typically consume considerably less power than traditional heaters while performing the same essential function.
You’re not just saving money on the initial purchase; your ongoing power consumption will be noticeably reduced as well.
The investment pays dividends beyond your wallet – minimal power draw means longer battery life during remote stargazing adventures.
Best of all, fans operate more quietly than many heating systems, creating less disturbance during critical observing sessions.
This dual-purpose approach gives you effective humidity management and the flexibility to customize your setup according to specific needs without breaking the bank.
The Hidden Costs of Commercial Dew Heaters
Although marketed as essential astronomy accessories, commercial dew heaters come with a substantial price tag that many stargazers overlook. The initial investment of $55-$100 is just the beginning of your financial commitment.
What you’re rarely told is how these devices continuously draw power—typically 4-5 watts—significantly increasing your energy bills over time. While this amount of energy might seem minimal, it adds up, especially during extended viewing sessions.
Many astronomers find themselves purchasing multiple heating elements for uniform coverage, multiplying their expenses.
And don’t forget the hidden replacement costs—those 9V dew straps with notoriously short battery life will need frequent replacing.
The low power efficiency of commercial options makes DIY alternatives at $15 increasingly attractive, especially when commercial products don’t guarantee superior performance or reliability.
Understanding Dew Formation in Telescope Optics
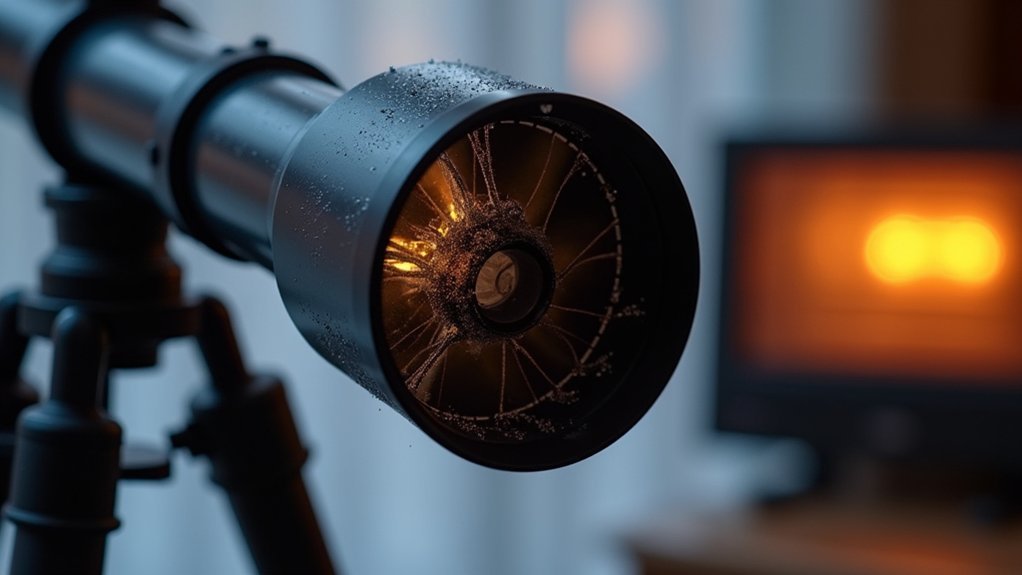
Three critical factors determine when dew will form on your telescope: temperature, humidity, and physics. When your optics cool below the ambient dew point, moisture from the air condenses on these cooler surfaces, creating a frustrating layer of water droplets that ruin your view.
This temperature differential is more pronounced during evening observations as your telescope radiates heat into the night sky. Higher humidity levels accelerate this process, making dew formation almost inevitable in many observing locations.
A Dew shield provides some protection by slowing heat loss, but it’s only a partial solution. The key principle is maintaining your optics just slightly above the dew point.
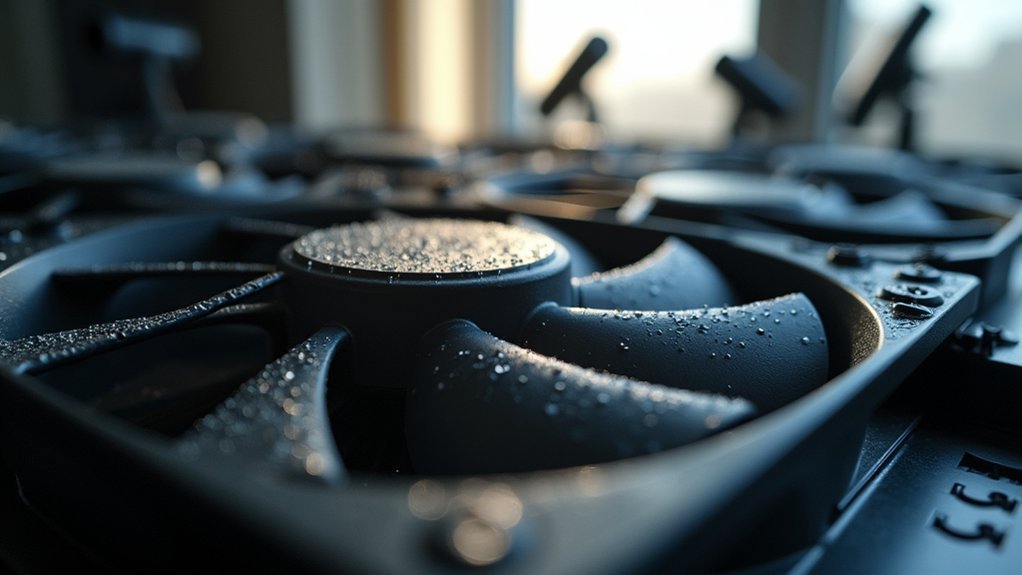
How Computer Fans Create Effective Air Circulation
Strategic placement of computer fans around your telescope creates targeted airflow that prevents cold spots where dew forms most readily.
You’ll achieve peak results by implementing layered airflow techniques, positioning primary fans near optical surfaces and secondary fans to maintain broader air circulation patterns.
Adjusting your fans’ speed settings throughout your observing session allows you to respond to changing humidity conditions while minimizing power consumption and unwanted vibrations.
Strategic Placement Matters
The placement of computer fans around your telescope setup determines their effectiveness in combating dew formation. Unlike a traditional Dew Heater that requires specific mounting, fans offer flexibility in positioning to create ideal airflow patterns.
Position fans to direct air across optical elements where dew typically forms first—your primary mirror, eyepieces, and finder scope. Mount them high enough to encourage warm air circulation without introducing vibration to your instrument.
Angling multiple fans at different positions creates a thorough air movement system that maintains temperatures just high enough to keep surfaces dew free.
For maximum effectiveness, place at least one fan near your equipment storage area to prevent moisture accumulation on accessories. This strategic approach guarantees your entire system stays dry throughout your observing session with minimal power consumption.
Layered Airflow Techniques
Creating multiple layers of air movement forms the core principle behind effective computer fan dew control. When you position fans strategically, they draw cooler environmental air and push it across heat-generating components, preventing moisture buildup on your sensitive optics or electronics.
Last year, astronomers discovered that laminar airflow from computer fans maintains consistent surface temperatures, dramatically reducing condensation risks compared to single-point heating solutions. You’ll find this approach particularly effective because it eliminates dead spots where dew typically forms in stagnant air.
The quiet operation of modern computer fans won’t disturb your observing session while continuously circulating air. For maximum effectiveness, combine fans with minimal heating elements—this pairing guarantees warm air circulation throughout your setup while maintaining stable temperatures near critical components without excessive power consumption.
Speed Settings Optimization
When properly configured, computer fan speed settings release the full potential of your dew prevention system.
You’ll find that adjusting fan speeds allows you to respond dynamically to changing weather conditions throughout your observing session.
High-speed settings work excellently for quickly dispersing moisture-laden air that threatens to condense on your optics.
When conditions stabilize, switch to lower speeds to maintain airflow while minimizing atmospheric turbulence that could affect image quality.
This versatility gives you precise control over your viewing environment that expensive heaters can’t match.
You’re effectively moving large volumes of air with minimal power consumption, making this approach both effective and economical.
For best results, combine your enhanced fan setup with strategic heating elements to create a balanced system that manages moisture while maintaining ideal thermal conditions.
DIY Fan-Based Dew Prevention Systems Under $30
You’ll need only basic electrical knowledge to create a simple circuit connecting your 12V computer fan to a power source with an optional speed controller.
For the most cost-effective build, source computer fans from old PCs, purchase an inexpensive 12V battery pack from electronics retailers, and find switches at hardware stores or online marketplaces like Amazon.
The complete parts list typically includes a 12-volt fan, battery holder or power bank, toggle switch, and mounting hardware—all readily available for under $30 total.
Circuit Design Basics
Building an effective dew prevention system doesn’t require advanced electronics knowledge or expensive components. The core circuit consists of a 12V computer fan connected to a power source with a simple on/off switch.
You’ll need basic items like a resistor to control fan speed and prevent excessive airflow that might cool your optics too quickly. For power, repurpose an old laptop charger or use a portable 12V battery pack for field operations.
To enhance functionality, add a temperature sensor that automatically activates the fan when conditions favor dew formation. This automation guarantees your optics stay clear without constant monitoring.
Many astronomy enthusiasts follow Gary Honis’ detailed schematics available online, which provide step-by-step guidance for creating reliable systems.
With these simple circuit elements, you’ll create a solution that outperforms commercial dew heaters at a fraction of the cost.
Parts Sourcing Guide
With the circuit design fundamentals covered, let’s explore where to find the components for your dew prevention system.
You’ll need just a few affordable items to get started. Computer fans can be purchased from local electronics stores or online marketplaces like Amazon and eBay for only $10-15.
For power, a basic 12V adapter costs around $5, though USB-powered fans provide an even more convenient option if you already own a laptop or power bank.
Consider adding a fan speed controller (approximately $10) to regulate airflow and reduce unwanted turbulence during observations. This small investment gives you greater control over your setup’s performance.
When you encounter questions during assembly, numerous online guides and astronomy community forums offer free troubleshooting advice, ensuring your DIY system works reliably at a fraction of commercial prices.
Power Consumption: Fans vs. Heating Elements
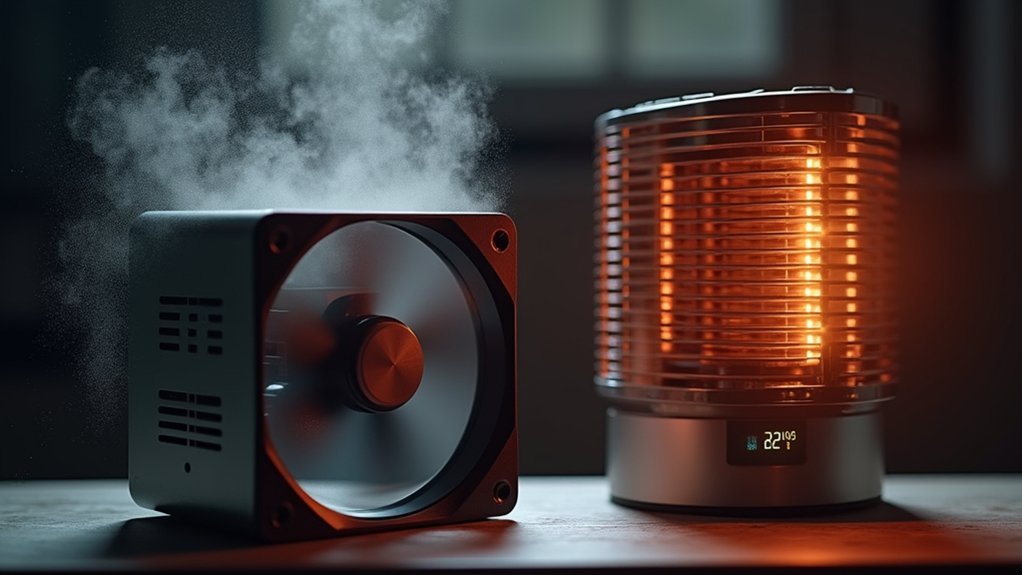
Energy efficiency makes computer fans a compelling choice for dew control when compared to heating elements. While both convert electrical energy to heat, fans operate at notably lower wattage than dedicated heaters, which typically require 4-5 watts even for small heating tasks.
You’ll notice immediate cost benefits when using fans instead of heating elements. Fans effectively circulate existing warm air around your equipment without requiring additional power sources. This gentle airflow prevents dew formation while minimizing energy consumption.
Fans move existing warm air to prevent dew, eliminating the need for additional power-hungry heating elements.
For astronomers conducting outdoor observations, this efficiency difference becomes essential. Your battery life extends greatly when using fans instead of power-hungry heaters.
The lower operational costs of fan-based dew control systems make them not just effective alternatives, but the smarter economic choice for maintaining clear optics throughout your observation sessions.
Preserving Image Quality Without Thermal Distortion
Computer fans provide uniform airflow distribution that helps maintain consistent temperatures across your telescope’s optical surfaces, preventing the image-degrading thermal distortion common with traditional heating methods.
You’ll notice sharper star images and better contrast as the gentle air circulation eliminates temperature gradients that could otherwise warp light paths through your optics.
These balanced thermal conditions are especially critical during long-exposure astrophotography, where even subtle distortions can greatly impact the resolution and clarity of your celestial captures.
Air Flow Distribution Benefits
Three significant advantages emerge when utilizing computer fans for dew control in astrophotography: uniform temperature management, prevention of thermal distortion, and preservation of image quality.
Unlike traditional heaters that often create hotspots, computer fans distribute air evenly across your optical equipment. This uniform circulation prevents localized heating that can distort your images.
You’ll experience clearer, more accurate observations as the consistent airflow minimizes temperature differentials that cause troublesome tube currents.
The gentle, even cooling maintains optical surfaces at consistent temperatures, drastically reducing dew formation without the risk of overheating.
This balanced approach not only protects your equipment’s longevity by avoiding thermal stress but also conserves power during extended viewing sessions.
You’re effectively getting superior performance while using less energy than conventional heating methods.
Thermal Gradient Management
While traditional dew prevention methods often create problematic temperature inconsistencies, computer fans excel at managing thermal gradients across your optical equipment.
They introduce gentle, consistent heating that maintains uniform temperatures on optical surfaces without distorting your images.
Unlike harsh heating elements, fans help you:
- Establish even temperature distribution, minimizing tube currents that blur celestial objects
- Prevent dew formation while allowing your telescope to properly cool to ambient temperature
- Extend your observation sessions by avoiding heat-induced turbulence that degrades image quality
Adapting Computer Fans for Different Telescope Types
Astronomical equipment of all types can benefit from strategically placed computer fans as dew prevention solutions. For SCT owners, gentle airflow helps maintain temperatures closer to ambient levels, simultaneously preventing dew formation and minimizing disruptive tube currents.
Properly circulated air keeps your optics clear while preserving the stability needed for precise observations.
If you’re using a Newtonian telescope, position fans to circulate air throughout the optical tube. This reduces localized cooling that often leads to dew accumulation on your primary mirror and secondary optics.
What makes computer fans particularly valuable is their versatility across different telescope designs. You’ll find them easier to mount and configure than specialized equipment, while drawing less power than traditional dew heaters.
This adaptability means you don’t need different solutions for each telescope in your collection—one approach works universally, keeping your views crystal clear regardless of your preferred instrument.
Real-World Success Stories From Amateur Astronomers
Across online forums and star parties nationwide, countless amateur astronomers have transformed their observing experiences using simple computer fans as dew control solutions.
Their success stories consistently highlight how this DIY approach outperforms expensive commercial options.
Users report three key benefits:
- Extended viewing sessions – Many astronomers now observe for hours longer without optical fogging issues.
- Improved image quality – The gentle airflow prevents dew without creating the heat turbulence common with traditional heaters.
- Significant cost savings – Repurposing old computer fans provides effective dew control for under $10, compared to commercial systems costing $100+.
These real-world testimonials confirm what budget-conscious stargazers have discovered: you don’t need expensive equipment to solve dew problems effectively.
The astronomical community’s collective experience validates this approach as both practical and reliable.
Battery Life Extension During All-Night Sessions
Since power management remains a critical concern for overnight astronomy sessions, computer fans offer a significant advantage as dew control solutions. Drawing only 4-5 watts, these fans consume substantially less power than traditional heaters, preserving your battery capacity when you need it most.
You’ll appreciate how fans maintain uniform temperatures across your optics without the excessive power drain that heaters demand. While heaters quickly deplete batteries, fans operate efficiently throughout the night, extending your observation time without interruption.
This practical approach means you won’t need to pack extra batteries or worry about premature equipment shutdown. Many astronomers report completing entire all-night sessions on a single battery charge when using fan-based systems, eliminating the frustration of recharging during prime viewing hours.
Weather-Proofing Your Fan System for Outdoor Use
Moisture presents a significant challenge when using computer fans as dew control solutions in outdoor settings. To protect your equipment from the elements, you’ll need to properly weatherproof your setup.
Weatherproofing is essential when deploying computer fans outdoors to combat dew formation.
Select fans with IP65 or higher ratings to guarantee protection against dust and water ingress. These specialized units withstand outdoor conditions far better than standard computer fans.
For ideal durability and effectiveness:
- Install fans in sheltered locations (under awnings or inside protective cases)
- Use weatherproof cables and connectors for all electrical connections
- Perform regular maintenance by cleaning components and checking seals
Even with proper waterproofing, periodic inspection remains essential.
Combining Fan Systems With Basic Dew Shields
While fan systems alone offer substantial protection against dew formation, pairing them with basic dew shields creates a remarkably effective combination for astronomical equipment.
This synergy works by maintaining consistent airflow around your optics while the shield provides a physical barrier against humidity buildup.
You’ll find that DIY shields made from cardboard or fabric are cost-effective complements to your fan system. Together, they minimize cold spots and circulate warm air without introducing the viewing-quality issues that heating fans can cause through turbulence.
This combination not only prevents moisture accumulation but also extends your equipment’s lifespan by reducing humidity exposure during observing sessions.
You’ll get extensive dew protection without the high energy consumption of expensive heaters—making this approach both economical and efficient for serious stargazers.
Seasonal Adjustments for Your Fan-Based Setup
After mastering the combined shield-fan approach, you’ll need to adapt your dew control strategy as the seasons change. Your fan-based system requires seasonal tuning to maintain ideal performance throughout the year.
1. Adjust fan speeds seasonally – Increase speeds during humid months to enhance airflow and reduce moisture buildup.
In colder weather, lower speeds to balance dew prevention while minimizing disruptive thermal currents.
2. Implement regular maintenance – Check and clean filters and vents during seasonal shifts to prevent dust buildup that impedes airflow efficiency.
3. Monitor and respond to conditions – Use programmable fans with temperature sensors for automatic adjustments based on changing environmental factors.
Track humidity levels to make informed operational changes, especially in regions with fluctuating climates.
Frequently Asked Questions
Do I Need a Dew Heater Controller?
Yes, you’ll need a dew heater controller if you observe in humid conditions. It prevents condensation on your optics, maintains ideal temperatures, and extends your viewing sessions without interruptions from fogged equipment.
What Does a Dew Heater Do?
A dew heater keeps your telescope optics warmer than the surrounding air, preventing moisture condensation that would ruin your viewing. You’ll maintain clear observations even in humid conditions without interruptions from foggy lenses.
How to Power Celestron Dew Heater Ring?
You’ll need a 12V power source that delivers 2-3 amps. Connect your Celestron dew heater ring to a dew controller via the RCA jack. Portable batteries or jump starters work well for field use.
In Summary
You’ve now discovered why simple computer fans are the smart astronomer’s choice for dew control. They’re drastically cheaper than commercial heaters, use less power, and work just as effectively when properly set up. As you continue your stargazing journey, you’ll appreciate their silent operation and adaptability to different telescopes. Don’t waste money on expensive alternatives—your DIY fan system will keep your optics clear all night long.


Leave a Reply