
To capture stunning Moon photos with a portable telescope, allow your equipment to acclimate outdoors, use a telephoto lens (300mm minimum), and mount your camera properly with T-rings or smartphone adapters. Schedule sessions during the First Quarter for dramatic shadows, and employ exposure bracketing with ISO 100 at varying shutter speeds. Combat atmospheric turbulence by stacking multiple images from high-speed captures. These fundamental techniques will transform your lunar photography from basic to breathtaking.
5 Moon Photography Strategies for Portable Telescopes
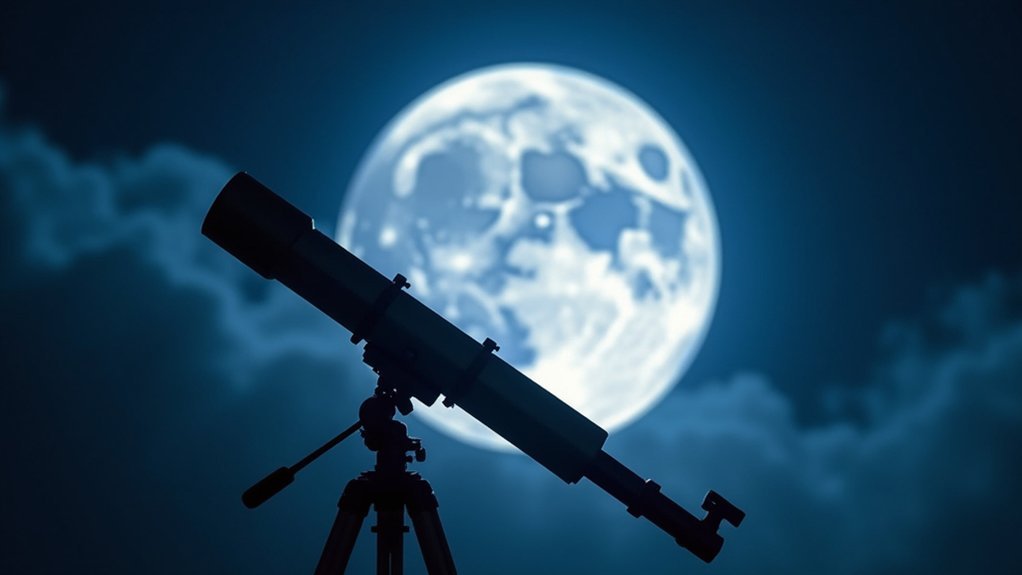
While capturing the moon might seem challenging with portable equipment, your telescope can produce stunning lunar images with the right approach.
For best results, use a telephoto lens with at least 300mm focal length, though 2000mm is ideal for detailed views of the moon’s surface.
Before shooting, allow your telescope to acclimate to outdoor temperatures to enhance image clarity.
Connect your DSLR camera using T-Rings and T-Adapters, or utilize smartphone adapters if you don’t own a DSLR.
When focusing on the moon, switch to live view mode and disable autofocus to maintain precise control.
Take at least 40 images for later stacking, which dramatically improves detail while reducing noise.
This technique transforms even portable telescope photographs into impressive lunar portraits.
Leveraging the Lunar Cycle for Optimal Imaging Sessions
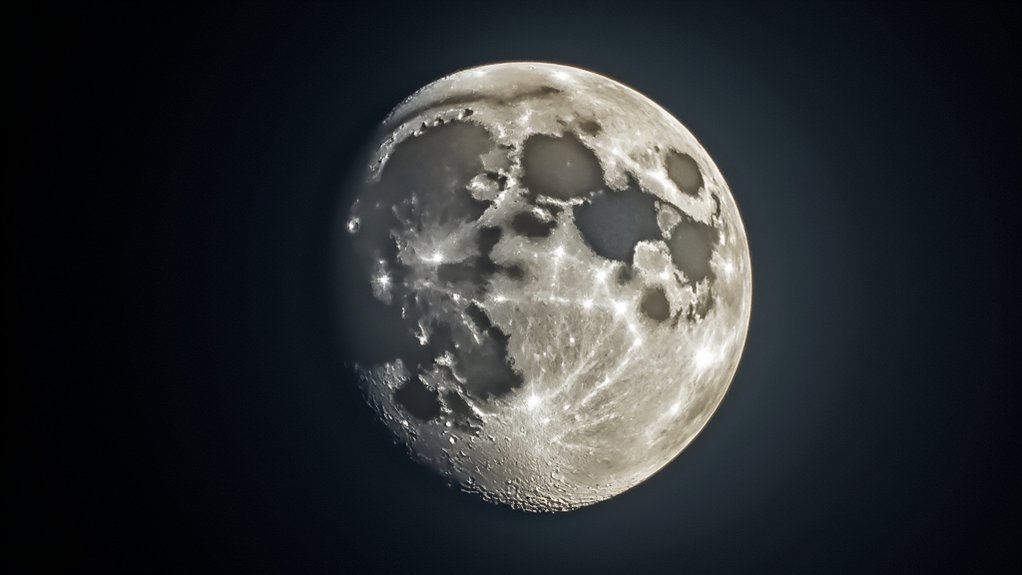
Although many photographers focus solely on equipment, understanding the lunar cycle can dramatically elevate your moon photography. The First Quarter Moon offers exceptional shadow contrast, making craters and mountains stand out vividly when photographing the Moon.
You’ll achieve clearer results by scheduling ideal imaging sessions when the Moon is near zenith, minimizing atmospheric distortion.
Don’t overlook the thin crescent phase, which provides rare opportunities to capture Earthshine, while avoiding the Full Moon’s flat lighting.
For maximum detail, plan your sessions 1-3 days before or after the New Moon, when illumination gradually reveals unique surface features.
Use online lunar calendars or apps like Stellarium to predict exactly when specific lunar phases will occur and which features will be perfectly illuminated for your imaging goals.
Counteracting Atmospheric Turbulence With Portable Gear
Despite having the perfect lunar phase, atmospheric turbulence can quickly ruin your moon photography efforts. To combat this, invest in portable telescopes with at least 200mm aperture to gather more light and improve resolution when shooting under turbulent conditions.
Atmospheric turbulence is the silent enemy of lunar photography, demanding larger apertures to reveal fine details during less-than-ideal conditions.
Employ high-speed imaging techniques by capturing multiple frames in rapid succession, then stack the sharpest images to minimize atmospheric distortion. Adding a tracking mount keeps the moon centered in your field of view, enhancing image stability throughout your session.
Plan your lunar photography around ideal seeing conditions using services like Clear Dark Sky.
Don’t forget to let your equipment acclimate to outdoor temperatures before shooting to reduce thermal turbulence. This simple step greatly improves image clarity by eliminating temperature differentials that can distort your view of lunar details.
Camera Mounting Techniques for Maximizing Focal Length
Three essential mounting techniques can dramatically increase your focal length for capturing detailed moon photography.
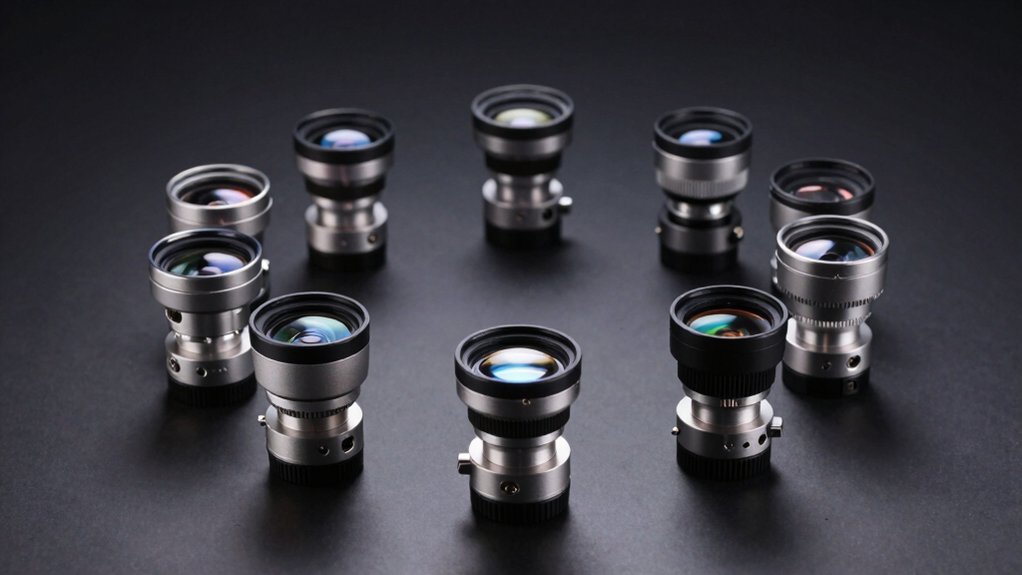
First, use the prime focus method by connecting your DSLR or mirrorless camera directly to your portable telescope using a T-Ring and T-Adapter specific to your camera model. This allows your telescope to function as the lens, utilizing its full optical power.
Second, choose telescopes with focal lengths exceeding 2000mm, like Celestron SCTs, to achieve closer views of lunar features. Verify proper alignment and balance when mounting your camera to maintain stability during imaging sessions.
Third, if you’re using a smartphone, attach an eyepiece projection adapter to magnify the moon’s image, though this won’t match the focal length capabilities of dedicated camera systems mounted directly to your telescope.
Exposure Bracketing for Capturing Lunar Surface Detail
Once you’ve secured your camera properly with the right mounting technique, mastering exposure becomes your next challenge. The moon’s high brightness creates difficulties in capturing its subtle details in a single shot.
Implement exposure bracketing by taking multiple images at varying settings. Try ISO 100, f/8, with shutter speeds from 1/125 to 1/800 seconds to reveal both bright highlands and darker maria. For best results, capture at least three to five images per setting.
Always use a tripod and remote shutter release to eliminate camera shake across your bracketed shots. This stability is vital when working with multiple exposures.
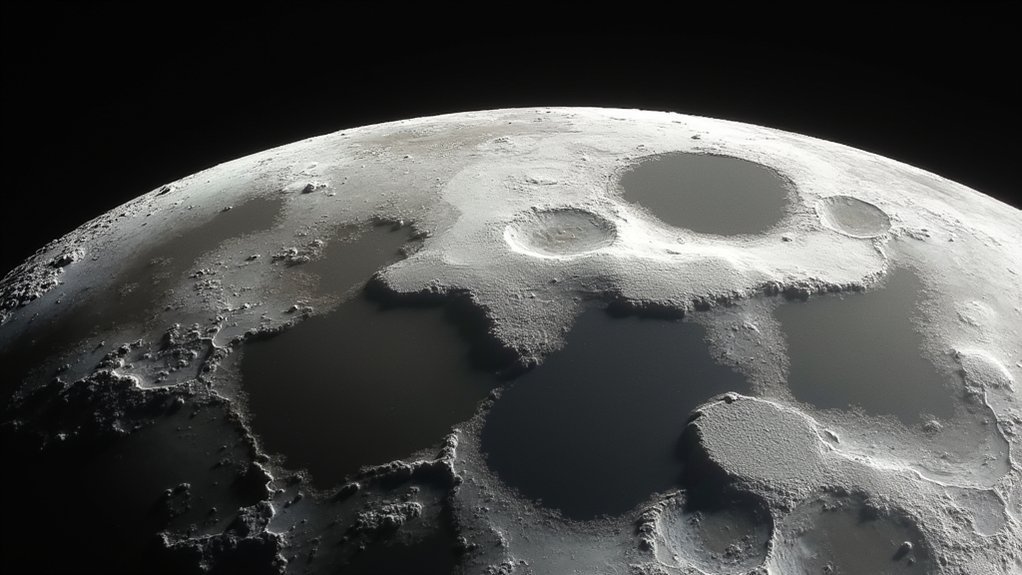
Later, combine your bracketed images in post-processing software to merge the best elements from each exposure, revealing craters and surface features that would be lost in a single-exposure approach.
Frequently Asked Questions
How to Take a Photo of the Moon With a Telescope?
You’ll need to attach your camera to the telescope using a T-adapter, set low ISO (50-100), use fast shutter speed (1/125-1/800), focus carefully with live view, and shoot multiple images for stacking.
What Is the 500 Rule for Moon Photography?
The 500 rule helps you avoid star trails in moon photography. Divide 500 by your lens’s focal length to find the maximum shutter speed in seconds. For a 2000mm telescope, you’d use 0.25 seconds maximum.
What Is the 11 Rule for Moon Photography?
The 11 Rule helps you expose the moon correctly. Divide your ISO by 11 to determine shutter speed (ISO 100 = 1/11s). This prevents overexposure and preserves lunar details while keeping your aperture around f/11.
What Is the ISO Aperture Shutter Speed for Moon Photography?
For moon photography, you’ll want to use ISO 50-100, aperture f/8-f/11, and shutter speed 1/125-1/800. These settings will help you capture sharp lunar details while avoiding overexposure and motion blur.
In Summary
You’ve now got five powerful strategies to capture stunning lunar images with your portable telescope. By timing your sessions with the lunar cycle, counteracting atmospheric turbulence, optimizing your camera mount, and using exposure bracketing, you’ll reveal incredible surface details that once required professional equipment. Don’t wait for perfect conditions—grab your gear tonight and start documenting our celestial neighbor’s magnificent features in breathtaking detail.
Leave a Reply