
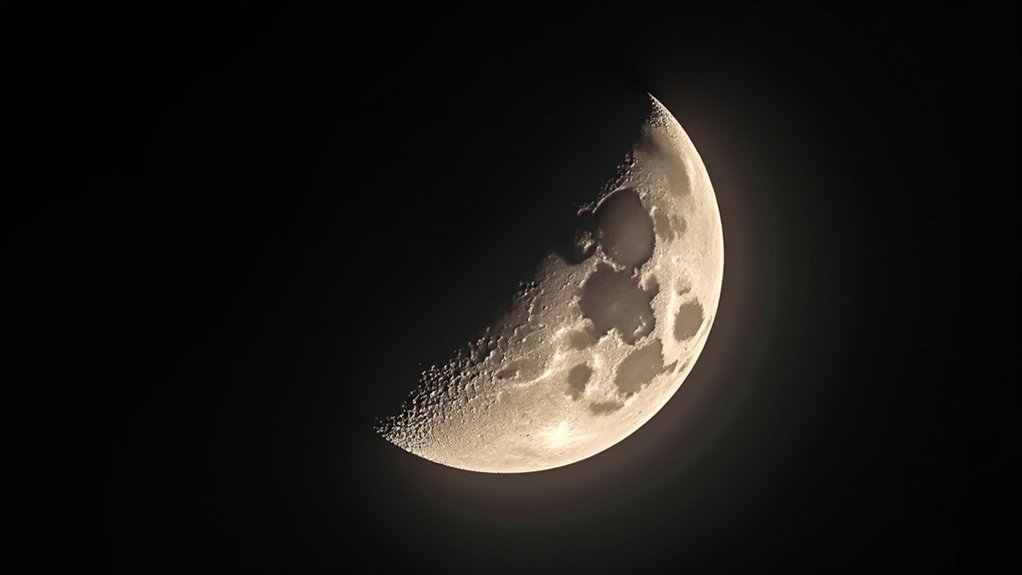
For beginner telescope photography, the crescent and quarter moon phases offer the best starting point. You’ll see dramatic shadows and enhanced crater details with less overwhelming brightness than the full moon. First quarter phase (when the moon is half-illuminated) provides excellent contrast along the terminator line where light meets dark. Use ISO 200-400 and faster shutter speeds (1/125s+) to capture clear details. The ideal lunar phases reveal a fascinating world of texture that improves with each photography session.
Understanding Moon Phases for Optimal Photography Timing
When planning your telescope photography sessions, understanding the moon’s phases becomes essential for capturing the celestial images you want. The lunar cycle directly impacts your viewing conditions and photography options.
For capturing faint objects, you’ll want the darkest skies that new moon phases provide, free from moonlight interference. As the moon shifts to a waxing crescent, you’ll still enjoy relatively dark skies while gaining the option to photograph some illuminated lunar features.
First quarter moons emit only 1/6th of a full moon’s brightness, offering a good balance for observing lunar details without excessive glare. The last quarter moon, rising around midnight, gives you evening darkness for deep-sky photography.
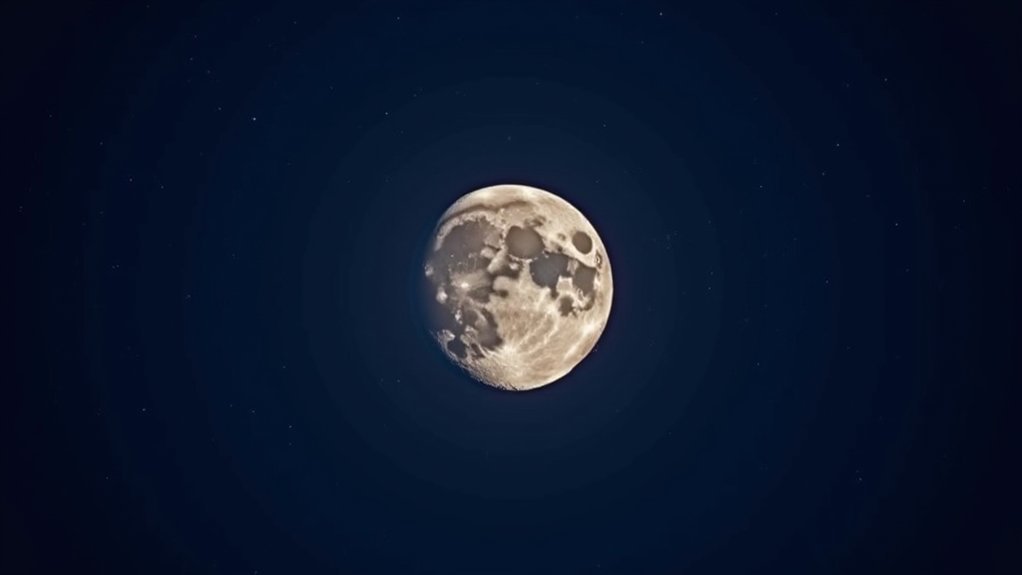
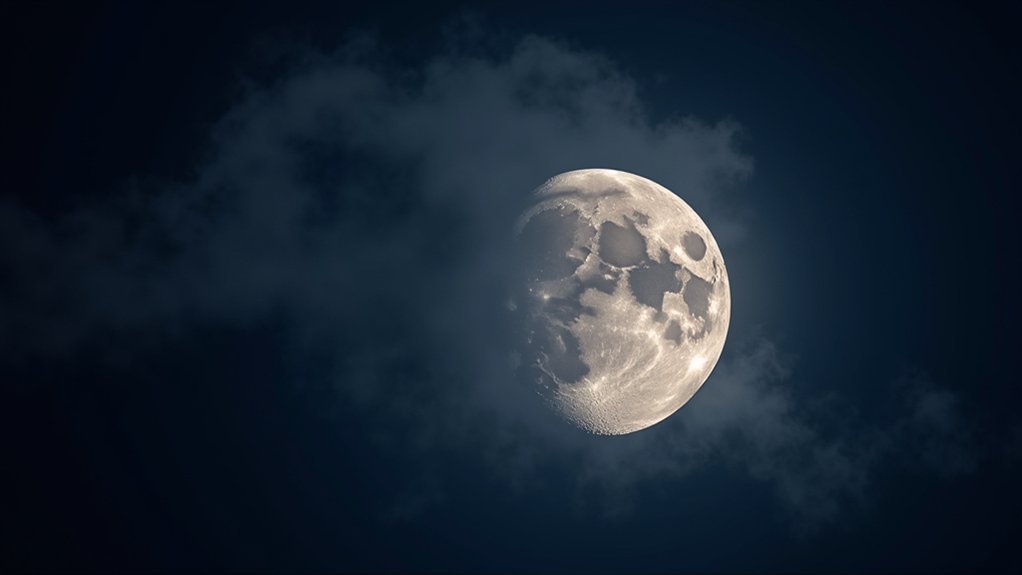
While full moons limit visibility of dim objects, they’re perfect for detailed lunar photography, highlighting craters and rays.
Why Crescent and Quarter Moons Offer Superior Detail Contrast
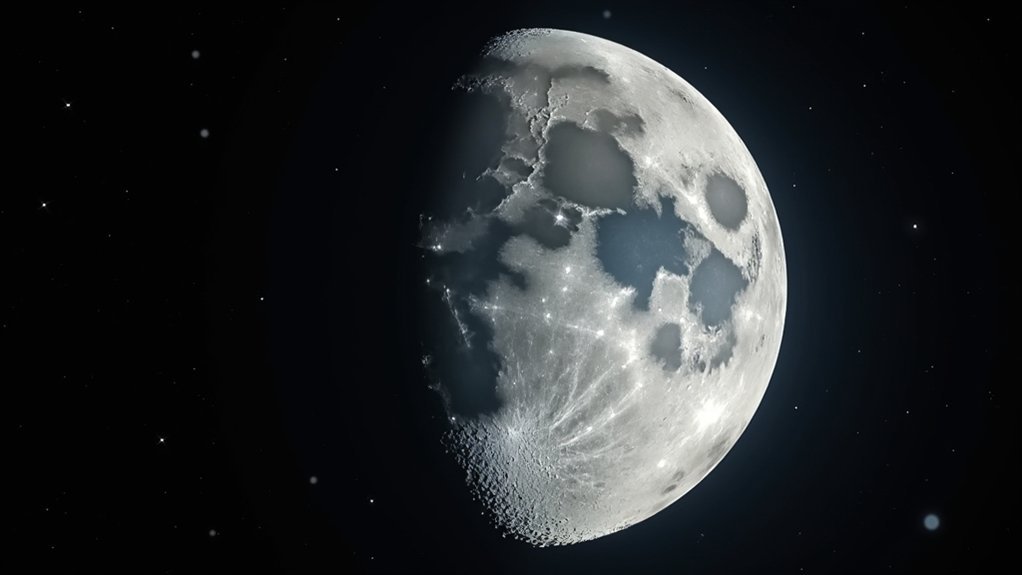
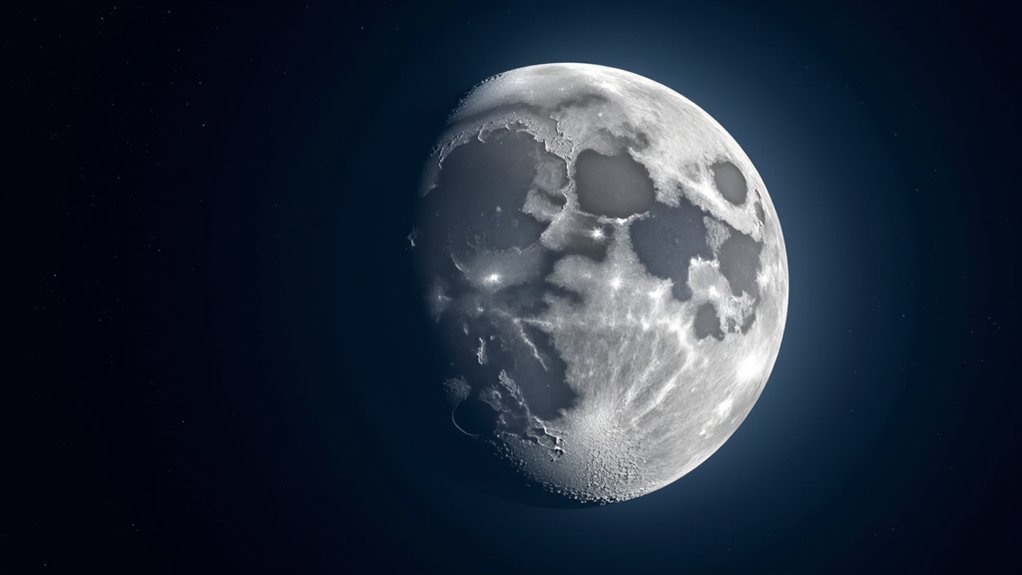
Although full moons display the entire lunar surface, crescent and quarter phases actually reveal far more impressive details through your telescope. When you photograph crescent moons, you’ll capture stunning detail contrast thanks to the low-angle sunlight creating sharp shadows that dramatically highlight craters and mountains.
- First quarter moon’s reduced brightness (just 1/6th of a full moon) minimizes glare while maximizing visible surface details.
- Last quarter moon offers enhanced contrast against the darker background of space.
- The interplay of light and shadow during these phases reveals lunar topography more clearly.
- You’ll find focusing and exposure settings much easier with these less-bright phases.
- The dynamic illumination changes during these phases provide a more engaging photographic experience as features emerge and recede.
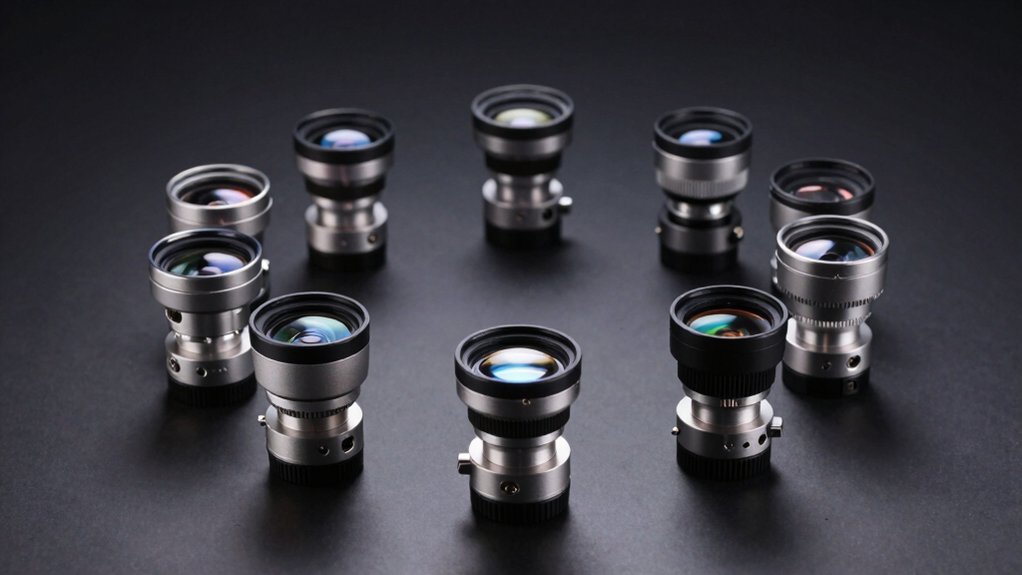
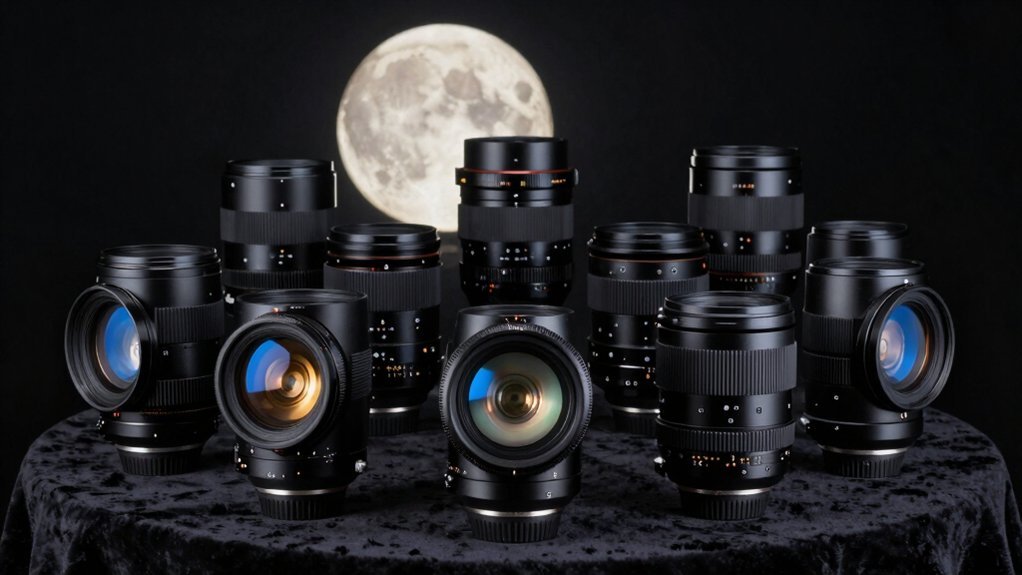
Equipment Considerations for Different Moon Phase Photography
During different lunar phases, you’ll need specific equipment to capture the moon’s beauty effectively.
When photographing bright phases, you’ll want neutral density filters and reduced aperture settings to manage the intense light, while darker phases require faster lenses and longer exposure capabilities.
Your mount’s stability becomes increasingly critical during longer exposures needed for new moon deep-sky imaging versus the shorter exposures typical of full moon photography.
Light Management Tools
The successful lunar photographer understands that managing light effectively can make the difference between a mediocre moon shot and a breathtaking celestial portrait.
You’ll need different filters depending on the moon phase you’re targeting.
- During crescent and quarter phases, attach a neutral density filter to tame brightness while preserving surface detail.
- For full moon photography, use polarizing filters to cut glare and enhance color saturation on the intensely bright lunar surface.
- When shooting near new moon, employ a light pollution filter to improve contrast by blocking artificial light.
- Pair your filters with appropriate aperture settings (f/9-f/20) to further control exposure in varying moonlight conditions.
- Remember that even the best light management tools require stability—always mount your camera on a sturdy tripod for sharp images.
Aperture And Filters
Now that you’ve mastered light management, let’s examine specific equipment requirements for capturing different lunar phases.
For ideal lunar photography, you’ll need a telescope with at least a 4-inch aperture to gather sufficient light for detailed images during all moon phases.
When photographing the full moon, use a neutral density filter to reduce brightness and prevent overexposure. A polarizer filter excels at minimizing glare and enhancing contrast, especially when the moon sits low on the horizon.
Don’t overlook smaller apertures (2-3 inches) during crescent and quarter phases—they can still capture impressive details thanks to pronounced shadows from craters and mountains.
For waxing and waning phases, try yellow or orange color filters to enhance surface features and make craters more visible.
Mount Stability Requirements
While quality optics gather light effectively, your mount’s stability ultimately determines image sharpness across all lunar phases.
For successful lunar photography, your equipment needs vary with each phase. During full moon, the increased brightness demands precise tracking to prevent motion blur. Consider investing in a tracking mount like the Sky-Watcher Star Adventurer 2i for maintaining proper framing.
- New moon requires minimal mount stability as you’ll likely focus on other celestial objects.
- Crescent and quarter phases work well with mid-level mounts like the EQ6-R.
- Full moon photography demands the most stable tracking due to intense brightness.
- Always use a remote shutter release to minimize camera shake.
- Match your mount’s capabilities to your target moon phase for best results.
Capturing Lunar Terminator Details During Partial Phases
When photographing the moon through a telescope, partial phases offer a remarkable advantage by highlighting the lunar terminator—that fascinating boundary between light and dark.
You’ll find the waxing crescent, first quarter, and waning crescent phases particularly rewarding, as the low-angle sunlight creates dramatic shadows that reveal surface textures.
The first quarter moon presents a well-defined terminator with exceptional contrast, showcasing craters and mountains in striking detail.
Waxing crescents provide clear terminator views without overwhelming brightness, while waning crescents reveal features often lost during full moon conditions.
For best results, use a telescope with at least 200mm focal length.
This equipment allows you to capture close-up details of the terminator’s intricate features, transforming your lunar photography from ordinary to extraordinary.
Managing Exposure Settings Across Changing Lunar Illumination
Because the moon’s brightness varies dramatically throughout its phases, mastering exposure settings becomes essential for successful telescope photography.
During the new moon, you’ll capture dimmer celestial objects without lunar interference. As the moon waxes into a crescent, adjust to ISO 200-400 while maintaining clarity for surface details.
- During first quarter (1/6 as bright as full), use shorter exposures to prevent overexposure while highlighting craters.
- Full moon photography requires faster shutter speeds (1/125s+) to avoid blown-out highlights.
- Adjust your aperture settings between f/9-f/20 to control light intake across different moon phases.
- New moon offers ideal conditions for capturing distant objects typically washed out by moonlight.
- Crescent phases provide balanced illumination—perfect for practicing intermediate exposure techniques.
Planning Your First Lunar Imaging Session Around Moon Phases
When planning your first lunar imaging session, you’ll find the waxing crescent phase offers exceptional detail along the terminator line where shadowed features create striking contrast.
During this phase, prominent craters and mountain ranges stand in sharp relief, allowing you to capture dramatic lunar landscapes with even modest equipment.
Waxing Crescent Advantage
For novice astrophotographers seeking that perfect first lunar shot, the waxing crescent phase offers distinct advantages over other lunar stages. This ideal opportunity occurs 1-7 days after the new moon, when the lunar surface is illuminated by just 1-49% of sunlight.
You’ll find this balance provides enhanced visibility of surface features without overwhelming brightness.
- Plan your imaging session shortly after sunset when the moon sits low on the horizon
- Capture craters and mountains with dramatic shadowing for striking detail
- Benefit from the darker sky background for improved contrast in your photos
- Experience potentially lower atmospheric turbulence for clearer images
- Practice focusing techniques on specific features that are dramatically highlighted during this phase
Full Moon Challenges
While the waxing crescent provides an ideal entry point for lunar photography, the full moon presents a different reality altogether. That dazzling brightness you see with the naked eye becomes a genuine obstacle when viewed through your telescope, washing out essential lunar details and flattening the contrast that makes craters pop.
You’re not completely out of luck, though. Try capturing images just before moonrise or after moonset when atmospheric filtering naturally reduces brightness. A neutral density filter is your ally here, taming the intense light while preserving surface features.
Don’t dismiss image stacking techniques—combining multiple shots can notably enhance detail despite the challenging full moon conditions.
As a beginner, you’ll find more rewarding results during the first and last quarter phases, where shadows create dramatic contrast that reveals the moon’s fascinating topography.
Post-Processing Techniques for Different Moon Phase Photographs
The final quality of your lunar photographs depends heavily on how you process them after capturing. Each moon phase requires specific editing approaches to reveal its unique details.
Post-processing transforms raw lunar captures into stunning images, with each phase demanding tailored editing techniques to showcase its distinctive features.
During new moon periods, adjust exposure settings to highlight stars without lunar interference. For crescent and quarter phases, apply stacking techniques to combine multiple images, reducing noise while enhancing detail.
- Full moon shots benefit from HDR processing to balance the bright surface with darker features.
- Apply selective color adjustments during gibbous phases to enhance crater details.
- Use noise reduction tools when working with high ISO images from dimmer lighting conditions.
- Implement sharpening filters strategically to bring out lunar textures without creating artifacts.
- Consider phase-specific contrast adjustments to highlight the terminator line where light meets shadow.
Moon Phase Calendar Tools and Resources for Beginner Astrophotographers
Once you’ve mastered post-processing techniques, planning your lunar photography sessions becomes your next priority. Using moon phase calendar resources will help you identify ideal imaging times for capturing the most detailed shots.
| Resource Type | Examples | Benefits for Beginners |
|---|---|---|
| Websites | Timeanddate.com | Location-specific phase data |
| Mobile Apps | Moon Phase Pro | Notifications for upcoming phases |
| Community Forums | Cloudy Nights, Astromart | Experienced photographer insights |
| Online Calendars | NASA Moon Calendar | Scientific accuracy and details |
| Social Media Groups | Facebook Astrophotography | Real-time tips and feedback |
For beginner astrophotographers, first and last quarter phases typically yield the best surface detail due to shadow enhancement of lunar craters. You’ll find these tools invaluable for planning future sessions, with many offering customizable features to match your specific location and equipment capabilities.
Frequently Asked Questions
What Is the Best Moon Phase for Photography?
For general photography, you’ll get the best moon shots during the first and last quarter phases when shadows enhance texture. Crescent moons also offer excellent detail while keeping the surrounding sky dark.
What Is the Best Moon Phase to Start Something?
The best moon phase to start something new is the new moon. You’ll benefit from fresh beginnings as you’re entering a growth cycle, just like the waxing moon building toward fullness.
What Is the 11 Rule for Moon Photography?
The 11 rule suggests you set your camera to f/11 aperture, 1/11 second shutter speed, and ISO 100 when photographing the moon. It’s a baseline that helps you capture lunar details without overexposure.
What Moon Phase Is Best for Astrophotography?
You’ll get the best astrophotography results during a new moon when skies are darkest. If you’re targeting the lunar surface itself, first and last quarter moons offer good visibility with reduced brightness.
In Summary
Remember, your most rewarding lunar images won’t come from the full moon, but during crescent and quarter phases when shadows create dramatic contrast along the terminator. Start with these partial phases, adjust your exposure settings accordingly, and use moon phase calendars to plan ahead. As you practice, you’ll develop your own preferences for capturing our celestial neighbor’s enchanting features through your telescope’s eye.
Leave a Reply