For beginner astrophotography, you'll find great value in Nikon's entry-level DSLRs like the D3500 or D5600, both under $1000. These cameras offer essential manual controls, high ISO capabilities up to 25,600, and RAW shooting for night sky work. Start with the D3500 at around $560 for its excellent low-light performance and user-friendly interface. When paired with a wide-angle lens and sturdy tripod, you'll have the foundation for capturing stunning star shots – but there's much more to mastering the night sky.
Understanding Nikon DSLR Camera Basics for Night Sky Photography
While many photographers dream of capturing stunning night sky images, mastering your Nikon DSLR's essential functions is fundamental for success.
You'll need to understand manual mode, which gives you complete control over aperture, shutter speed, and ISO settings – critical elements for night photography. Consider starting at ISO 800 as a baseline for night sky shots.
Your camera's RAW format capability is indispensable, offering greater flexibility when editing your shots later.
Shooting in RAW preserves vital image data, giving photographers the freedom to fine-tune their night sky captures during post-processing.
You'll want to pair your DSLR with a wide-angle lens featuring a large aperture (f/2.8 or f/3.5) to capture more of the night sky while maximizing light intake.
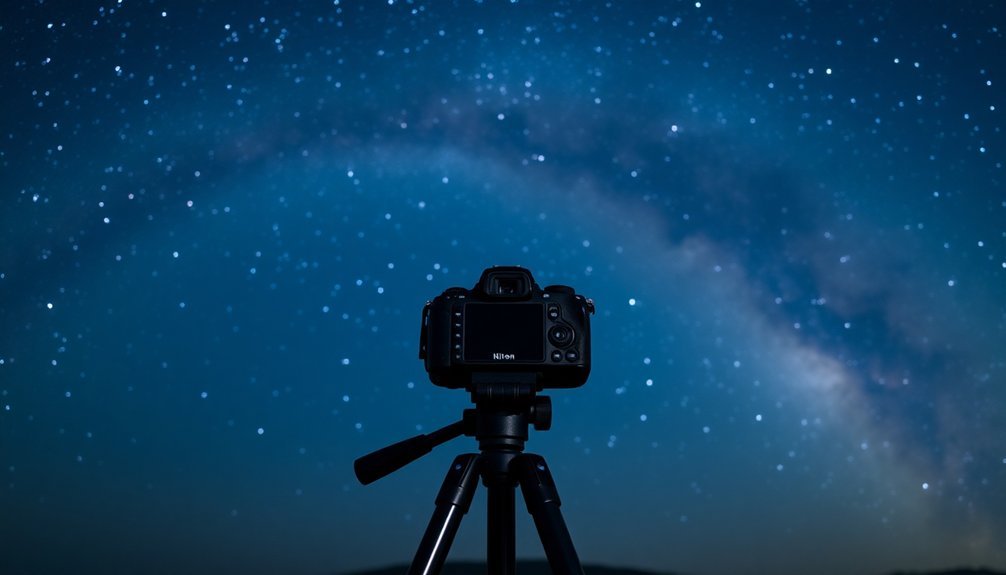
Don't forget that stability is non-negotiable; a sturdy tripod will prevent camera shake during the long exposures needed for star photography.
With these fundamentals mastered, you'll be ready to start your journey into astrophotography.
Top Nikon DSLR Models Under $1000 for Astrophotography
Now that you understand the basics of night sky photography, let's explore the best Nikon DSLR cameras under $1000 that can help you capture those stellar shots.
The Nikon D3500 offers an excellent entry point at around $560 with its kit lens, featuring an APS-C sensor and ISO range up to 25,600. While DSLRs like the D3500 are cost-effective options for deep-sky imaging compared to specialized astronomy cameras.
If you're willing to spend more, the D5600 provides enhanced capabilities with 39 AF points and similar ISO performance.
The D5300 remains a reliable choice specifically for astrophotography, while the D7500 boasts superior autofocus and an extended ISO range up to 51,200.
Don't overlook used options – you'll often find these models at remarkably lower prices on the secondary market, allowing you to invest the savings in essential accessories like a remote shutter release or telescope adapter.
Essential Camera Features for Capturing the Stars
To capture stunning star photos with your Nikon DSLR, you'll need solid manual control over exposure settings ranging from 10 to 40 seconds.
Your camera's high ISO performance matters greatly, as you'll often shoot between ISO 1600 and 6400 to collect enough starlight. A full frame sensor will give you superior light gathering capabilities in dark conditions.
Achieving sharp focus at night requires practice with your camera's manual focus mode and live view display, especially when autofocus struggles in the darkness.
Long Exposure Settings Matter
Long exposure settings serve as the foundation for successful astrophotography with your Nikon DSLR.
You'll need to master your camera's bulb mode or T-setting to achieve exposures far beyond standard shutter speeds. These modes give you complete control over your exposure duration, which is essential when capturing faint celestial objects.
Start by using the 500 rule to calculate your initial exposure time, but watch your histogram carefully to avoid overexposing bright objects like galaxy cores. For optimal results, ensure your histogram peak stays within 1/3 from the left of the graph.
As you're shooting, you'll need to account for Earth's rotation, which can cause star trails in longer exposures unless you're using a tracking mount.
Consider taking multiple exposures that you can later stack using specialized software – this approach helps reduce noise while maintaining image quality, especially when shooting at higher ISO settings.
ISO Performance For Stars
Mastering ISO performance is essential for capturing stunning star photographs with your Nikon DSLR. You'll want to work within ISO ranges between 1000 and 4000 for ideal results, though your specific camera model will influence the ideal settings. Entry-level cameras like the D3400 might struggle with noise at higher ISOs, while professional models like the D850 excel in low-light conditions. Using center-weighted metering mode will help ensure accurate exposure readings when shooting starlit landscapes.
| ISO Range | Performance Notes |
|---|---|
| 1000-2000 | Minimal noise, ideal for bright stars |
| 2000-3000 | Good balance of sensitivity and clarity |
| 3000-4000 | Better for faint objects, more noise |
| 4000+ | Use only when necessary, significant noise |
Start with lower ISOs and gradually increase until stars become visible. If your camera offers ISO invariance, like the D850, you can underexpose slightly and adjust in post-processing to maintain better dynamic range while controlling noise.
Focus Control At Night
When capturing stars with your Nikon DSLR, proper focus control becomes essential since traditional autofocus often fails in low-light conditions.
You'll need to switch to manual focus mode and use your camera's live view feature to zoom in on bright stars. For the sharpest results, turn your focus ring until stars appear as tiny points of light rather than blurry dots.
If you're having trouble focusing, shine a bright flashlight on a distant object to help establish focus. Your camera's focus peaking feature can also highlight areas in crisp focus with colored indicators.
Remember to use a sturdy tripod and the camera's built-in timer to prevent any shake. The screen magnification feature allows you to zoom up to eight times closer for more precise focusing on celestial objects.
While it takes patience to master night focusing, developing muscle memory for handling your controls in the dark will greatly improve your success rate.
Getting Started With Basic Astrophotography Equipment
To begin your astrophotography journey, you'll need essential accessories like T-rings to connect your Nikon DSLR to a telescope, and a remote shutter release to prevent camera shake during long exposures.
When selecting your first mount, an equatorial design will help track celestial objects as they move across the night sky, compensating for Earth's rotation. The Sky-Watcher EQ6-R Pro is a recommended option for beginners seeking reliable tracking performance.
While advanced autoguiding systems can enhance your results, you can start with a basic tracking mount to learn fundamental techniques and gradually build your equipment collection.
Essential Camera Accessories Needed
Since successful astrophotography relies heavily on the right equipment, you'll need several essential accessories beyond just your Nikon DSLR. Let's break down the must-have items you'll want to add to your kit:
| Essential Item | Purpose |
|---|---|
| Sturdy Tripod | Stabilizes camera during long exposures |
| Remote Shutter | Prevents camera shake when shooting |
| T-Ring/Adapter | Connects camera to telescope |
| Filters | Reduces light pollution and noise |
| Power Source | Keeps equipment running all night |
Stability is absolutely critical for capturing clear night sky images, so many photographers opt for a Sky-Watcher Star Adventurer as an excellent entry-level tracking mount. Don't forget to invest in quality image processing software – while Adobe Lightroom and Photoshop are industry standards, free alternatives like DeepSky Stacker can get you started. Planning apps like PhotoPills or Stellarium will help you identify the best shooting locations and times for capturing celestial objects.
Choosing Your First Mount
Beyond accessories, selecting the right mount serves as the foundation of your astrophotography journey. For your first mount, you'll want to balance simplicity with functionality.
If you're just starting out, consider an Alt-Azimuth or Dobsonian mount – they're user-friendly and won't break the bank. A reliable star tracker mount can help eliminate star trails in your long-exposure shots of the night sky.
However, if you're serious about deep-sky photography, you'll need an equatorial mount's tracking capabilities. While these mounts require more learning to master polar alignment, they're essential for long-exposure shots.
Look for one that's compatible with your Nikon DSLR and can support your planned telescope setup.
Don't forget to factor in portability and stability – you'll want a mount that's both easy to transport and sturdy enough to prevent camera shake during long exposures.
Camera Settings and Techniques for Night Sky Shots
Night sky photography presents unique challenges for beginner Nikon DSLR users, requiring specific camera settings and techniques to capture stunning celestial images.
You'll want to start by setting your camera to manual mode and selecting a wide aperture like f/2.8 to maximize light collection.
Set your shutter speed between 15-25 seconds to prevent star trails, and begin with an ISO of 1600.
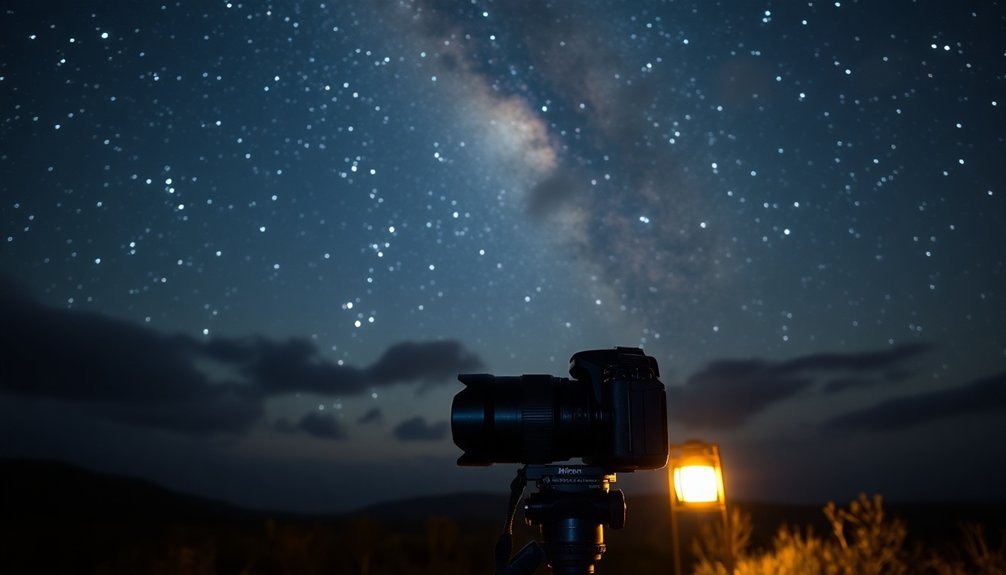
Switch to manual focus and RAW format for better control. You'll need a sturdy tripod and remote trigger to minimize camera shake during long exposures.
Consider using the mirror lock-up feature for added stability. The Nikon 35mm f/1.8G lens offers excellent sharpness and low-light performance for astrophotography.
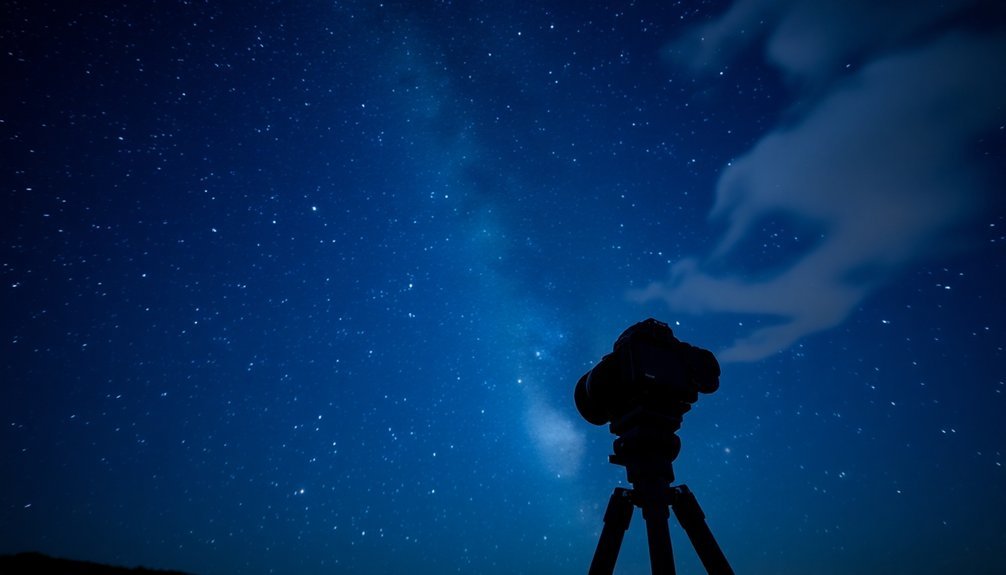
For the clearest shots, shoot during the darkest hours and find locations away from light pollution.
Use apps like Star Walk to locate celestial subjects, and don't forget to include interesting foreground elements in your composition.
Popular Night Sky Subjects for Beginner Photographers
Looking to capture your first celestial photographs? Start with the Moon – it's bright, accessible, and perfect for practicing your camera settings.
The Pleiades star cluster and Orion Nebula offer stunning opportunities for deep-sky imaging while remaining relatively easy to locate and photograph.
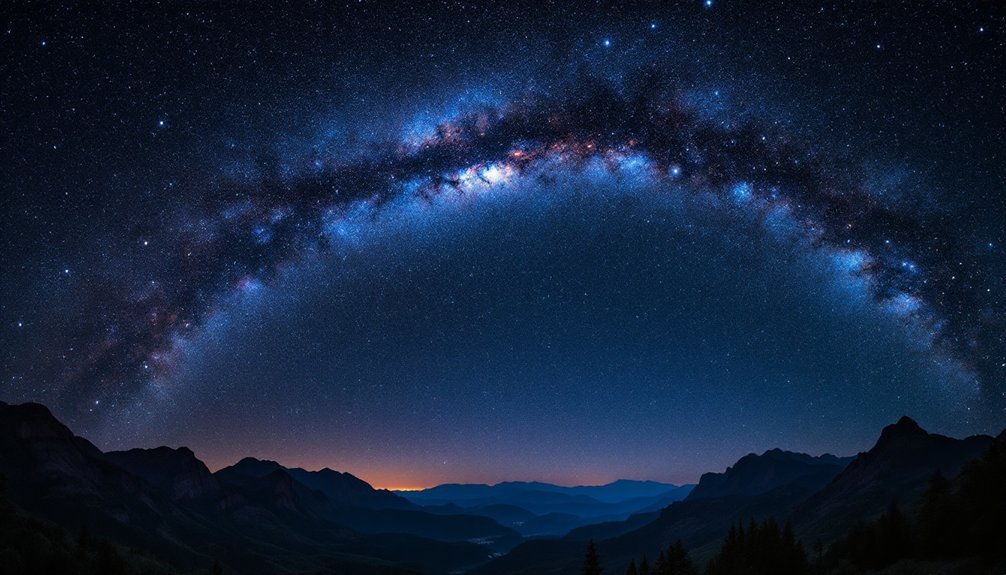
For dramatic compositions, try photographing the Milky Way using a wide-angle lens during summer nights. You'll get the best results in remote locations away from city lights. Consider using image stacking software to reduce noise and enhance detail in your Milky Way shots.
Star trails can create mesmerizing images through long exposures, while nightscapes let you combine landscape elements with celestial objects.
Don't overlook bright planets like Jupiter, Mars, and Venus – they're excellent targets for beginners.
Remember that different seasons bring unique viewing opportunities, so plan your shoots according to what's visible in the night sky.
Frequently Asked Questions
Can I Use Regular UV Filters for Astrophotography With My Nikon DSLR?
You shouldn't use UV filters for astrophotography, as they'll only reduce light transmission. Instead, consider using light pollution filters (CLS) or specialized astronomical filters when shooting the night sky.
How Often Should I Clean My Camera Sensor for Night Sky Photography?
You'll need to clean your sensor whenever you notice dust spots in your night sky images. Check before each shoot and clean monthly if you're changing lenses often or shooting in dusty conditions.
Does Shooting in Cold Weather Affect Battery Life During Long Exposures?
Yes, cold weather greatly reduces your battery life during long exposures. You'll want to keep spare batteries warm in your inner pockets and consider using hand warmers for extended shooting sessions.
Should I Disable In-Camera Noise Reduction for Star Trail Photography?
Yes, you'll want to disable in-camera noise reduction for star trails. It creates gaps between exposures and limits continuous shooting. Instead, use post-processing software to manage noise while maintaining better control over results.
Are Third-Party Lenses as Effective as Nikon Lenses for Astrophotography?
Yes, third-party lenses can be just as effective, and sometimes better, than Nikon lenses for astrophotography. You'll find many third-party options offer wider apertures and excellent optical quality at lower prices.
In Summary
Start your astrophotography journey with any of these beginner-friendly Nikon DSLRs, and you'll be capturing stunning night sky images in no time. Remember to invest in a sturdy tripod, practice your manual settings, and be patient as you learn. Don't let gear limitations hold you back – even entry-level cameras can produce amazing results when you've mastered the basics of night sky photography.

Leave a Reply