When shopping for telescope adapters, you'll need to match your camera type with the correct adapter system. T-adapters and eyepiece adapters (1.25" or 2" Vixen) are the most common options, with T-rings specifically designed for DSLR or mirrorless cameras. Consider your telescope's design, as different types require specific adapters. Premium metallic options offer durability, while plastic adapters work for beginners. Understanding mount compatibility and proper setup techniques will help you capture stunning celestial images.
Understanding Basic Telescope Adapter Types
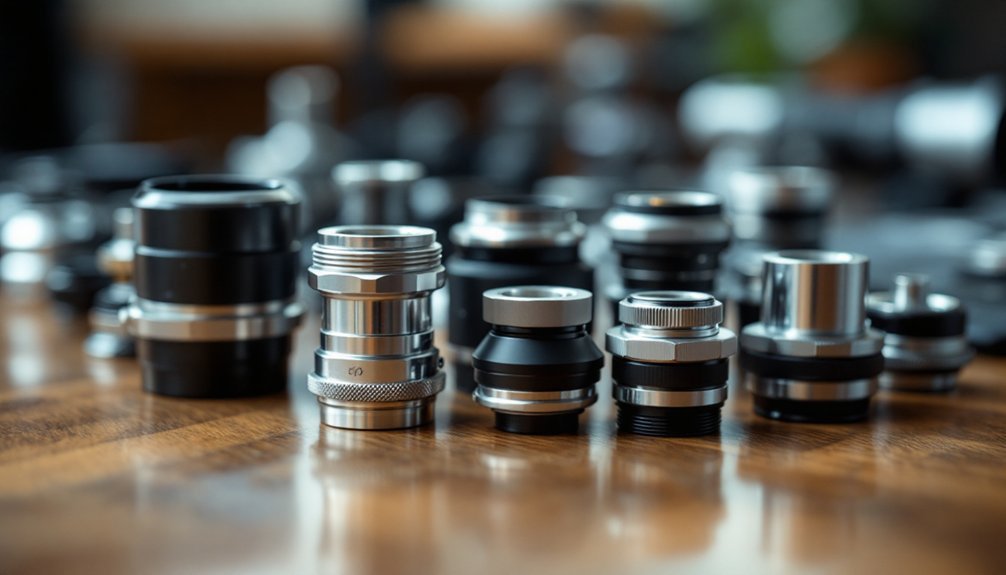
Stargazers often find themselves puzzled by the world of telescope adapters. When you're shopping for adapters, you'll encounter several basic types designed for specific purposes.
If you're using a DSLR or mirrorless camera, you'll need a T-adapter to connect your camera to the telescope. For visual observation, you'll want to focus on eyepiece adapters that follow standard sizes like 1.25" or 2" Vixen. A proper adapter setup becomes especially important when using an equatorial tracking mount for long-exposure photography.
Your choice should match both your telescope's mount and your intended use. For astrophotography, look for adapters with anti-backlash features and precise focusing mechanisms. Quick-release systems can make setup and breakdown much easier.
Choose adapters that suit your telescope setup and goals, prioritizing anti-backlash and precise focusing features for serious astrophotography work.
While premium metallic adapters offer durability, plastic options work well for beginners on a budget. Remember to check compatibility with your specific equipment before making a purchase.
Selecting the Right Mount for Your Camera
How do you guarantee your astrophotography setup remains stable and precise? Choosing the right mount is essential for your success. Consider your camera's weight and intended use when selecting a mount that'll support your equipment effectively.
| Mount Type | Best For | Weight Capacity | Tracking |
|---|---|---|---|
| Equatorial | Deep sky | High | Precise |
| Altazimuth | Visual/Short exposure | Medium | Basic |
| Fork | Catadioptric | Medium-High | Good |
| Dobsonian | Visual only | Very High | Manual |
For deep-sky photography, you'll want an equatorial mount with computerized tracking. If you're focusing on planetary imaging, a fork mount might serve you better. Don't forget to check the mount's payload capacity – it should handle at least twice your equipment's weight for ideal stability. Modern GoTo systems can enhance your shooting precision, while digital controls offer finer adjustments for perfect framing. The German Equatorial Mount requires a large counterweight to maintain proper balance during long exposure shots.
Essential Compatibility Factors to Consider

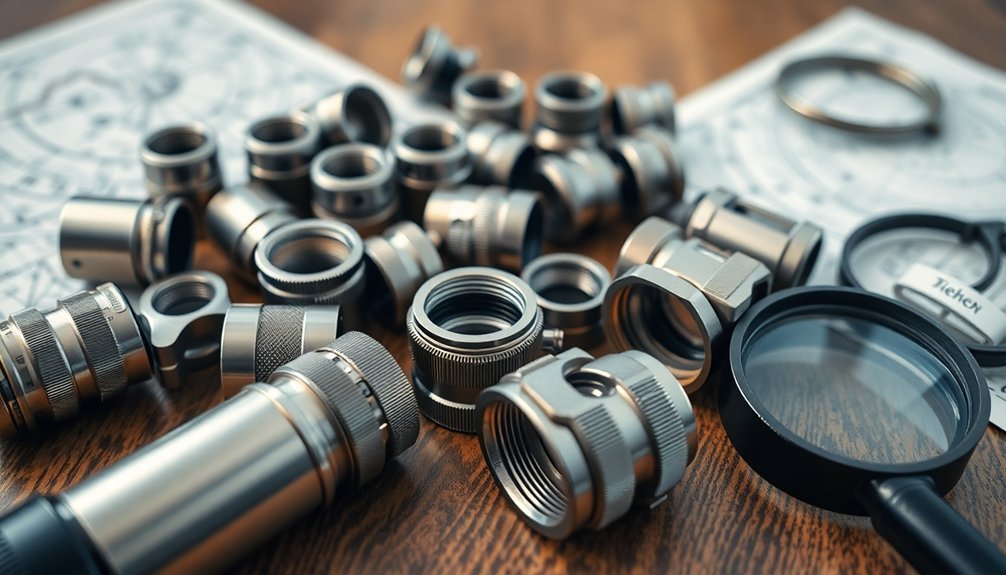
Once you've secured the right mount, connecting your camera to your telescope demands careful attention to compatibility factors.
You'll need to match your camera type with the correct adapter system, ensuring T-rings align with your camera's specific mount (like Canon EF or Nikon F).
Your telescope's design plays an integral role in adapter selection. T-adapters typically feature a 50mm optical length that must be factored into your overall setup calculations.
Consider whether you're using a Schmidt-Cassegrain, refractor, or Newtonian, as each requires specific adapters matching the focuser size (1.25" or 2").
Don't forget to account for optical accessories like field flatteners and focal reducers, which must thread properly with your setup.
To optimize performance, choose adapters that prevent vignetting and maintain proper back focus.
Always verify thread sizes and compatibility with your specific equipment before purchasing to avoid connection issues.
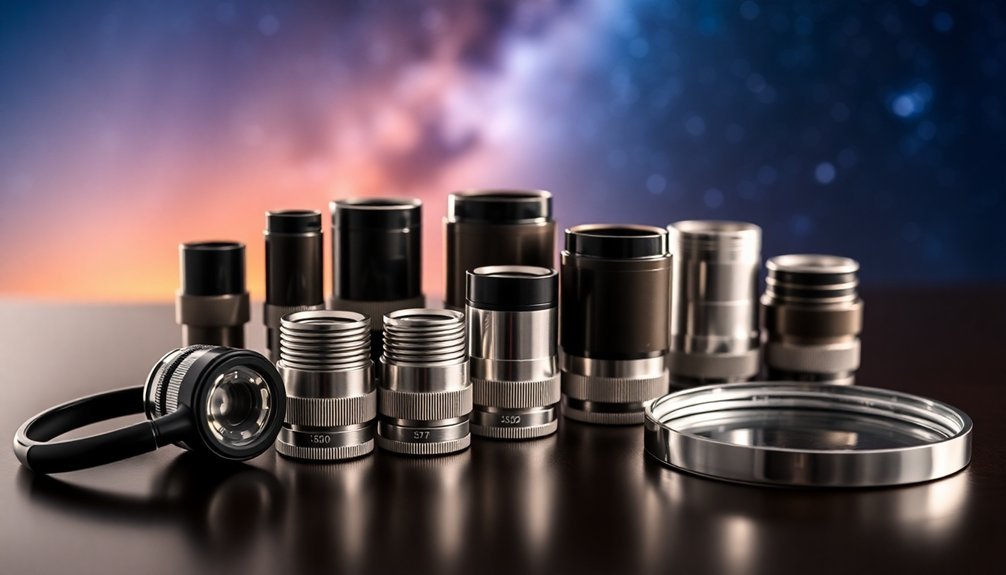
Popular Brands and Price Ranges
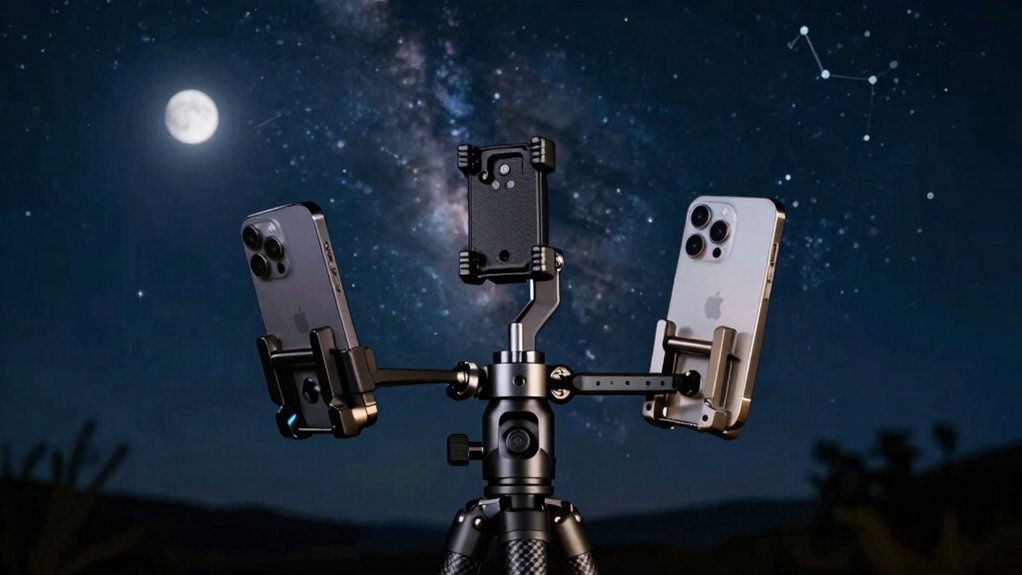
When exploring telescope adapters, you'll find several trusted brands offering solutions across diverse price points. Celestron stands out with popular models like the NexYZ and NexGO, while Orion's SteadyPix EZ provides a budget-friendly option. These adapters enable photographers to capture stunning images through afocal imaging techniques.
Tele Vue's FoneMate and Bresser's universal holder round out the major players in the market.
You can expect to pay less for entry-level adapters like the SteadyPix EZ, though these might work best with lighter phones. Mid-range options, such as Celestron's Basic Smartphone Adapter DX Kit, offer improved stability.
If you're seeking premium features, the Celestron NexYZ 3-Axis adapter delivers superior alignment control and includes helpful extras like Bluetooth remote functionality.
Consider your budget and needs carefully, as higher-end models typically provide better durability and more precise adjustments.
Setting Up Your First Adapter System
You'll need basic tools like a screwdriver set and bubble level to start installing your first telescope adapter system.
To achieve proper optical alignment, focus on a bright star and make fine adjustments until you get sharp, clear images through your camera's viewfinder. Use a red flashlight to maintain your night vision while making these adjustments.
Make certain to balance your equipment carefully on the mount by adjusting counterweights and positioning, which prevents strain on the motor and guarantees smooth tracking during long exposures.
Basic Tools Required
Before diving into telescope adapter setup, gathering the right tools and creating an appropriate workspace will guarantee a smooth assembly process.
You'll need your telescope's user manual, the included assembly tools, and a well-lit indoor space with soft carpeting to protect your equipment. Like the initial telescope setup, it's vital to lay out all parts and verify everything is complete before beginning the assembly process.
Make sure you've got the right adapter sizes for your eyepieces, whether they're 1.25" or 2" models.
You'll need cable management tools like ties and power distribution blocks to keep your setup organized. If you're planning to use electronic components or cameras, include USB hubs and appropriate power cables in your toolkit.
Don't forget to check your power supply unit's capacity to handle all connected devices. A smartphone adapter can be useful if you're interested in basic astrophotography.
Alignment and Focus Tips
Proper alignment serves as the foundation for successful telescope adapter setup.
You'll want to begin assembly indoors, ensuring your equatorial mount's polar axis aligns with the celestial pole. Once you've leveled the tripod, attach your optical tube and finderscope according to manufacturer instructions. Starting from the Home position with counterweight bar down helps establish proper initial orientation.
For precise alignment, you can use methods like All-Star Polar Alignment for Celestron mounts or SynScan for Sky-Watcher systems. Adjust the altitude and azimuth knobs based on displayed errors.
Remember, your right ascension axis controls east-west movement, while proper latitude adjustment is essential for the polar axis.
When selecting eyepieces, match them to your desired magnification. Fine-tune your focus carefully, and consider using a barlow lens for increased magnification when needed.
Consistent tracking requires maintaining proper polar alignment throughout your observation session.
Balance Your Equipment
Balancing your telescope equipment stands as a critical first step when setting up an adapter system. When you're adding adapters and accessories to your telescope, you'll need to maintain proper weight distribution to prevent strain on your mount and guarantee smooth operation.
Setting up on grass or dirt surfaces will provide the most stable foundation for achieving proper balance with your adapter system. For alt-azimuth mounts, you'll want to achieve balance on both vertical and horizontal axes. If you're using an equatorial mount, pay special attention to the declination and right ascension axes. The weight of your adapter system, combined with cameras or eyepieces, can greatly impact your telescope's performance.
You can adjust balance by repositioning your telescope in its mounting rings or using counterweights.
Remember that different telescope types – whether you're using a refractor, reflector, or catadioptric – may require unique balancing approaches due to their distinct optical configurations.
Common Problems and Solutions
While telescope adapters are essential for astrophotography, they often present several common challenges that can frustrate both beginners and experienced astronomers.
You'll likely encounter focus problems, especially with Newtonian telescopes, where achieving proper camera focus can be tricky. Cable damage and connection issues with hand controllers are also frequent hurdles.
To address these issues, you can use Barlow lenses to extend focal length and improve focus capabilities, or install extension tubes for better optical path adjustment in refractors. Users can repair damaged cables using RJ12 six-pin connectors for a quick and effective solution.
For cable problems, you'll find that crimp connectors offer a cost-effective repair solution, while bayonet connectors provide more durability.
When facing incompatibility issues, consider universal adapters or extensive adapter kits that work with multiple setups.
Remember to check manufacturer recommendations before making your final selection.
Advanced Adapter Options for Serious Astrophotography
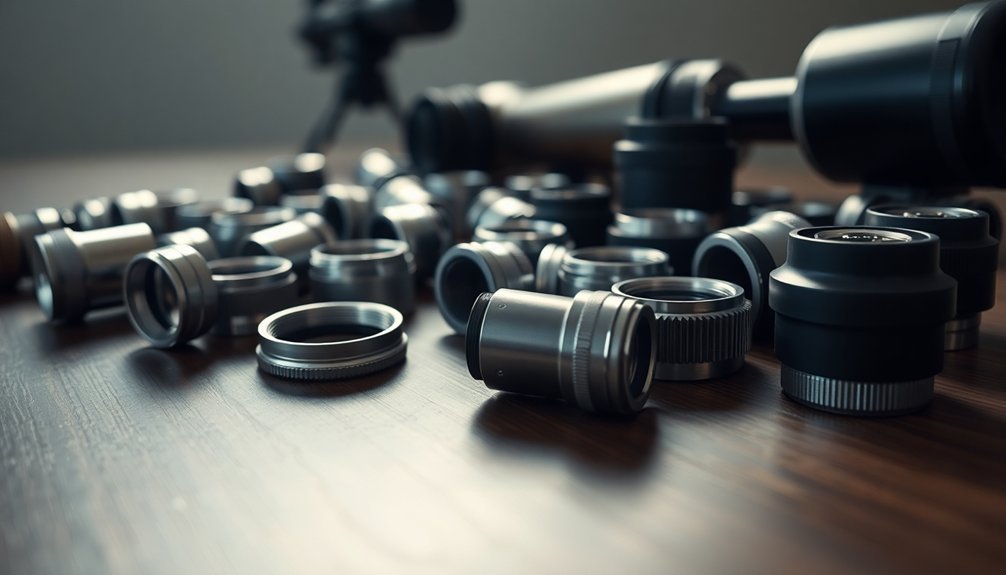
Advanced telescope adapters open up a world of sophisticated imaging possibilities beyond basic setups.
You'll find options like prime focus adapters for direct camera-to-telescope connections and eyepiece projection adapters that boost magnification through strategically placed eyepieces.
For serious astrophotography, you'll want to evaluate variable eyepiece projection systems that let you fine-tune your magnification. The VEPA+ adapter features a machined grip ring that provides secure handling even in wet conditions.
These advanced kits often include extension tubes and adjustable components compatible with major telescope brands like Celestron, Meade, and Orion. They work with both DSLR and mirrorless cameras through specific mounts like T-Rings.
To maximize your imaging potential, you can combine these adapters with Barlow lenses for enhanced magnification or integrate cooled cameras for superior low-light performance.
Many setups also accommodate specialized filters and auto-guiding systems for precise tracking during long exposures.
Frequently Asked Questions
Can I Use Multiple Cameras With the Same Adapter System?
You'll need different adapters for different camera types. While some universal adapters exist, you'll typically require specific T-rings or mounting accessories to switch between DSLRs, smartphones, and point-and-shoot cameras.
How Often Should Telescope Adapters Be Cleaned and Maintained?
You should clean your telescope adapters whenever they show visible dirt or feel gritty. Wipe them down every few months with a dry microfiber cloth, and inspect threads regularly for debris or damage.
Do Weather Conditions Affect the Performance of Telescope Adapters?
Yes, weather affects your adapter's performance. You'll notice humidity can cause rust, temperature changes may affect fit, and wind vibrations can misalign connections. It's best to protect adapters from harsh conditions.
Are Telescope Adapters Covered Under Telescope Warranty Policies?
You'll find that telescope adapters typically aren't covered under standard warranties unless specifically listed. You should check your manufacturer's policy, as coverage varies and usually focuses on the telescope's basic components.
Can Telescope Adapters Be Used for Daytime Terrestrial Photography?
Yes, you can use telescope adapters for daytime terrestrial photography. You'll need an erect image diagonal and proper camera mounting equipment. They're especially effective with refractor telescopes, though you may need additional stabilization accessories.
In Summary
Choosing the right telescope adapter doesn't have to be overwhelming. You'll find success by matching your camera's specifications with the proper mount type and ensuring compatibility with your telescope's design. Start with basic adapters if you're new, and upgrade as your skills improve. When you're ready to advance, you'll appreciate knowing the fundamentals as you explore more sophisticated astrophotography options.
Leave a Reply