You can create a DIY telescope camera adapter using basic materials like PVC pipes, cardboard tubes, and metal washers. Start by measuring your eyepiece diameter and gathering essential tools including a drill and adhesives. For smartphones, use universal bracket solutions with three-axis control, while DSLRs require specific T-rings and secure focus mechanisms. With proper mounting techniques and steady support, you'll capture impressive astronomical images. Explore these proven methods to transform your telescope into a powerful astrophotography tool.
Essential Components for Building Your DIY Camera Adapter
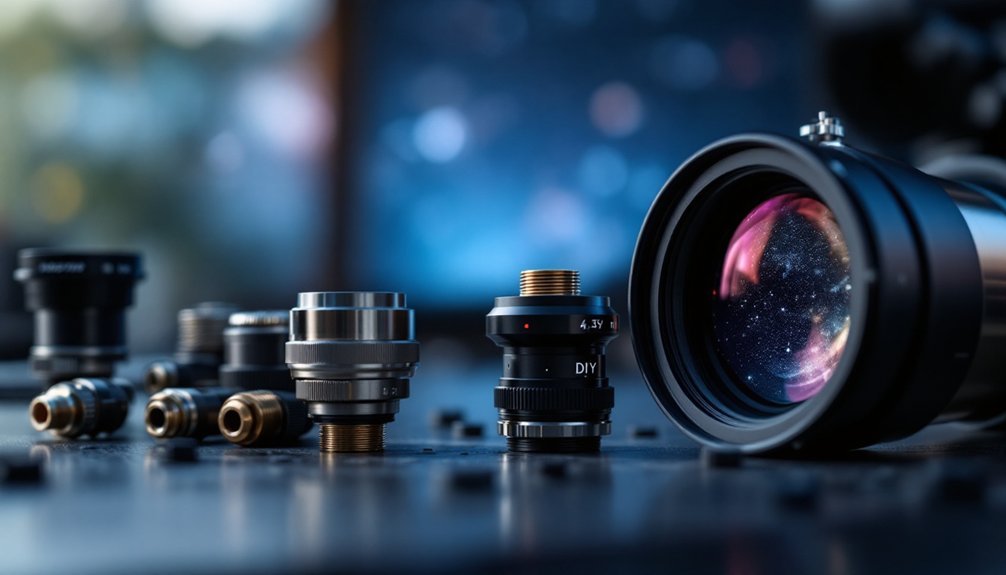
Three essential materials form the foundation of any DIY telescope camera adapter: metal components, adhesives, and flexible materials.
You'll need metal washers and a 1/4" bolt that matches standard tripod mounts, along with hot glue or similar adhesives to secure the parts firmly. A rubber washer provides vital cushioning between your camera and telescope.
To construct a stable mount, gather supportive materials like cardboard or PVC, plus basic tools such as a drill, scissors, or sharp knife for making adjustments. A 2.5 inch bolt works best for most telescope adapter builds.
These components work together to create a secure platform for your camera while protecting both your telescope's eyepiece and your camera's lens.
When selecting materials, focus on durability and compatibility with your specific telescope's eyepiece mount style.
Step-by-Step Assembly Guide for Telescope Camera Mounts
Following five clear steps will help you build a reliable telescope camera mount.
First, gather your materials, including cardboard tubes, PVC pipes, and electrical tape.
Next, create your mount by fitting the PVC pipe inside the cardboard tube, making sure it's snug enough to hold your camera lens securely.
A secure fit between the PVC pipe and cardboard tube creates a stable foundation for your camera lens mount.
Third, use electrical tape to adjust the fit between the tube components if needed. For best results, ensure you have removed all accessories from your telescope before attempting to attach your DIY adapter.
For the fourth step, measure and cut the tube to the proper length, then mark where you'll need to create a slot for the eyepiece thumbscrew.
Finally, attach your mount by sliding it over the telescope's eyepiece holder and aligning the slot with the thumbscrew.
Remember to test the security of your setup and verify it doesn't interfere with your telescope's focusing mechanism.
Smartphone Bracket Solutions for Telescope Photography
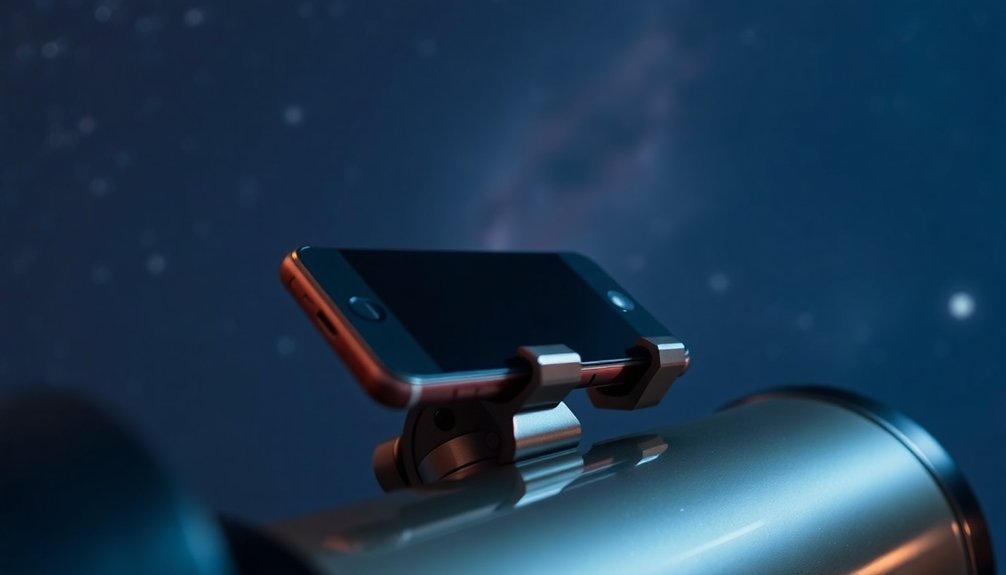
Why struggle with expensive camera equipment when your smartphone can capture amazing telescope views? With the right adapter bracket, you'll transform your phone into a powerful astrophotography tool.
You've got several mounting options to choose from. Universal fit adapters work with most phone sizes and eyepiece diameters, while three-axis models like the Celestron NexYZ offer precise alignment control. Popular models like the Tele Vue FoneMate feature convenient bracket grips that ensure your device stays firmly in place during imaging sessions.
If you're budget-conscious, consider DIY solutions using household materials for a custom fit. Look for brackets that provide secure clamping and easy adjustment.
The best adapters let you quickly switch between visual observation and photography while keeping your phone perfectly aligned with the eyepiece. Pair your setup with apps like NightCap for manual camera controls, and you'll be capturing detailed shots of the Moon and planets in no time.
DSLR Camera Mounting Techniques and Tools
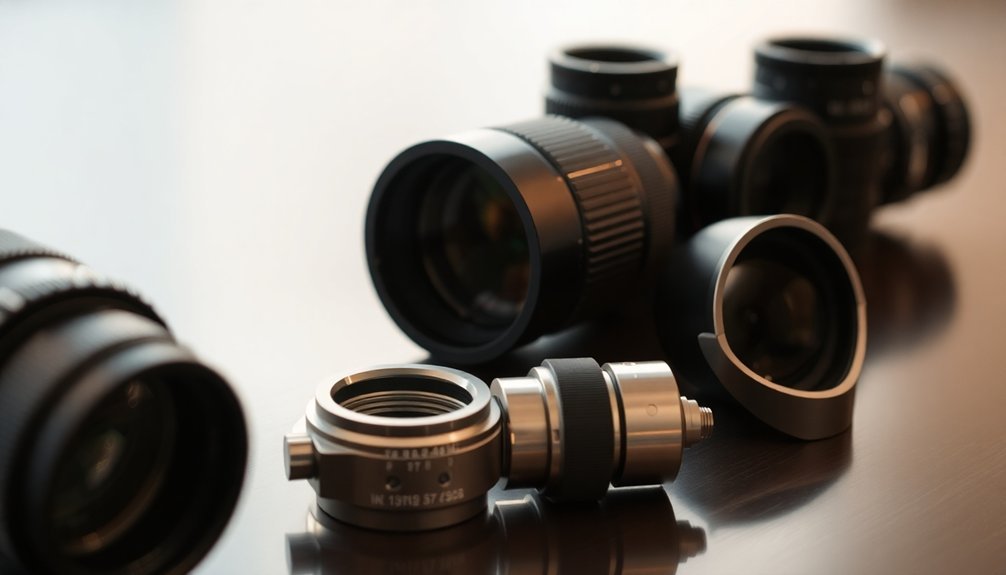
When mounting your DSLR to a telescope, you'll need to select a T-Ring that matches your camera's specific lens mount type to guarantee proper fit and alignment.
To achieve secure focus, make sure your camera's mounting adapter system connects firmly to both the T-Ring and the telescope's focuser without any wobble or play.
You can fine-tune your focus by adjusting extension rings between the T-Ring and camera body, allowing you to achieve the precise spacing needed for sharp celestial images. For optimal deep-sky astrophotography results, using a direct threading method provides the most stable and secure connection between your camera and telescope.
T-Ring Selection Basics
Selecting the right T-ring forms the cornerstone of successful telescope photography with your DSLR or mirrorless camera.
You'll need to match your camera's specific mount type, as T-rings aren't interchangeable between brands.
Focus on the thread specifications when choosing your T-ring. The most common sizes are M42x0.75, M48x0.75, and M54x0.75, with M42x0.75 being the standard "T-thread."
Originally developed by Tamron camera company in the late 1950s, T-rings were designed to accommodate threaded camera lenses for versatile mounting options.
Make sure the female threads on your T-ring match the male threads of your T-adapter or other accessories you'll be using.
Consider whether you'll need compatibility with focal reducers or field flatteners, as these require specific thread sizes.
Remember to check your camera's flange focal distance, as this measurement is essential for achieving proper focus with your telescope setup.
Secure Focus Alignment Methods
Achieving precise focus alignment requires both proper mounting techniques and specialized tools for successful telescope photography.
You'll need to secure your camera using a universal smartphone adapter or create a DIY mount using materials like cardboard tubes or PVC pipes. For best results, use electrical tape to guarantee a snug fit between your camera mount and telescope eyepiece. Regular monitoring of your focus is essential since temperature changes overnight can affect camera focus alignment.
To fine-tune your focus, utilize a Bahtinov mask to create star diffraction patterns, and adjust your focusing knobs while in live-view mode.
Set your camera to wide-open aperture settings (F/4 or lower) with high ISO for better visibility. Don't forget to employ locking focusers to prevent accidental adjustments, and make certain your telescope mount is sturdy with properly balanced counterweights to minimize vibrations.
Extension Ring Distance Control
To maintain ideal image quality in telescope photography, proper spacing between your camera and telescope requires careful consideration of extension rings and adapters. You'll need to combine various spacer rings and extension tubes to achieve optimal distance control for your specific setup. The most affordable T-thread spacer rings from Astro-Tech cost $9.95.
| Component | Purpose | Options |
|---|---|---|
| T-Thread Rings | DSLR Connection | 20mm, 30mm Astro-Tech |
| Extension Tubes | Distance Control | SVBONY 1.25" tubes |
| Fine Adjusters | Precise Spacing | Baader 0.3-1mm rings |
| Field Flatteners | Even Illumination | Reducer/flattener combos |
For DIY solutions, you can create custom mounts using cardboard tubes and PVC pipes. Secure the PVC pipe within the cardboard using electrical tape, ensuring proper measurements with a ruler. When using commercial products, ZWO M42-M48 adapters and TeleVue spacer sets offer precise spacing control for superior imaging results.
Advanced DIY Modifications for Better Image Quality
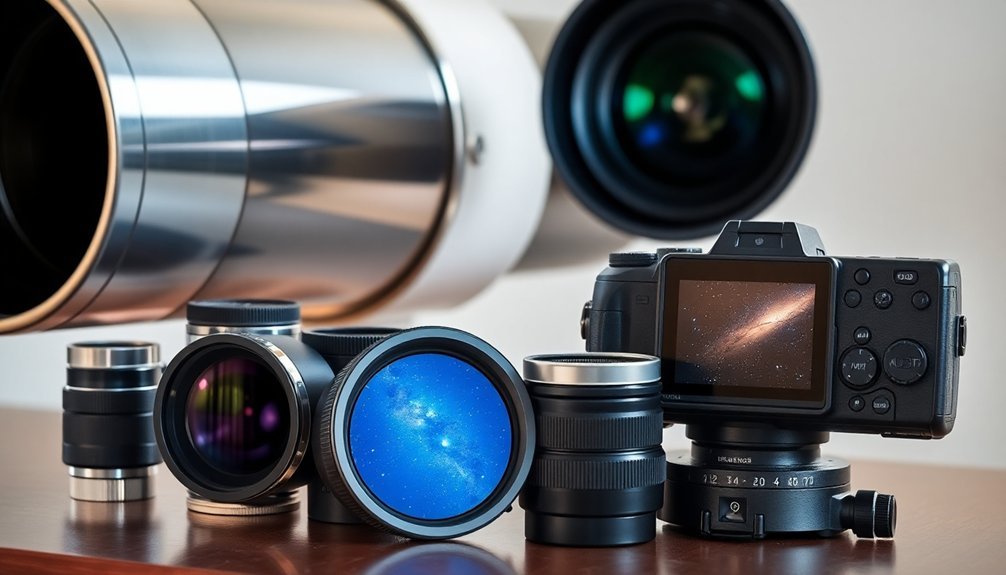
While many beginner astrophotographers start with basic adapters, advanced DIY modifications can dramatically improve your telescope's image quality.
You'll achieve sharper images by incorporating high-quality lenses and filters to reduce chromatic aberration and enhance contrast. Consider implementing adaptive optics to correct atmospheric distortion, and add image stabilization to minimize motion blur. Following designs from creators like Red Henry's guides can provide cost-effective solutions for quality optics.
To refine your setup, you can 3D print custom knobs and adapters for precise alignment between your camera and eyepiece.
If you're using a smartphone, craft a specialized bracket that accounts for camera offset and includes adjustable height features. Don't forget to add protective measures to prevent scratching.
For even better results, use metal strips with elongated holes to fine-tune your camera's position, and ensure that your mounting system remains stress-free to protect sensitive components.
Getting the Perfect Shot: Setup and Adjustment Tips
To capture stunning celestial images, you'll need to master the basics of aligning your camera and achieving precise focus through careful distance adjustments between your sensor and telescope's focal point.
You can improve image stability by using a solid mounting system and implementing vibration-dampening techniques like adding weight to your tripod or using shock-absorbing materials. Consider using an autofocusing system to maintain optimal focus throughout your entire imaging session, eliminating the need for manual adjustments as temperatures change.
For the sharpest results, you'll want to fine-tune your camera's position using small incremental adjustments while monitoring the live view display or using focusing aids like a Bahtinov mask.
Alignment and Focus Basics
Achieving perfect alignment and focus with your DIY telescope adapter requires mastering three fundamental techniques: precise optical alignment, proper focusing methods, and camera setup enhancement.
When aligning your telescope, you'll need to use either a collimation eyepiece or laser to verify your optics are perfectly centered. Start with defocusing a bright star to observe the diffraction rings, which will guide your adjustments. Entry-level telescopes like the Omegon AC 70/700 provide good starting practice for mastering alignment techniques.
- Make ¼-turn adjustments to alignment screws while monitoring reflection patterns
- Use your finderscope to center targets before fine-tuning with the main telescope
- Select your longest focal length eyepiece for initial alignment
- Practice daytime alignment on distant objects to improve your technique
Remember to lock your adjustments once you've achieved proper alignment, but don't overtighten the screws.
For best results, you might need to repeat the process several times as conditions change throughout your imaging session.
Camera Distance Control
Since precise camera positioning can make or break your astrophotography, mastering camera distance control is essential for capturing clear, detailed images through your telescope. You'll need to choose between fixed distance adapters or adjustable options that allow for fine-tuning your camera's position. For DIY solutions, you can use cardboard tubes or PVC pipes to create custom mounts. Using a variable projection adapter can provide enhanced magnification flexibility when setting up your camera distance.
| Component | Fixed Adapter | Adjustable Adapter | DIY Solution |
|---|---|---|---|
| Distance Control | Preset | Variable | Customizable |
| Setup Time | Quick | Moderate | Longer |
| Cost | Higher | Highest | Lowest |
| Durability | Excellent | Good | Fair |
| Precision | Good | Excellent | Varies |
Remember to take into account your eyepiece size when selecting materials – 1.25-inch eyepieces work with most adapters, while 2-inch ones need larger mounting solutions. Test different distances through trial and error to find your setup's sweet spot.
Steady Mount Techniques
A steady mount serves as the foundation for successful telescope photography, combining proper positioning with strategic stability enhancements.
You'll need to position your telescope away from buildings and high-traffic areas while guaranteeing a clear view of the sky. Avoid positioning near rooftops as they can create atmospheric turbulence that distorts images. For ideal stability, consider adding weights to your tripod and using a ground cloth on slippery surfaces.
- Tighten all wing nuts and connections on your tripod, using shims if needed to eliminate any wobble.
- Place your setup on grass rather than concrete, and shorten the tripod legs to minimize vibration.
- Add a triangular brace between tripod legs for enhanced structural support.
- Monitor weather conditions, avoiding windy periods and scheduling your shoots when atmospheric distortion is minimal.
Remember to check your optical alignment and guarantee your finderscope perfectly matches your main telescope's view.
Frequently Asked Questions
How Long Does a DIY Telescope Camera Adapter Typically Last Before Needing Replacement?
You'll typically get 3-6 months from cardboard adapters and 1-2 years from PVC ones, depending on your usage frequency and storage conditions. Regular maintenance and proper storage can extend their lifespan considerably.
Can Moisture or Extreme Temperatures Damage Homemade Telescope Camera Adapters?
Yes, your homemade camera adapters can be damaged by moisture and extreme temperatures. You'll need to protect them using proper sealing, moisture-resistant materials, and avoid exposing them to harsh weather conditions.
What Safety Precautions Should I Take When Using Metal Tools?
You'll need safety glasses, heavy-duty gloves, and steel-toed boots when using metal tools. Keep your workspace clear, secure workpieces in vices, and guarantee proper ventilation. Don't forget to unplug tools when not in use.
Are Some Telescope Eyepiece Designs Incompatible With DIY Camera Adapters?
Yes, you'll find that refractor and Schmidt-Cassegrain telescopes often won't work well with basic DIY adapters due to their unique eyepiece positions, focusing mechanisms, and mounting systems requiring specialized attachment solutions.
How Much Weight Can a Homemade Adapter Safely Support?
You'll find most homemade adapters can safely support cameras up to 1-2 pounds. For heavier equipment, you shouldn't rely on DIY solutions, as they might fail and damage your gear.
In Summary
By creating your own telescope camera adapter, you've opened up endless possibilities for astrophotography. Don't let expensive commercial options hold you back – your DIY solution can deliver impressive results with careful assembly and proper alignment. Remember to experiment with different mounting techniques and keep refining your setup. Whether you're using a smartphone or DSLR, you're now equipped to capture the cosmos on your own terms.


Leave a Reply