For successful star tracking with a fixed tripod, choose carbon fiber models with 20% higher weight capacity than your gear. Level your setup using bubble levels and adjust legs individually on uneven terrain. Add counterweights (50-60% of camera weight) for stability. Use waterproof covers and silica gel packets in damp conditions. Position away from light pollution and wind. Employ a wide-angle lens and make minor adjustments every 30 seconds. These foundational techniques will transform your astrophotography results.
10 Best Fixed Tripod Tips For Tracking Stars
While many astrophotographers focus on advanced tracking mounts, a properly set up fixed tripod can be your gateway to impressive celestial photography. For ideal stability, select a tripod that supports at least 50% more than your total equipment weight, minimizing vibrations during long exposures.
Position your fixed tripod in an area with minimal light pollution and a clear view of the celestial pole to achieve accurate polar alignment. This strategic placement enhances your ability to track stars effectively throughout your imaging session.
Install a quality fluid or ball head on your fixed tripod for precise adjustments when composing your shots. The solid foundation eliminates the need for frequent realignment, giving you more time to capture stunning night sky images rather than fiddling with equipment.
Choosing the Right Fixed Tripod for Stellar Observation
How can a seemingly simple tripod choice determine the success of your stargazing sessions? The right fixed tripod provides the foundation for capturing clear celestial images and enjoying stable observations.
A solid tripod foundation transforms tentative glimpses into breathtaking celestial revelations.
When selecting your astronomical partner, prioritize these essential features:
- Look for exceptional stability with a weight capacity that exceeds your equipment’s combined weight by at least 20%.
- Select durable materials like aluminum or carbon fiber that resist vibrations better than plastic alternatives.
- Guarantee adjustable leg angles and specialized feet (rubber or spiked) for uneven terrain adaptation.
- Confirm maximum height allows comfortable viewing in your preferred observation positions.
- Choose models with hooks for adding counterweights to improve stability against wind and enhance tracking accuracy.
Don’t underestimate how vital your tripod selection is—it’s the difference between crisp star trails and blurry disappointments.
Proper Leveling Techniques on Uneven Terrain
When you’re setting up your equipment on bumpy landscapes or sloped hillsides, achieving perfect leveling becomes the critical factor that determines tracking accuracy.
Always use a bubble or electronic level app attached to your tripod to verify your setup is perfectly horizontal.
Adjust individual tripod legs to compensate for uneven terrain by extending or retracting them as needed. Secure each leg with the adjustable leg locks to prevent unwanted movement during your imaging session.
For particularly challenging locations, consider using a tripod with independently adjustable legs for superior stability.
If you’re facing extremely uneven terrain, place a flat, sturdy platform beneath your setup to create a more stable foundation.
This simple addition can dramatically improve your leveling precision and guarantee consistent star tracking throughout your observation.
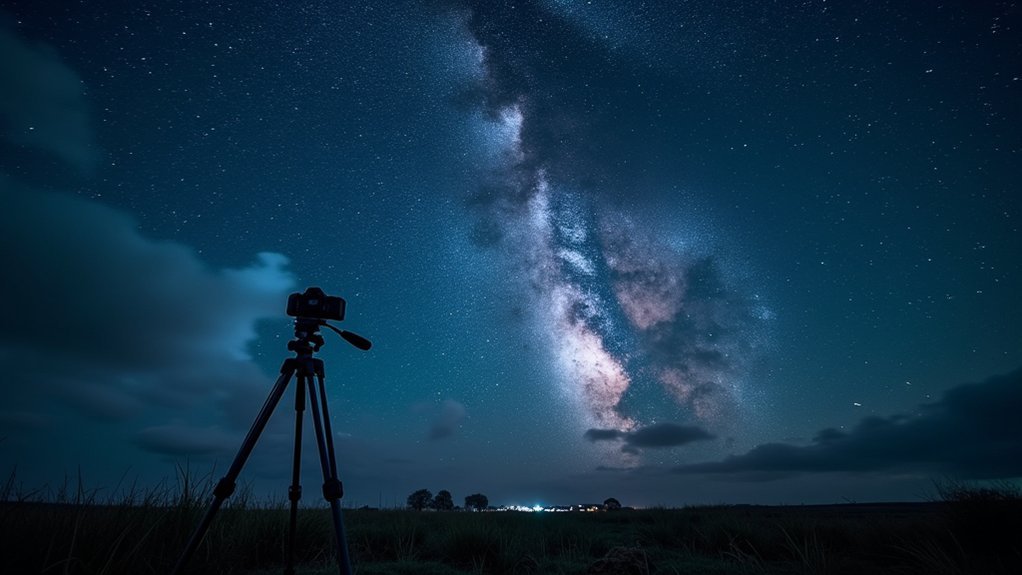
Strategic Tripod Placement for Maximum Stability
Strategic placement of your tripod can make or break your astrophotography session, as location truly matters more than most beginners realize.
You’ll need to find a spot that’s both flat and protected from foot traffic and wind, creating a disturbance-free zone for your equipment.
When setting up, position your tripod legs in a triangular formation that maximizes the base area, which dramatically increases stability during long exposure shots.
Location Matters Most
The foundation of successful star tracking begins with where you place your tripod.
Selecting the right location dramatically affects your astrophotography results, as stability and environmental factors directly impact image quality.
- Choose flat, stable ground to prevent vibrations that ruin long exposures
- Position yourself miles away from cities to minimize light pollution interference
- Avoid areas with strong winds that can shake your equipment during critical shots
- Use natural landscape features like hills or rocks as windbreaks for added stability
- Stay clear of trees or buildings that might obstruct your view or introduce unwanted elements
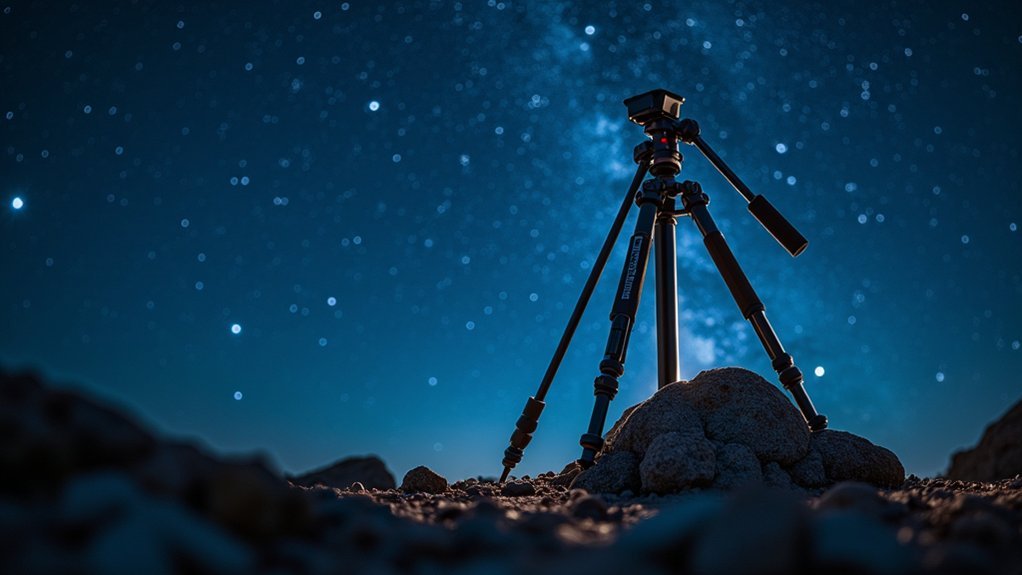
Triangulate Your Base
Three key principles govern effective tripod stability for star tracking. First, choose a firm, level surface that prevents wobbling during long exposures. Second, arrange the legs in a triangular base pattern to distribute weight evenly and prevent tipping. Third, adapt to your terrain by extending the shortest leg on uneven ground to maintain balance and lower your tripod’s center of gravity.
| Condition | Strategy | Benefit |
|---|---|---|
| Windy Areas | Place near natural barriers | Reduces vibration |
| Uneven Ground | Adjust shortest leg first | Optimizes balance |
| All Conditions | Add sandbags/weights | Enhances stability |
When setting up, remember that proper weight distribution across your tripod’s base is essential for tracking stars accurately. Position yourself to maximize stability against environmental challenges, ensuring your tripod remains firmly planted throughout your imaging session.
Counterweight Systems for Enhanced Balance
Achieving proper balance on your star tracker doesn’t require expensive equipment, as simple DIY weight solutions like water bottles or sandbags can effectively counterbalance your camera setup.
Commercial balance systems offer precision with adjustable weights that slide along rails, allowing you to fine-tune the distribution according to your specific gear combination.
For ideal weight distribution, position your counterweights as close to the mount as possible while ensuring they represent 50-60% of your camera system’s weight.
DIY Weight Solutions
Creating effective counterweight systems doesn’t require expensive equipment—just some household items and creativity.
When setting up your tripod for astrophotography, a properly designed counterweight considerably improves stability during long exposures.
- Use sandbags or weight plates as your counterweight, making sure they equal approximately 50% of your camera setup’s total weight.
- Attach the weights securely to your tripod using clamps or a simple pulley system.
- Position the counterweight lower on the tripod legs to lower the center of gravity.
- Experiment with different weight positions to find the best balance for your specific setup.
- Check all attachments regularly to make certain everything remains secure throughout your imaging session.
This DIY approach saves money while effectively reducing vibrations caused by wind or accidental bumps, keeping your star trails crisp and your celestial images sharp.
Commercial Balance Systems
While DIY solutions offer budget-friendly options, commercial balance systems provide precision-engineered solutions for serious astrophotographers. These counterweight systems effectively stabilize your camera setup on tripods, markedly reducing tipping risks while improving tracking accuracy for celestial objects.
You’ll find most systems feature adjustable arms with counterweights that perfectly offset heavier lenses or cameras. This proper balance minimizes vibrations—essential for successful long-exposure astrophotography where even minor movements can ruin your shot.
The beauty of commercial options is their compatibility with various tripod models, ensuring secure attachment regardless of your equipment configuration.
Even if you’re using a lightweight tripod, these systems can extend its usability with heavier gear. By investing in a quality balance system, you’ll achieve more reliable star tracking and sharper images of the night sky.
Optimal Weight Distribution
For successful astrophotography with a fixed tripod, proper weight distribution stands as the cornerstone of stability during long exposures. Your counterweight system should balance your equipment effectively, preventing unwanted movement that ruins stellar shots.
- Aim for counterweights approximately 50% of your camera-lens combination weight for ideal equilibrium.
- Mount weights low on your tripod, close to the center of mass to enhance stability.
- Use adjustable counterweights like sandbags or weight plates to fine-tune based on your specific setup.
- Position your counterweight to minimize strain on your star tracker during long sessions.
- Experiment with different weight distributions to improve tracking accuracy as conditions change.
This balanced approach guarantees your tripod remains firmly planted while tracking celestial objects, allowing for crisp, clear images of the night sky without vibration-induced blurring.
Vibration Dampening Methods for Clearer Images

Since vibrations are the enemy of stellar astrophotography, implementing effective dampening techniques is essential for capturing crisp star trails and celestial objects.
Always position your tripod on solid ground rather than soft surfaces to maximize tripod stability and minimize vibrations that cause blurry images.
Consider placing vibration dampening pads under each tripod leg for additional isolation from ground-based disturbances.
Never touch your camera during long exposures—instead, use a remote trigger or intervalometer to eliminate physical contact completely.
Take advantage of your tripod’s weight hook by hanging a backpack or sandbag to anchor your setup against wind.
Before beginning your session, thoroughly check and tighten all tripod connections to prevent subtle movements that might compromise your shots during extended exposure times.
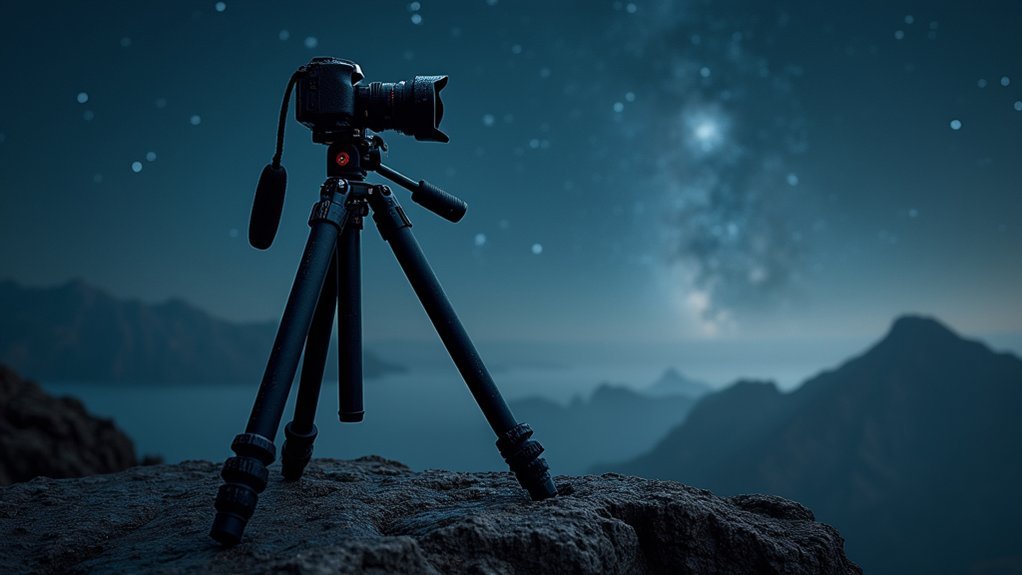
Optimal Tripod Height for Comfortable Star Tracking
When setting up for star tracking photography, choosing the right tripod height can make the difference between an enjoyable session and hours of physical discomfort. The ideal tripod height for comfortable star tracking typically falls between 4-5 feet, allowing you to maintain an ergonomic shooting position throughout your session.
The perfect tripod height transforms star tracking from backbreaking labor into nightlong astronomical bliss.
- Position your tripod at eye level to reduce neck and back strain during long exposures.
- Utilize adjustable leg sections to adapt to uneven terrain while maintaining stability.
- Consider your lens focal length—taller setups work better for wide-angle shots of the Milky Way.
- Choose a height that accommodates both sitting and standing positions to reduce fatigue.
- Remember that proper height adjustment enhances your ability to make smooth tracking adjustments while viewing the night sky.
Weather-Proofing Your Setup for Overnight Sessions
Your outdoor astrophotography setup needs protection against the elements to guarantee successful overnight shooting sessions.
Wrap your equipment in waterproof tarps and employ silica gel packets to combat moisture, while securing your tripod with weight hooks or stakes to withstand unexpected gusts of wind.
Insulate your gear with specialized lens heaters and thermal covers to prevent condensation and maintain ideal operating temperatures as the night grows colder.
Moisture Defense Strategies
Protecting camera equipment from moisture becomes critical during overnight star tracking sessions where dew, fog, and unexpected precipitation can compromise both image quality and gear integrity.
Your tripod and camera system require specialized protection to guarantee consistent performance throughout the night.
- Use waterproof covers or bags designed specifically for camera equipment to shield your gear from moisture.
- Apply weather-resistant coating to metal tripod components to prevent rust and corrosion.
- Invest in a lens warmer or heated cover to prevent dew formation on optical surfaces.
- Keep microfiber cloths handy for quickly wiping moisture from lens and camera surfaces.
- Place a moisture-resistant groundsheet under your tripod setup to insulate against ground dampness.
These moisture defense strategies will help maintain optical clarity and equipment functionality during extended sessions under the stars.
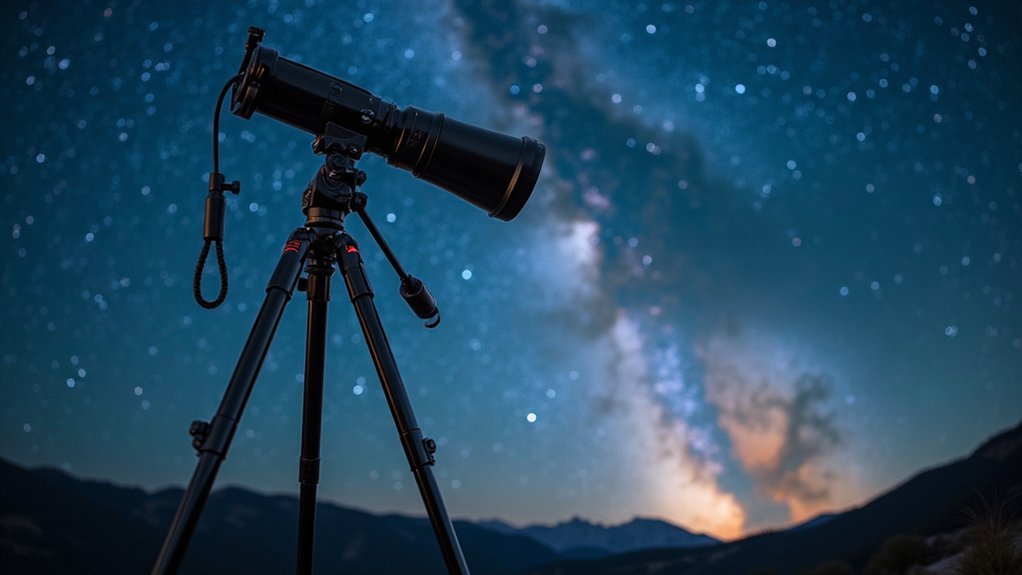
Wind Stability Solutions
Even the most meticulously planned star tracking session can be ruined by unexpected gusts that introduce vibrations and blur into your long exposures.
Invest in a heavy-duty tripod made of steel or carbon fiber to combat this issue—these materials provide superior stability against persistent winds.
Lower your setup’s center of gravity by adding sandbags to the tripod’s center column, greatly improving resistance to stronger gusts.
Choose a model with adjustable legs that can spread wider, creating a lower profile with reduced wind resistance.
Don’t underestimate the effectiveness of a simple windbreak—positioning a tarp or portable screen to shield your equipment can considerably decrease wind impact.
Before beginning your session, double-check all tripod connections and locks to guarantee they remain secure throughout your overnight imaging run.
Temperature Insulation Techniques
As temperatures plummet during overnight astrophotography sessions, proper insulation becomes critical for maintaining equipment functionality and image quality. Your tripod and camera are particularly vulnerable to temperature fluctuations that can introduce condensation and compromise stability.
- Wrap insulated covers around your tripod legs to minimize heat transfer and prevent condensation buildup.
- Attach lens warmers or hand warmers to maintain stable temperature across your optical equipment.
- Place a groundsheet or blanket beneath your setup to insulate from cold ground surfaces.
- Deploy a weather-resistant cover with adequate ventilation to shield against moisture while preventing humidity buildup.
- Check your equipment periodically throughout the night, making adjustments as temperature changes affect positioning.
These temperature insulation techniques will protect your investment while ensuring clearer images of the night sky, free from moisture-induced blurring or instability.
Manual Tracking Techniques Without Motorized Mounts
While fancy motorized mounts offer precision tracking, you don’t need expensive equipment to capture stunning star images. Manual tracking with a fixed tripod can yield impressive results when done correctly.
Start by securing your camera on a sturdy tripod and using a wide-angle lens (14-24mm) for more forgiving compositions.
For long exposures, estimate the angle of celestial movement using a simple protractor or smartphone app. Adjust your camera every 30 seconds to keep stars properly framed.
Begin practicing with shorter 15-30 second exposures before attempting longer durations.
Don’t forget to use a remote shutter release or self-timer to minimize camera shake. This simple addition considerably improves image quality by reducing vibration during exposure.
With patience and practice, you’ll master manual tracking techniques that rival motorized setups.
Tripod Maintenance for Consistent Performance
Because your tripod serves as the foundation for all astrophotography work, proper maintenance is crucial for capturing crisp star images. Regular care guarantees ideal stability and extends your equipment’s lifespan.
- Inspect and clean your tripod’s legs and joints regularly to remove dirt that compromises stability during long exposures.
- Apply silicone-based lubricant to locking mechanisms and hinges for smooth operation and protection against corrosion.
- Store your tripod in a dry place with a protective cover to prevent moisture damage to essential components.
- Check and tighten any loose screws or bolts after each session to maintain structural integrity and performance.
- Keep carbon fiber tripods away from extreme temperatures and prolonged sunlight to preserve their strength and durability.
Consistent tripod maintenance might seem tedious but prevents tracking failures when you’re perfectly positioned under clear night skies.
Frequently Asked Questions
What Is the 500 Rule for Star Trail?
The 500 rule helps you determine maximum exposure time before stars trail. You’ll divide 500 by your lens focal length (in mm). For a 24mm lens, you’d get about 20 seconds (500÷24=20.8).
What Is the Best Camera Setting for Stars?
For capturing stars, you’ll want to use a wide aperture (f/1.4-f/4), slow shutter speed (15-30 seconds), and moderate ISO (800-1600). Don’t forget to manually focus and shoot in RAW format.
Which Tripod Is Best for Astrophotography?
For astrophotography, you’ll want a sturdy carbon fiber tripod that supports 5-10 kg, has adjustable leg angles, and features a weight hook. The Manfrotto 055 offers good value if you’re on a budget.
What Is the 500 Rule for 50MM Lenses?
For a 50mm lens, the 500 rule gives you 10 seconds (500÷50=10) as your maximum exposure time. You’ll need to adjust to about 6.7 seconds if you’re using a crop sensor camera.
In Summary
You’re now equipped to maximize your fixed tripod for stellar observation. Remember, it’s not always about expensive equipment—proper technique often trumps fancy gear. By implementing these tips, you’ll capture clearer star trails and enjoy more comfortable viewing sessions. Don’t forget regular maintenance to keep everything running smoothly. With practice and patience, you’ll soon be tracking stars like a seasoned astronomer.
Leave a Reply