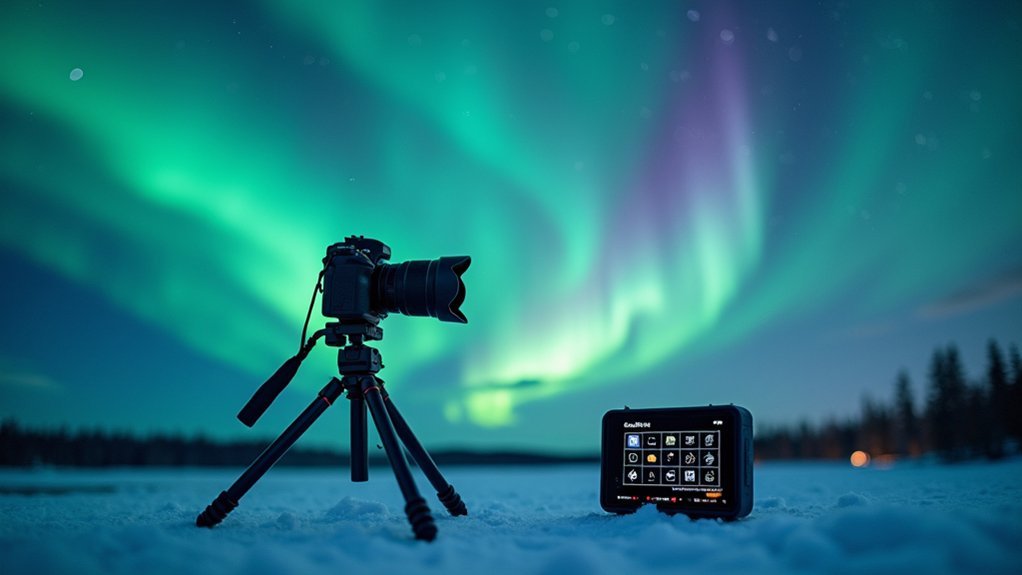
For stunning aurora timelapses, set your intervalometer to match your exposure time with minimal gaps between shots. Use 2-3 second intervals for active displays with 1-2 second exposures, or longer intervals for slower auroras. Disable in-camera noise reduction to avoid processing delays. Consider your camera’s buffer capacity when choosing continuous shooting modes. Keep spare batteries warm in cold conditions. These precise timing adjustments will transform your northern lights captures from good to breathtaking.
Optimal Interval Timing for Aurora Timelapses

How quickly should your camera fire between shots when capturing the dancing northern lights? For aurora photography, use the shortest possible interval that won’t cause your camera to miss frames. Match your interval timing to your exposure time to guarantee smooth timelapse playback—if you’re shooting with 2-second exposures, set your intervalometer to trigger every 2-3 seconds.
Active auroras demand shorter exposure times (1-3 seconds) to preserve fine detail and reduce motion blur. Your camera needs just enough time to write each image to memory before the next shot.
For ideal results, consider using continuous burst mode, which minimizes gaps between frames. If your intervalometer struggles with rapid intervals, switch to a remote release for more consistent timing. This approach will help you create fluid, professional-quality aurora timelapses that showcase the full magic of the northern lights.
Balancing Exposure Length and Interval Gaps
Creating the perfect aurora timelapse requires careful balancing of exposure length and interval timing. For active auroras, you’ll want shorter exposure times of 1-3 seconds with minimal interval gaps to capture their dynamic movement.
Set your intervalometer to match your exposure time precisely, avoiding unnecessary delays between shots.
When photographing slower aurora displays, longer exposures up to 10 seconds work well, but maintain brief intervals for a fluid flow in your final video.
Always account for your camera’s processing time when writing images to memory—even small delays can create choppy results in your timelapse photography.
Consider using continuous shooting modes for rapidly changing displays, as they’ll minimize gaps that might otherwise speed up your footage unnaturally.
These ideal settings will guarantee your aurora timelapses maintain smooth, natural motion throughout.
Camera Buffer Considerations for Continuous Shooting

Understanding your camera’s buffer limitations forms the backbone of successful aurora photography sessions. When shooting the dancing lights, your camera’s buffer capacity determines how many consecutive images can be captured before processing delays occur.
For ideal time-lapse sequences, match your intervalometer’s timing with your exposure length, ensuring no gaps between shots. Your camera needs sufficient time to write each RAW format image to your memory card before taking the next exposure.
Use high-capacity memory cards that can handle large file sizes generated during continuous shooting. Consider employing a remote release to minimize camera handling and maintain consistent exposures.
To avoid buffer overload during long exposure aurora photography, set your intervalometer with the smallest possible delay between shots, allowing your camera to efficiently process each frame without interruption.
Intervalometer Programming for Dynamic Aurora Activity
When the aurora borealis erupts into dynamic displays across the night sky, your intervalometer settings become essential for capturing the full range of its ethereal movements.
Set your intervalometer to the shortest possible delay that allows your camera to write each exposure to memory, preventing gaps in your sequence during rapid aurora movement.
When photographing active auroras, minimize intervalometer delay to match your camera’s processing speed, ensuring seamless capture of every celestial moment.
For photographing the Northern Lights in manual mode, match your interval time with your exposure time—use approximately 1 second for active displays and up to 3 seconds for slower auroras. This approach guarantees smooth time-lapse video playback without jarring jumps.
Consider using continuous burst mode on your intervalometer during intense aurora activity, maximizing your chances of capturing peak moments while maintaining image quality.
Invest in a reliable intervalometer that can handle these fast intervals for dynamic displays.
Battery Conservation Strategies During Extended Sessions

Since capturing the aurora’s full spectacle often requires hours in frigid conditions, preserving your camera’s battery life becomes essential to your success. Cold temperatures dramatically reduce battery performance, so implementing smart power-saving techniques will keep you shooting longer.
- Use a wired remote release rather than your camera’s built-in intervalometer to minimize battery drain during continuous shooting sessions.
- Shoot in RAW format to maximize editing flexibility without needing multiple exposure variations, reducing the number of power-consuming shots.
- Disable in-camera noise reduction settings when shooting RAW—these battery-intensive functions aren’t necessary for RAW files.
- Limit live view usage and compose through your viewfinder instead, keeping spare batteries warm in your pockets to maintain their capacity in low temperatures.
Frequently Asked Questions
What Is the Best Interval for Aurora Timelapse?
For aurora timelapses, you’ll want to set your interval equal to your exposure time (typically 1-3 seconds). This maintains smooth motion without gaps. If auroras are very active, use shorter 1-second exposures for best results.
What Are the Best Settings for Aurora Photography?
For aurora photography, you’ll need a wide-angle lens, f/2.8 or wider aperture, ISO 1600-3200, and exposure times of 1-10 seconds depending on activity level. Don’t forget manual focus set to infinity.
What Shutter Speed for Aurora Photography?
For aurora photography, you’ll need 1-30 second exposures depending on activity. Use 3-7 seconds for active displays and 10-25 seconds for dimmer auroras. Remember the Rule of 500 to avoid star trails.
What Is the Best Focal Length for Aurora Photography?
For aurora photography, you’ll get the best results with a wide-angle lens between 14-30mm on full-frame cameras or 10-25mm on crop sensors. This captures expansive sky views while including landscape elements below.
In Summary
You’ll capture breathtaking aurora timelapses by tailoring your intervalometer settings to the aurora’s intensity. Set intervals 1-2 seconds longer than your exposure time, adjust on-the-fly as activity changes, and always keep buffer limitations in mind. Don’t forget extra batteries for those frigid nights. With these optimized settings, you’re ready to document nature’s most spectacular light show in all its dynamic glory.


Leave a Reply