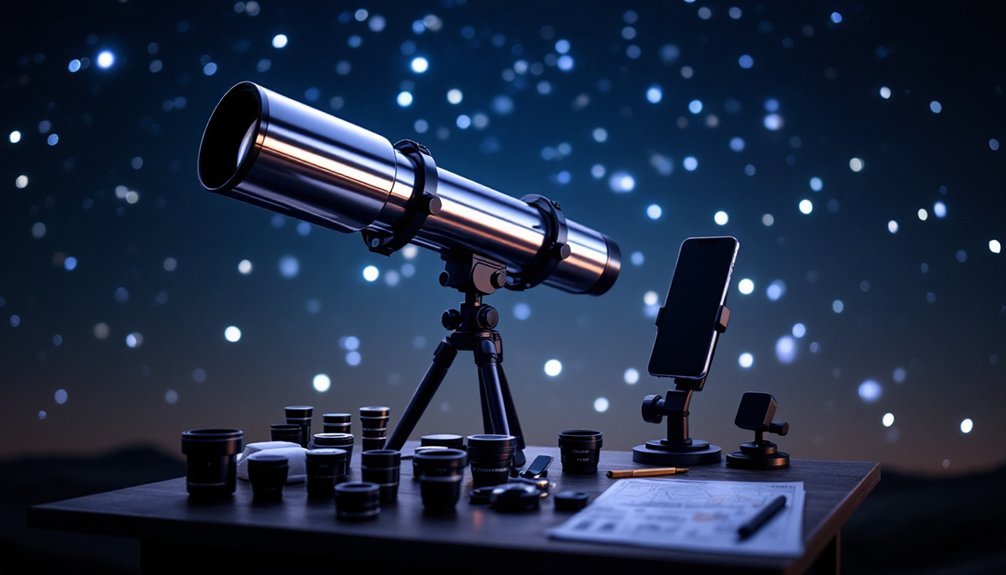
To mount your telescope for astrophotography, you'll need to start with a sturdy tripod and proper mount selection like the EQ6-R Pro. Begin by facing north and setting your mount's polar axis to your latitude. You'll attach your camera using T-rings and adapters, ensuring correct thread sizes. Balance both RA and declination axes using counterweights, then test alignment with short star exposures. Mastering these fundamentals will open up the universe to your camera lens.
Understanding Basic Telescope Mount Components
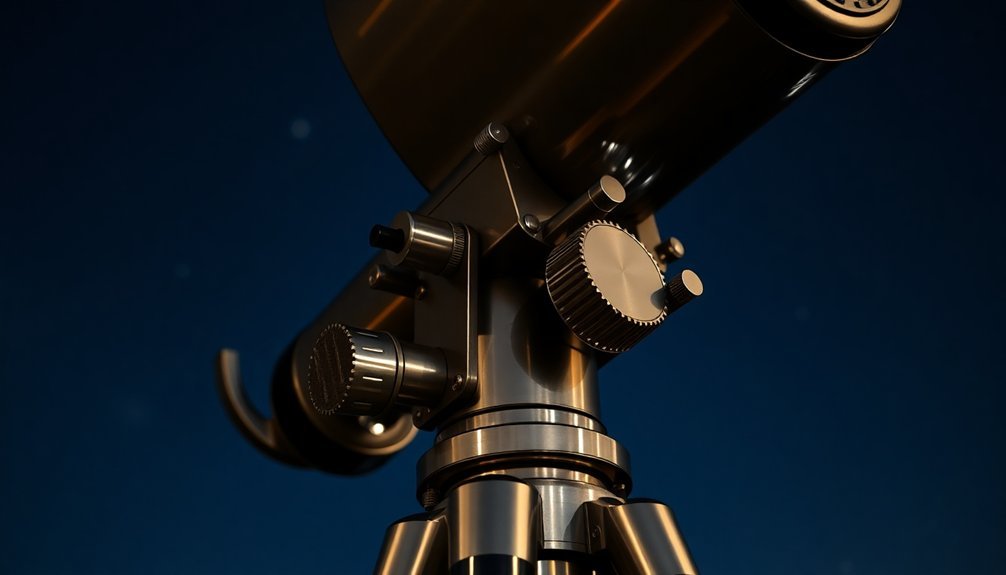
Success in astrophotography starts with a solid understanding of your telescope's mounting system. The key components you'll need to master include the saddle and dovetail, which form the essential connection between your telescope and mount.
Your mount's counterweights serve as balancing elements, ensuring smooth operation and protecting your equipment. Advanced mounts like the EQ6-R Pro offer precise tracking capabilities for deep-sky imaging.
You'll find slow motion controls important for precise tracking of celestial objects, while proper polar alignment devices help you accurately align your mount with Earth's axis.
As you set up your equipment, pay attention to the locking mechanisms that prevent unwanted movement during imaging sessions. Each component plays a critical role in achieving stable, clear images.
Understanding how these parts work together will greatly improve your astrophotography results and make your observing sessions more productive.
Essential Camera Adapters and T-Rings
Connecting your camera to a telescope requires two essential components: T-rings and T-adapters.
You'll need a T-ring that matches your specific camera brand and model, as it replaces your camera's lens and provides the necessary mounting interface. The T-ring features female threads that connect to your T-adapter. The T-ring's optical length combined with the T-adapter is approximately 50mm, which affects the overall setup distance.
Your T-adapter then attaches to your telescope's focuser, available in either 1.25" or 2" barrel sizes. When selecting these components, verify the thread sizes match perfectly – common sizes include M42, M48, and M54.
You'll also want to take into account additional accessories like focal reducers or field flatteners to enhance your imaging capabilities.
Before mounting, remove your camera lens, secure the T-ring firmly to your camera body, and carefully thread the T-adapter into place.
Setting Up Your First Mounting Configuration
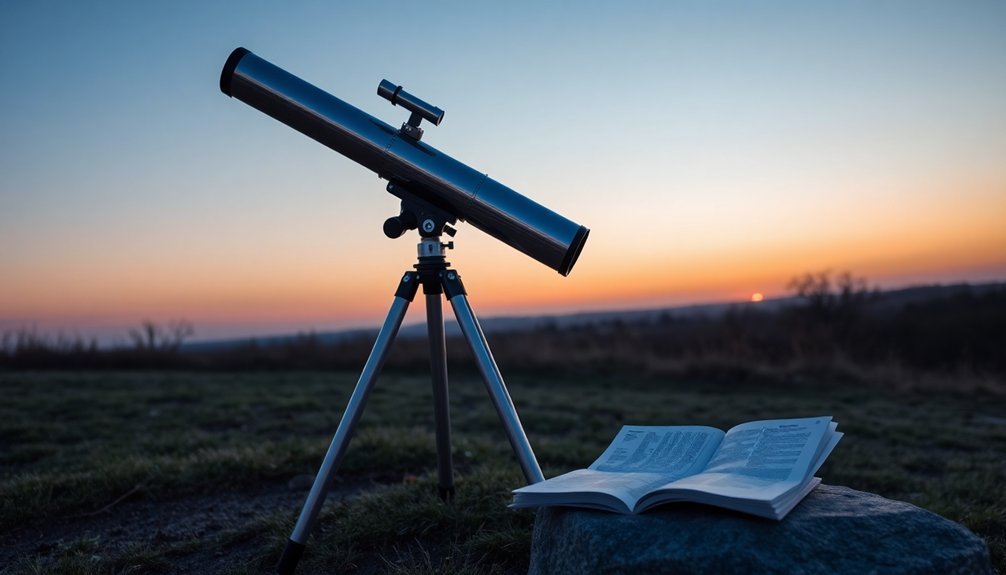
When setting up your first telescope mounting configuration, proper assembly and alignment of each component becomes critical for successful astrophotography.
Start by selecting a sturdy tripod and placing it on solid ground, using wooden planks if needed for stability. Don't extend the legs fully to minimize vibration. In the northern hemisphere, ensure your tripod is oriented facing north for optimal alignment.
A stable foundation is crucial – choose a robust tripod, set it on firm ground, and keep legs partially retracted.
For peak performance, follow these essential steps:
- Attach your equatorial mount securely to the tripod and set the polar axis to match your latitude.
- Install the dovetail bars and fabric-lined tube rings, ensuring they're firmly locked in place.
- Use a polarscope or smartphone app to achieve precise polar alignment with the celestial pole.
Test your setup's tracking capabilities in a dark location, and practice using the slow-motion controls for precise adjustments.
Regular practice will help you master the mounting process.
Balancing Your Camera and Telescope Assembly
A properly balanced telescope assembly forms the backbone of quality astrophotography.
You'll need to balance two vital axes: Right Ascension (RA) and Declination. Start with the RA axis by loosening the clutch and rotating your telescope 90 degrees counterclockwise. Adjust the counterweights until you achieve an even balance, slightly favoring the east side. Long exposure images require this precise balancing to capture clear astronomical photos.
For declination balancing, lock the RA clutch first, then rotate the telescope 90 degrees counterclockwise. Adjust your scope's vertical position until it stays put when released.
Remember to have all your equipment – cameras, finderscopes, and accessories – attached during this process.
Mark your dovetail bar for quick future reference, and always recheck your balance when adding new equipment. This attention to detail will guarantee smooth tracking and protect your mount from unnecessary wear.
Testing and Troubleshooting Mount Alignment
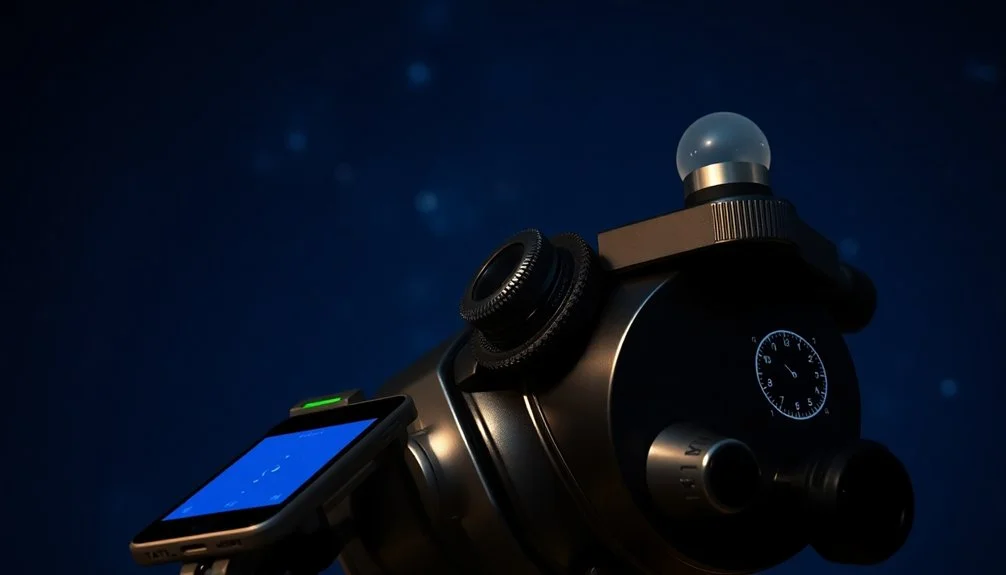
Proper mount alignment testing forms the foundation of successful astrophotography sessions. When troubleshooting alignment issues, first check your mount's tracking accuracy by capturing short test exposures of stars near the celestial pole. If you notice elongated stars or trailing, you'll need to refine your alignment. Similar to how two-mirror telescope systems require precise alignment for optimal performance, amateur telescopes need careful calibration for clear imaging.
- Take test images at varying exposure lengths (30 seconds, 1 minute, 2 minutes) to identify the point where tracking errors become visible.
- Analyze your star trails – if they're curved, you'll need to adjust your polar alignment.
- Check your counterweight balance and verify all axes move freely without binding.
Remember to account for environmental factors like temperature changes and wind, which can affect your mount's performance.
If problems persist, consider using autoguiding tools to maintain precise tracking throughout your imaging session.
Frequently Asked Questions
How Long Can I Leave My Telescope Mount Outdoors During Night Sessions?
You can safely leave your mount outside during your entire night session, but you'll want to bring it in when you're done to protect it from moisture, harsh weather, and temperature changes.
Can Multiple Cameras Be Mounted Simultaneously for Different Imaging Purposes?
Yes, you can mount multiple cameras simultaneously on your telescope setup. You'll need proper mounting hardware and balance adjustments, but it's great for capturing different aspects of celestial objects at once.
What's the Maximum Weight Capacity I Should Consider for Future Upgrades?
You'll want a mount that can handle 1.5-2 times your current setup's weight. If your gear weighs 20 pounds, choose a mount rated for 30-40 pounds to accommodate future accessories.
Should I Buy Used Mounts, and What Potential Issues Should I Check?
You can buy used mounts to save money, but check for mechanical wear, electronic issues, and tracking accuracy. Always test functionality, inspect moving parts, and verify power connections before purchasing from reputable sellers.
How Often Should Periodic Maintenance Be Performed on Mount Gears and Motors?
You'll need to perform maintenance based on your usage frequency, not fixed intervals. Check your mount's gears and motors every 50-100 hours of operation, or if you notice any unusual sounds or resistance.
In Summary
You're now equipped with the core knowledge to start your astrophotography journey. Remember to double-check all connections, maintain proper balance, and start with simple targets like the Moon before advancing to deep-sky objects. Don't get discouraged if your first attempts aren't perfect – mounting challenges are normal for beginners. With practice and patience, you'll soon be capturing stunning images of the cosmos.


Leave a Reply