
Star stacking transforms your night sky photos by averaging out random noise while preserving important details. You’ll capture clearer images of faint celestial objects without the star trails that come with long exposures. Instead of one 2-minute shot, take multiple 15-second exposures at higher ISO settings for better results. Free software like Sequator (PC) or Starry Landscape Stacker (Mac) makes alignment simple. The technique dramatically improves signal-to-noise ratio, revealing cosmic details invisible in single shots.
Second-Level Headings for “Why Stack Stars For Cleaner Night Sky Photos”

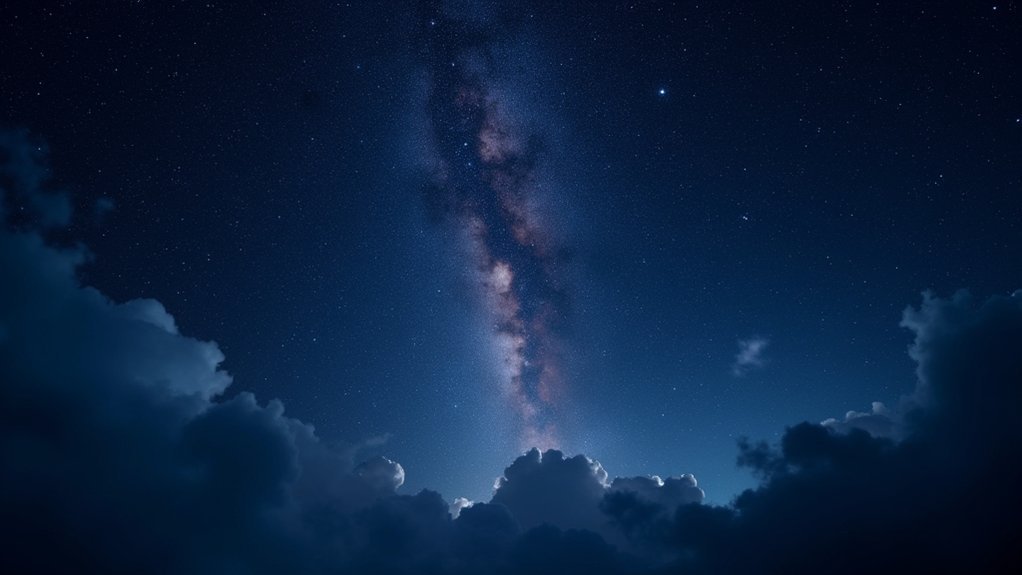
When you’re aiming to capture the beauty of the night sky, a single exposure often falls short of revealing the true celestial grandeur. Stacking images transforms your night photography by mathematically averaging out random noise that plagues dark shots.
Instead of risking star trails with one long exposure, you can capture multiple shorter frames where stars remain sharp points of light. This technique dramatically improves your signal-to-noise ratio, allowing faint celestial objects to emerge from the darkness with remarkable clarity.
Understanding Noise in Night Sky Photography
Although every astrophotographer dreams of pristine star images, noise inevitably creeps into your night sky photos. This unwanted interference primarily comes from high ISO settings, thermal vibrations within your camera, and random electronic signals—all conspiring to obscure faint stars and delicate celestial details.
When you’re shooting in low-light conditions, your digital camera’s sensor struggles, producing thermal noise and even detecting cosmic rays. Long exposures beyond 15 seconds introduce another problem: star trailing, which blurs the very objects you’re trying to capture.
This is where the stacking technique proves invaluable. By combining multiple short exposures, you’ll average out random noise patterns while preserving signal clarity.
For even cleaner results, incorporate dark frames into your processing workflow to identify and subtract specific sensor noise patterns.
How Star Stacking Creates Cleaner Celestial Images
Nearly every professional astrophotographer relies on star stacking to transform noisy, grainy night sky shots into crisp, detailed celestial portraits. The process works by combining multiple short exposures rather than risking a single long exposure where noise can overwhelm your image.
| Benefits | Single Exposure | Stacked Images |
|---|---|---|
| Noise Reduction | High digital noise | Noticeably reduced |
| Detail Retention | Limited | Enhanced |
| ISO Flexibility | Restricted | Higher settings possible |
| Exposure Control | Less forgiving | More adaptable |
| Final Quality | Good | Excellent |
When you stack images, you’re fundamentally averaging out random digital noise while reinforcing consistent star details. This technique lets you capture the night sky at higher ISO settings without the quality degradation typically associated with increased sensitivity. You’ll reveal fainter stars and nebulae that would otherwise remain hidden in the noise.
Best Budget Software Tools for Star Alignment
Despite what many beginners believe, creating stunning night sky images doesn’t require expensive software. For PC users, Sequator offers excellent star alignment capabilities with intuitive noise reduction features at no cost.
Mac photographers will find Starry Landscape Stacker particularly valuable for its user-friendly interface designed specifically for night sky processing.
Both programs support dark frames to eliminate camera noise—crucial for budget setups. If you’re interested in deep-sky objects, DeepSkyStacker provides extensive stacking software features, though expect a steeper learning curve.
After alignment and stacking, complement your workflow with free editors like GIMP or affordable Photoshop alternatives to fine-tune brightness, contrast, and sharpness.
These budget-friendly combinations deliver professional-quality results that showcase celestial details while minimizing noise—proving that impressive astrophotography is accessible regardless of your equipment budget.
Step-By-Step Guide to Stacking With Free Applications
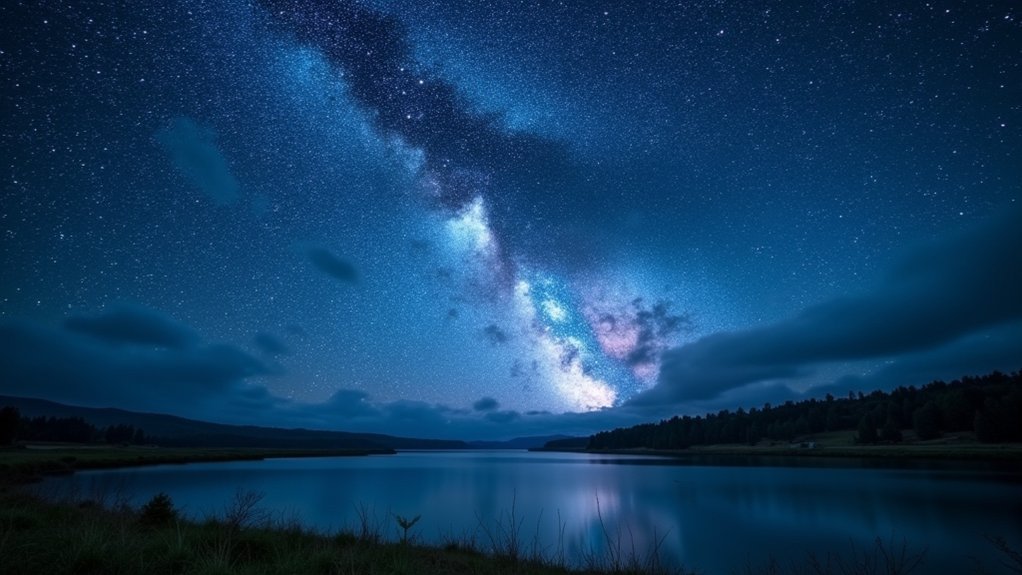
Image stacking transforms ordinary night sky snapshots into breathtaking celestial portraits—and you don’t need expensive software to achieve professional results.
Start by capturing 10-15 short exposures (10-20 seconds each) with identical settings and no in-camera noise reduction.
Capture multiple brief exposures with consistent settings instead of risking quality with a single long shot.
For PC users, download Sequator; Mac photographers can use Starry Landscape Stacker. Import your images as unmodified TIFF files to maintain quality.
Don’t forget to shoot several dark frames (with your lens cap on) to help software eliminate sensor noise.
Once loaded, these applications automatically align your images based on star positions.
After processing, you’ll notice greatly reduced noise and enhanced detail that single long exposures can’t match.
Make final adjustments to brightness and contrast in your preferred editing software to reveal the full glory of your stacked night sky.
Maximizing Signal-To-Noise Ratio With Limited Equipment
Even with modest gear, you can dramatically improve your astrophotography results by focusing on signal-to-noise ratio techniques. When shooting at high ISO settings like 10,000, capturing 10-15 consecutive frames allows you to create stacked images that markedly reduce digital noise while preserving detail.
The math is simple: more frames equal better results. Each additional exposure contributes to the final image’s clarity by averaging out random noise patterns that plague individual high ISO shots.
- Combine calibration frames (dark frames) with your stacked images to eliminate sensor noise and hot pixels.
- Shoot consecutive frames without moving your tripod to guarantee proper alignment during processing.
- Consider that the improvement in signal-to-noise ratio roughly follows the square root of the number of frames stacked.
Frequently Asked Questions
Is Stacking Necessary for Astrophotography?
Yes, stacking is necessary for serious astrophotography. You’ll need it to reduce noise, capture faint details, and avoid star trails while maintaining image quality. It’s essential for deep space objects especially.
What Is the Purpose of Stacking Photos?
Stacking photos helps you eliminate random noise and enhance details that would be lost in single exposures. You’ll achieve a cleaner image with improved signal-to-noise ratio, revealing faint stars and celestial features more clearly.
Why Stack Milky Way Photos?
You stack Milky Way photos to reduce noise from high ISO settings, avoid star trailing, enhance detail, and improve the signal-to-noise ratio. This reveals faint stars and celestial details that wouldn’t be visible otherwise.
How to Do Exposure Stacking?
To do exposure stacking, you’ll need to capture multiple short exposures, disable noise reduction, then use software like Sequator or Starry Landscape Stacker to align and combine your images, reducing noise and enhancing details.
In Summary
Star stacking transforms your night sky photography even with modest equipment. You’ll eliminate sensor noise, enhance faint celestial details, and gain impressive results without breaking the bank. By applying the techniques and free software tools we’ve covered, you’re now ready to create cleaner, more professional astrophotography. Don’t let limited gear stop you—start stacking tonight and watch your cosmic captures reach new heights.


Leave a Reply