
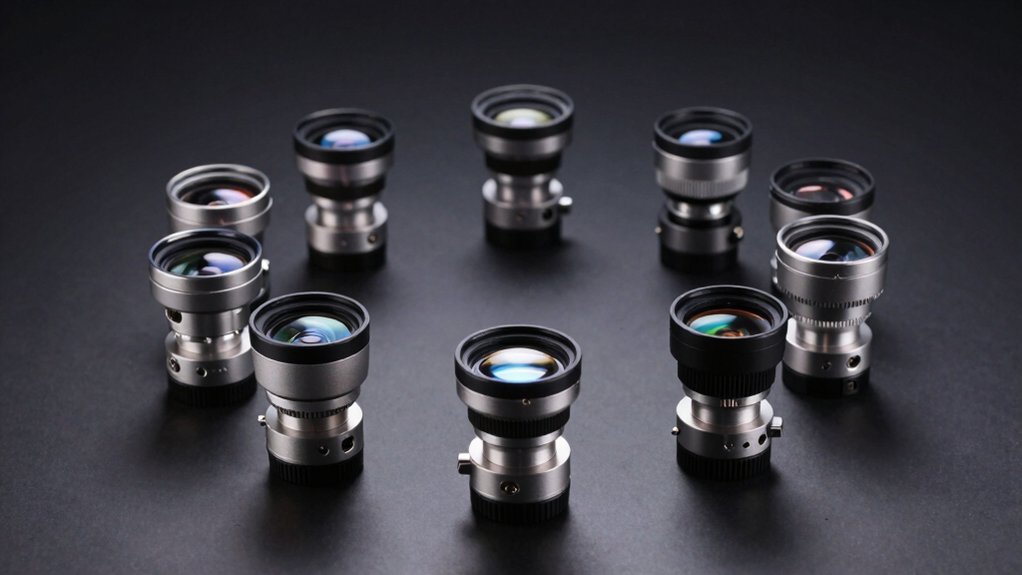
You can build effective telescope ring mounts on a budget using five DIY methods: PVC end caps from hardware stores, modified embroidery hoops with reinforcements, scrap aluminum fabrication, wooden rings with vibration dampening, or 3D printed quick-release designs. Each option costs considerably less than commercial mounts while providing secure equipment mounting for astrophotography. Let's explore how these cost-effective alternatives can transform your stargazing setup.
PVC End Cap Ring System: A Hardware Store Solution
When you're looking to mount your telescope for astrophotography without breaking the bank, a PVC end cap ring system offers an ingenious hardware store solution.
You'll find all the materials you need at your local store, including PVC end caps, adhesive, and basic hardware for securing attachments.
To create your mount, select PVC end caps that match your telescope's diameter. After cleaning both the caps and telescope tube, you'll secure the rings using epoxy or hot glue.
The system's durability and lightweight design make it ideal for portable setups, though you might sacrifice some professional-grade stability. Compared to commercial options like the William Optics rings at $148, this DIY approach costs significantly less.
While this DIY approach won't match commercial mounts in aesthetics, you'll appreciate the significant cost savings and ability to customize the setup for your specific needs.
Embroidery Hoop Conversion Mount
Another creative alternative to commercial telescope mounts comes from an unexpected source: embroidery hoops.
You'll find these lightweight rings can serve as a cost-effective mounting solution when properly modified. To make them telescope-worthy, you'll need to reinforce the structure with metal components and 3D-printed parts for added stability. Similar to The Micro Scope's use of NEMA 8 stepper motors, these modified hoops can be equipped with precision drive mechanisms.
Embroidery hoops, when reinforced with metal and 3D-printed components, offer an affordable DIY alternative for mounting telescopes.
While embroidery hoops offer advantages like portability and affordability, you'll face some key challenges.
The hoops require significant modification to achieve the rigidity needed for astrophotography. You can enhance their functionality by adding vibration control measures and developing secure attachment points for your equipment.
Consider using multiple hoops bonded together with strong adhesives to increase structural integrity. For best results, you'll want to integrate cable management systems and implement smooth adjustment mechanisms for precise tracking.
Aluminum Scrap Metal Ring Design
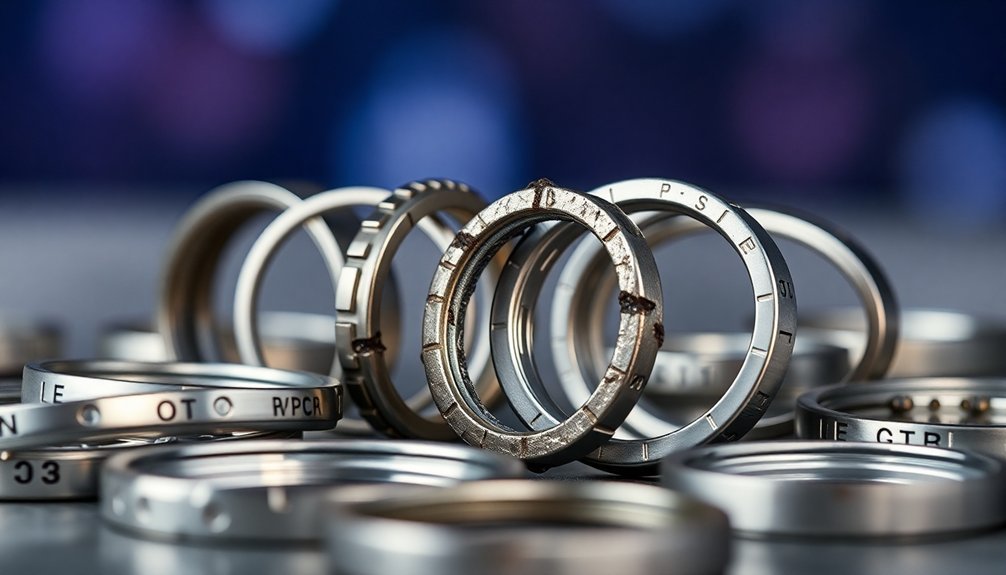
Resourceful astronomers can transform scrap aluminum into professional-quality telescope ring mounts with impressive results. You'll find that aluminum's lightweight nature and corrosion resistance make it perfect for creating custom mounts that'll withstand regular use. Using modern tools like a CNC router, similar to the 6040 used in custom telescope builds, ensures precise cutting of mounting rings.
| Design Aspect | Implementation |
|---|---|
| Material Choice | AlSi 10Mg alloy |
| Fabrication | CNC or manual tools |
| Protection | Anodizing/coating |
| Structure | Weight-optimized |
| Assembly | MIG/TIG welding |
When crafting your rings, you'll need to focus on structural integrity while maintaining proper balance. Start with thicker aluminum pieces for stability, then machine them to your telescope's specifications. Don't forget to incorporate vibration-dampening materials between the scope and rings. You can achieve professional results by carefully planning your design and using precise cutting techniques.
Adjustable Wooden Ring Assembly
Building wooden adjustable rings for your telescope offers three distinct advantages: natural vibration dampening, ease of customization, and cost-effectiveness.
Crafting wooden telescope rings provides superior vibration control while allowing personalized adjustments at a fraction of commercial costs.
You'll find that materials like red cedar and birch work exceptionally well for this purpose.
Start by creating CAD designs for precise measurements, then use CNC routing if available, or carefully craft your pieces using templates and jigs.
You'll need teflon pads and nylon screws for smooth movement, plus cork pads to secure the telescope tube.
When assembling, focus on proper weight distribution and make sure your design accommodates both altitude and azimuth adjustments.
Remember to take into account your specific needs – whether for visual observation or astrophotography – as this will influence your focuser choice and overall design.
Once assembled, test the mount's balance and motion smoothness before your first viewing session.
Consider joining a local astronomy club to share experiences and gain valuable feedback on your DIY mount design.
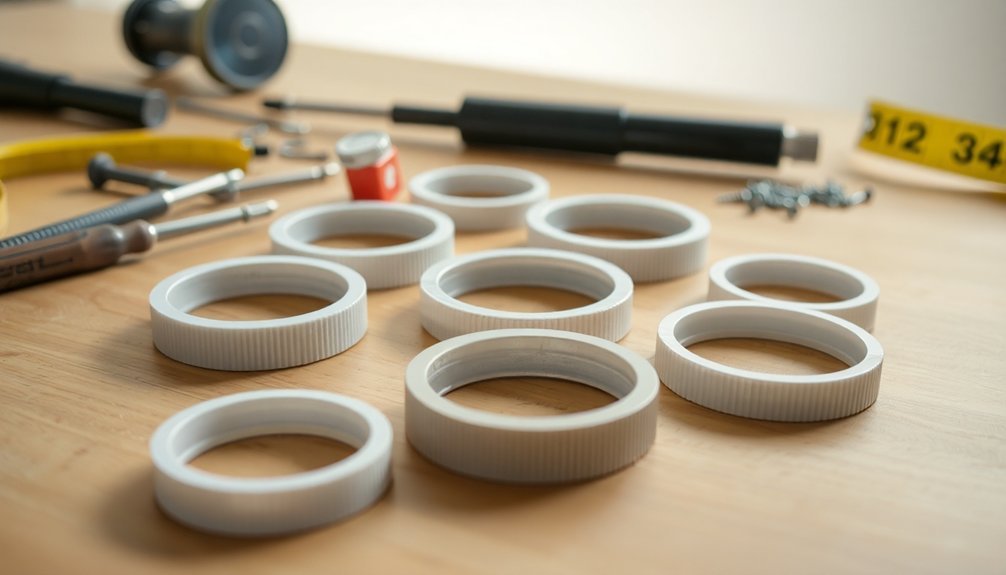
3D Printed Quick-Release Mount Rings
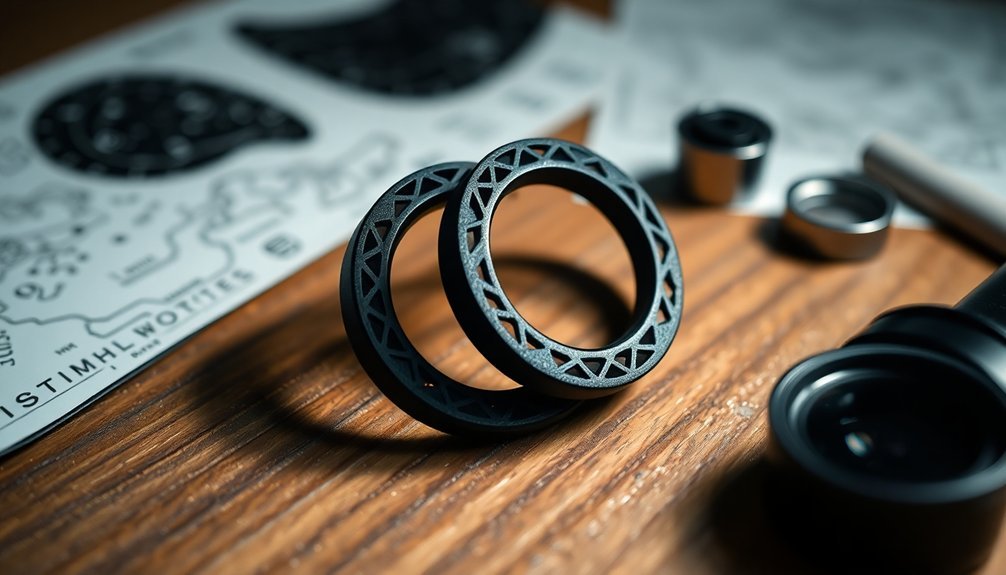
Three key advantages make 3D printed quick-release mount rings an attractive option for telescope enthusiasts: customization flexibility, cost efficiency, and rapid prototyping capabilities.
You'll find PETG plastic ideal for printing these mounts, as it withstands temperatures from -25C to 80C while providing necessary durability.
By incorporating standard M42 threads, you can guarantee compatibility with various telescopes, cameras, and accessories. The modular design lets you quickly swap equipment during astrophotography sessions without risking damage to your optics.
When creating your mount, you can customize the design to include stainless steel or aluminum components for enhanced strength. Modern designs include innovative thumbscrew systems that allow secure mounting without the need for tools.
You'll appreciate how the open-source community shares models and blueprints, enabling you to refine existing designs or create your own variations to match your specific needs.
Frequently Asked Questions
Can Ring Mounts Be Adapted for Binocular Astronomy Setups?
Yes, you can adapt ring mounts for binocular astronomy. You'll need to guarantee proper stability and balance, and you might want to add an L-bracket or parallelogram setup for comfortable viewing angles.
What Weatherproofing Methods Protect DIY Ring Mounts From Outdoor Conditions?
You'll need to protect your ring mounts with aluminum dust covers, waterproof coatings, and thick grease on steel parts. Don't forget to add gaskets at joints and use desiccants to control moisture.
How Do Different Ring Materials Affect Thermal Expansion During Imaging?
You'll find aluminum rings expand more than carbon fiber or Invar options during imaging. If you're seeking stability, choose materials with lower thermal expansion rates to minimize distortion in your photos.
Are DIY Ring Mounts Suitable for Heavy Professional-Grade Camera Equipment?
You shouldn't use DIY ring mounts for heavy professional cameras. They lack the necessary stability and structural integrity. You'll risk damaging your expensive equipment, as DIY materials can't reliably support substantial weights.
What Maintenance Schedule Should Be Followed for Homemade Telescope Ring Mounts?
You'll need to inspect your ring mounts weekly for loose bolts, monthly for wear signs, and lubricate moving parts quarterly. Clean after each use and check alignment before every observing session.
In Summary
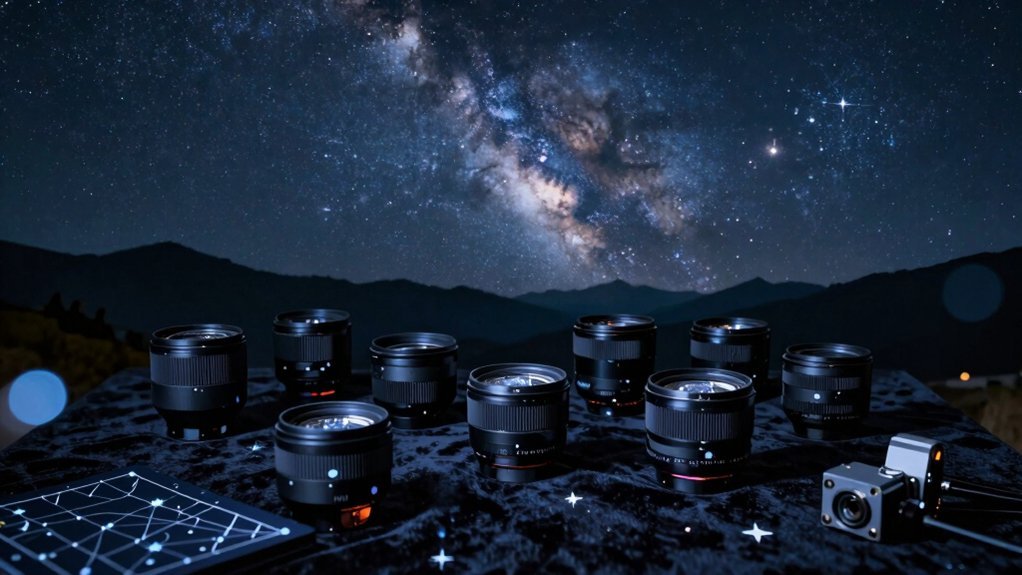
You'll find these DIY ring mounts offer significant savings compared to commercial options while delivering reliable performance for your astrophotography needs. Whether you choose the PVC solution, embroidery hoop hack, metal fabrication, wooden design, or 3D printed mount, you're now equipped to secure your camera to your telescope without breaking the bank. Start with the method that matches your skill level and available tools.
Leave a Reply