
Manual lenses can be an excellent budget-friendly option for deep sky photography when paired with the right adapters and mounts. You'll need a sturdy tripod, reliable star tracker, and DSLR camera to get started. Focus on vintage lenses with clear glass and manual aperture control, and shoot multiple exposures at low ISO settings for the best results. Post-processing software like Deep Sky Stacker will help transform your raw captures into stunning celestial images. The journey into astrophotography unfolds with each technical detail you master.
Understanding Manual Lens Compatibility and Adapters
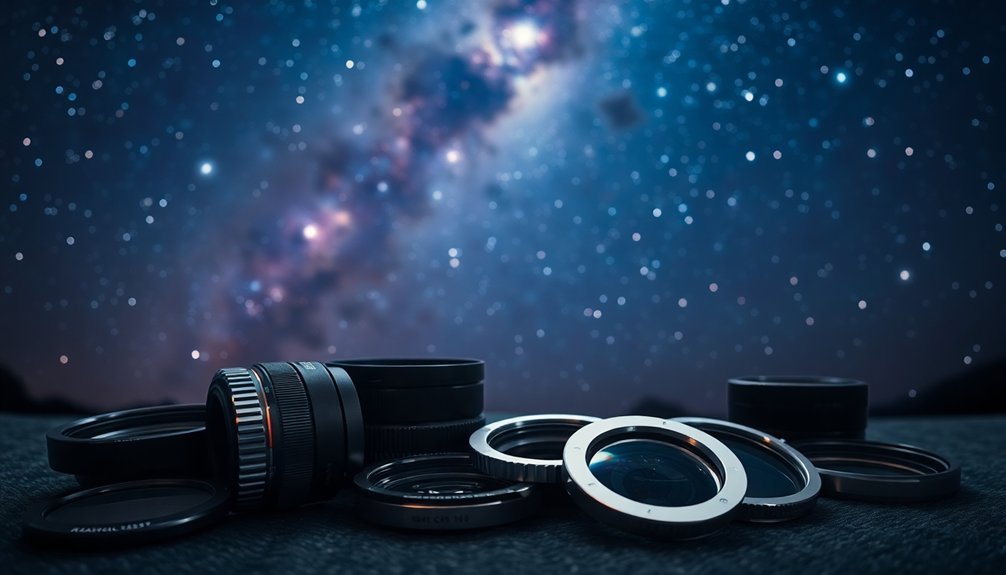
When venturing into deep sky photography with manual lenses, you'll need to understand how these optics work with modern camera systems. Most manual lenses require adapters to mount on your DSLR or mirrorless camera, as they often come with different mounting systems than your camera body.
T-adapter rings are particularly useful when you're connecting manual lenses to telescopes or camera bodies. While these adapters are mechanical and don't provide electronic connections, they're essential for achieving proper infinity focus and maintaining optical alignment. The Rokinon 14mm f/2.8 is an excellent example of a budget-friendly manual lens that delivers outstanding results for deep sky imaging.
You'll find that adapters can affect your lens's focal length and f-ratio, which might actually enhance your deep-sky imaging capabilities. When choosing an adapter, consider investing in quality options – while they're more expensive, they'll provide better stability and precision for your astrophotography setup.
Essential Equipment for Budget Deep Sky Photography
Although deep sky photography might seem equipment-intensive, you don't need to break the bank to capture stunning celestial objects.
You'll need a camera (your existing DSLR will work), a manual lens like the Rokinon 135mm f/2, and a basic star tracker such as the Sky-Watcher Star Adventurer. Cameras with flip out screens are particularly helpful when focusing on night sky targets.
For stability, invest in a sturdy tripod and make sure you've got a reliable power source for your mount.
While extras like dew heaters and guiding systems can enhance your capabilities, they're not essential for getting started.
You'll want image processing software – both Adobe Photoshop and specialized astro-software can work well.
Consider buying second-hand equipment to reduce costs, and start with shorter focal lengths (400-600mm) as they're more forgiving for beginners.
Finding and Selecting Used Manual Lenses

Manual lenses offer budget-conscious astrophotographers an excellent path to quality deep sky imaging.
Affordable manual lenses provide a gateway to stunning astrophotography, letting hobbyists capture celestial wonders without breaking the bank.
You'll find wide-angle options like the Rokinon 14mm f/2.8 perfect for Milky Way shots, while fast primes such as the SMC Takumar 50mm f/1.4 excel at capturing stars with minimal distortion.
To find these gems, search online marketplaces like eBay, specialty photography forums, and local camera stores.
When evaluating a lens, check for manual aperture control, clear glass, and smooth focus operation. Most lenses perform best when stopped down 1-2 stops from wide open.
Don't forget to research its adaptability to your camera mount.
Consider conducting star tests to verify performance, particularly in the corners of the frame.
While garage sales and flea markets can yield surprising finds, you'll typically have better luck with established sellers who understand the value of quality vintage glass.
Mounting Solutions for Manual Lens Astrophotography
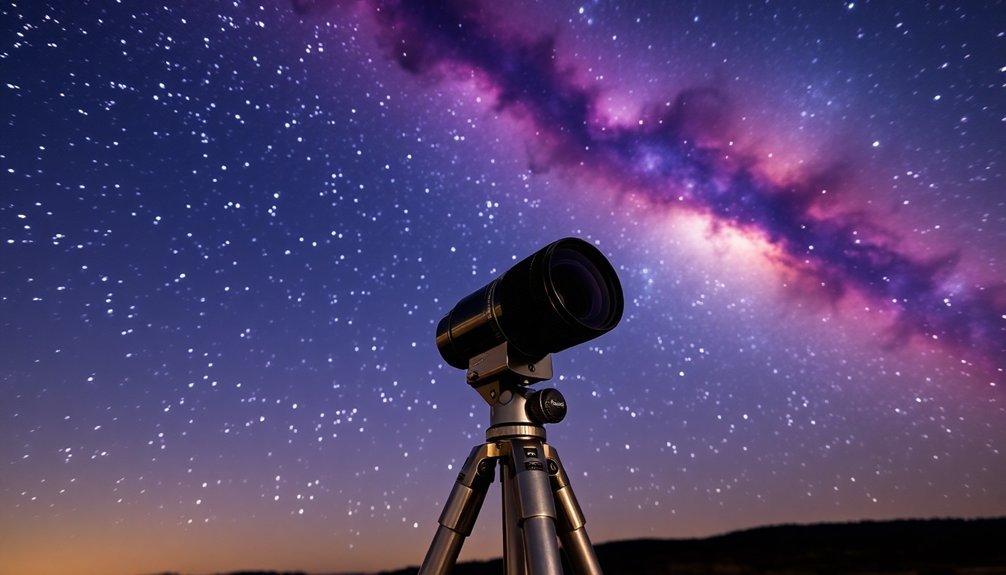
Three essential mounting solutions exist for manual lens astrophotography: star trackers, portable equatorial mounts, and entry-level GoTo systems. You'll want to match your mount to your shooting goals and budget while considering future upgrades. Complete setup with a deep-sky telescope can take over an hour to properly configure.
| Mount Type | Best For | Limitations |
|---|---|---|
| Star Tracker | Wide-field | Short exposures |
| Portable EQ | Mid-range | Manual tracking |
| GoTo System | Deep-sky | Higher cost |
For budget-conscious photographers, second-hand Star Adventurer or iOptron SkyTracker Pro mounts offer excellent value. These portable solutions work well with manual lenses for nightscapes and constellation photography. If you're planning to advance into deep-sky imaging, consider investing in a mount with higher payload capacity and autoguiding capability, like the SkyGuider Pro or Celestron CG-5. Remember that proper polar alignment is vital regardless of your chosen mount.
Camera Settings and Exposure Techniques
When capturing deep-sky objects with manual lenses, you'll need to master specific camera settings and exposure techniques to achieve the best results.
Set your camera to manual mode and shoot in RAW format to maintain maximum control and data. Start with ISO settings between 800 and 3200, and use your lens's widest aperture for focusing before stopping down slightly for the actual shot.
You'll want to take multiple exposures ranging from 20 to 30 seconds, including light frames of your target, dark frames for noise reduction, and flat frames to correct vignetting. A total exposure time of one to two hours per target is recommended for capturing sufficient detail.
Use live view mode with digital zoom (5x or 10x) to focus precisely on bright stars or the moon. Don't forget to use an autotimer or remote to minimize camera shake during exposures.
Image Processing and Stacking Workflow
After you've captured your raw light frames, you'll need to process them through stacking software like Deep Sky Stacker to combine multiple exposures and enhance the signal-to-noise ratio.
You'll find that stacking considerably reduces random noise while bringing out faint details that weren't visible in single exposures.
Converting the resulting 32-bit TIFF file from stacking is an essential step before beginning any detailed processing work.
Your stacked image will require noise reduction techniques in post-processing software, where you can apply selective smoothing to handle any remaining noise without compromising fine detail.
Processing Raw Light Frames
Processing raw light frames marks the vital first step in transforming your deep sky captures into stunning final images.
You'll want to start by ensuring all your frames are in RAW format to preserve maximum data for stacking and post-processing.
Check your histogram to confirm proper exposure levels before proceeding with calibration. Using software like MaximDL or DeepSkyStacker, you'll need to apply bias, dark, and flat frames that match your light frame settings. This essential step removes thermal noise and sensor artifacts from your images. Before stacking, it's crucial to identify and remove any bad frames to improve your final results.
Once calibrated, save your files as 16-bit FITS format for the stacking process.
Remember that sharp focus and accurate tracking during capture will greatly impact your final results. The cleaner your initial frames, the better your stacked image will turn out.
Noise Reduction Techniques
Noise reduction stands at the heart of successful deep sky astrophotography, building on the foundation of properly processed light frames.
You'll need to master several key techniques to minimize noise in your manual lens captures. Start by shooting multiple exposures at the lowest feasible ISO setting, as this provides better raw data for stacking. The consistent signal from stars and galaxies remains preserved through stacking while random noise diminishes.
Use specialized software like Deep Sky Stacker or Pixinsight to align and combine your exposures, which naturally reduces random noise through averaging.
Don't forget to capture dark, flat, and bias frames to remove thermal noise and artifacts during processing. For final touches, apply selective noise reduction using layer masks in your post-processing software, focusing on smoothing background noise while preserving detail in your target objects.
When possible, shoot on cool nights to minimize thermal noise naturally.
Frequently Asked Questions
Can Scratches on Vintage Manual Lenses Affect Astrophotography Image Quality?
Yes, scratches on your vintage lenses will affect astrophotography by causing light scatter and reduced contrast. You'll notice degraded image quality, especially when shooting bright stars and during long exposures with wide apertures.
How Do Temperature Changes Affect Manual Lens Focus During Long Sessions?
You'll notice your manual lens's focus point shifts inward as temperature drops through the night. You need to check and adjust focus hourly, as metal and glass contract with cold temperatures.
Which Coating Types on Manual Lenses Work Best for Reducing Star Halos?
You'll find multi-layer and narrowband AR coatings most effective at reducing star halos. However, they're more expensive than standard coatings. For best results, pair them with proper off-band blocking filters.
Should I Remove Fungus From Vintage Lenses Before Astrophotography Use?
Yes, you'll definitely want to remove fungus before using vintage lenses. It'll degrade image quality, scatter light, and create unwanted halos. Plus, the fungus can spread and permanently damage your lens's elements.
Can Manual Lens Elements Be Regreased to Improve Smooth Focusing?
Yes, you can regrease manual lens elements to improve focusing smoothness, but it's risky. Unless you're experienced with lens repair, you'll want to have a professional do this delicate work.
In Summary
Manual lenses can transform your deep sky photography without breaking the bank. You'll discover that vintage glass paired with modern adapters opens up incredible imaging possibilities. While there's a learning curve to master manual focus and tracking, your patience will pay off in stunning celestial shots. Keep experimenting with different focal lengths and processing techniques – you're now equipped to capture the cosmos on a budget.


Leave a Reply