Camera lens adapters let you connect your DSLR or mirrorless camera directly to your telescope for astrophotography. You'll need two main components: a T-ring that matches your camera brand and a T-adapter that connects to your telescope's focuser. Be sure to verify thread sizes (typically M42x0.75) and proper back focus distance for ideal image quality. Start with the basics of adapter installation and maintenance, then expand your skills into advanced imaging techniques.
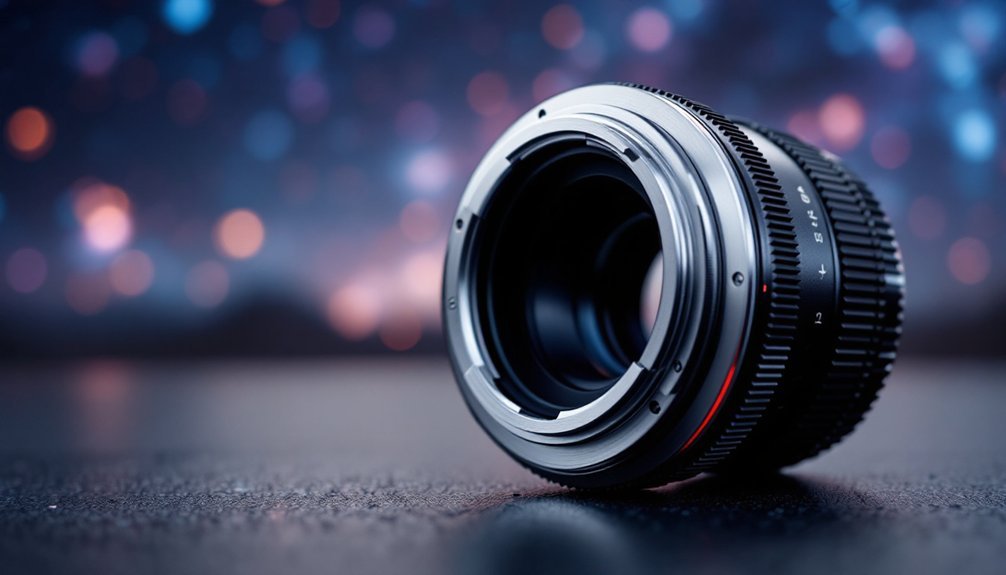
Essential Parts of Camera Lens Adapters
Camera lens adapters serve as the fundamental bridge between your imaging equipment and telescope setup.
You'll find these adapters are crafted from durable materials to guarantee reliable performance during long exposure sessions.
When selecting an adapter, you'll need to confirm compatibility with your specific camera brand and telescope interface.
Some adapters come with additional features like built-in filters or focusers that can enhance your imaging capabilities.
Many modern T-rings feature standard M42 threads that connect seamlessly to various telescope accessories.
The mounting system is vital – you'll want to verify that your adapter matches both your camera's mount type and your telescope's connection requirements.
For ideal results, look for adapters that provide secure connections without adding unnecessary weight to your setup.
A proper fit guarantees stable imaging and prevents any unwanted movement that could blur your celestial captures.
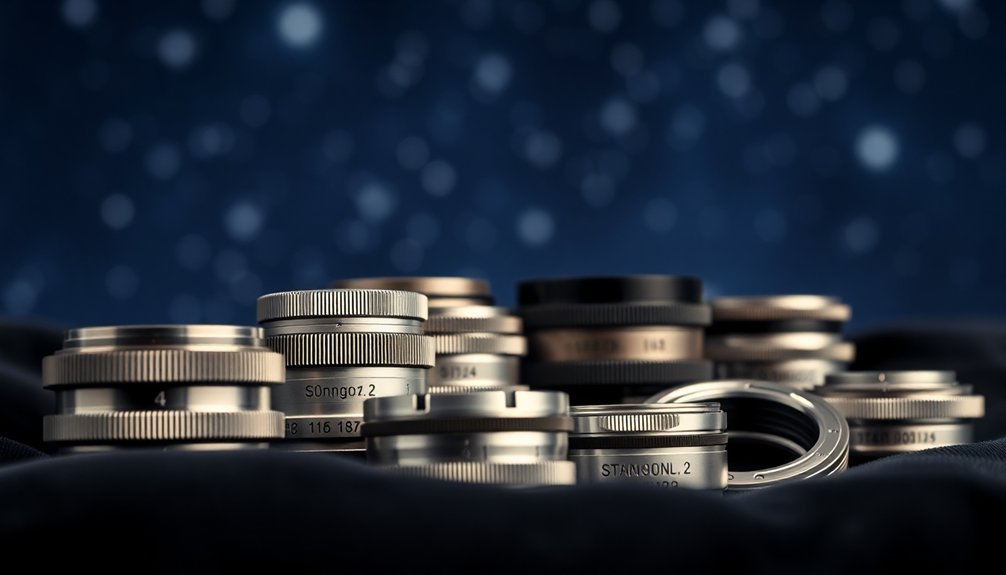
Understanding T-Rings and T-Adapters
To connect your camera to a telescope, you'll need a T-ring that matches your specific camera mount and a T-adapter compatible with your telescope's specifications.
You must verify the thread sizes align between your T-ring and T-adapter, with common options including M42x0.75, M48x0.75, and M54x0.75 threads.
When installing these components, first attach the T-ring to your camera's lens mount, then connect the T-adapter to both the T-ring and your telescope's focuser for a secure setup. Using a remote shutter release will help minimize vibrations when taking photos through your telescope setup.
Mounting Basics and Compatibility
When setting up your first astrophotography system, understanding T-Rings and T-Adapters becomes essential for successfully mounting your camera to a telescope. T-Rings attach to your camera's lens mount and provide standard M42x0.75 threads that connect to T-Adapters.
You'll need to match your camera brand's specific T-Ring (Canon, Nikon, etc.) with the appropriate T-Adapter for your telescope type, whether it's a Schmidt-Cassegrain, refractor, or reflector. While multiple manufacturers like Celestron and Meade produce compatible adapters, ensuring proper fit is crucial.
- T-Rings replace your camera lens and create a secure connection point
- T-Adapters come in 1.25" or 2" sizes to fit different telescope focusers
- Schmidt-Cassegrain telescopes require specific 2"-24 thread adapters
- Field flatteners or focal reducers can be added between components
- Always verify thread compatibility before purchasing adapters
Proper Installation Steps
Properly mounting your camera equipment begins with understanding the correct installation sequence for T-Rings and T-Adapters.
You'll need to start by attaching the T-Ring to your camera's front flange, ensuring it's compatible with your specific camera brand and model.
Next, you'll connect any additional optical accessories like focal reducers or field flatteners to the T-Ring's threaded end.
Then, secure the appropriate T-Adapter based on your telescope type – whether it's an SCT, refractor, or Newtonian. For SCTs, you'll need a T-Adapter with 2"-24 threads, while other telescopes might require 1.25" or 2" barrel adapters.
Finally, thread or insert the T-Adapter into your telescope's focuser or back end.
Before imaging, test the entire setup to verify proper focus and alignment. Some astrophotographers also use a dedicated astronomy camera for improved noise control in their images.
Choosing the Right Adapter for Your Setup
When you're selecting a camera lens adapter for astrophotography, you'll need to match your camera brand and model with compatible adapters, particularly T-rings designed for your specific system.
You'll want to verify the thread sizes, with common options including M42x0.75, M48x0.75, and M54x0.75, to guarantee proper attachment to your telescope or imaging train.
The measurements of your adapter must align precisely with both your camera mount and telescope connection points to prevent any light leaks or mounting issues that could compromise your imaging. Ensuring proper back focus distance of about 44mm is essential when using Canon lenses for optimal image quality.
Matching Brands and Models
Since the success of your astrophotography depends heavily on equipment compatibility, choosing the right adapter requires careful matching between your camera and telescope or lens systems.
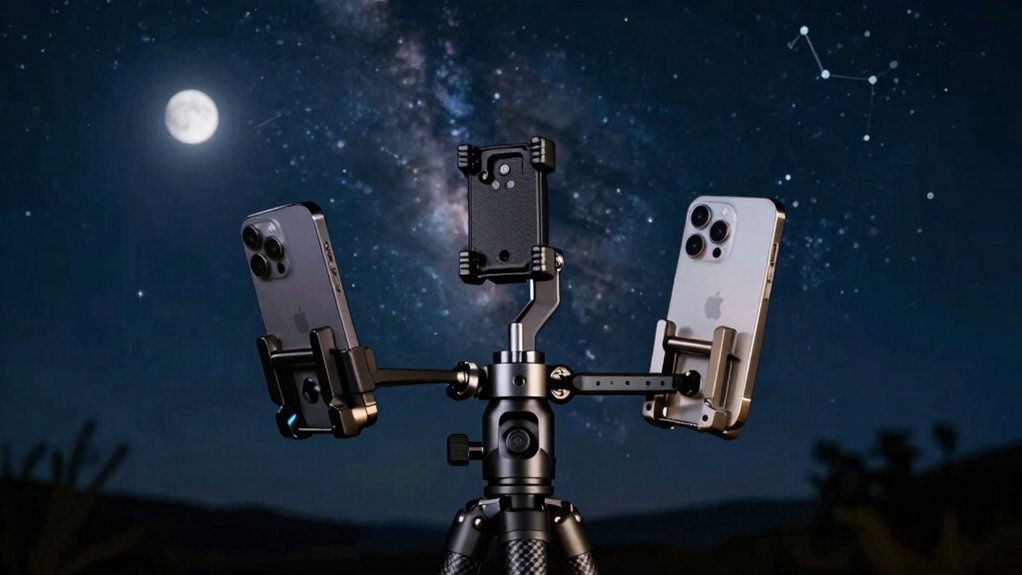
You'll need to verify specific mount types, dimensions, and connection points before making a purchase. For smartphone setups, look for 3-axis adjustable adapters like the Celestron NexYZ, while DSLR users should focus on T2 rings matching their camera body. Having a sturdy construction will ensure your expensive equipment stays securely mounted during long exposure shots.
Mirrorless cameras require specialized adapters compatible with their unique mounting systems.
- Check your camera's exact model number and mount type before selecting an adapter
- Verify telescope eyepiece diameter for smartphone adapters
- Confirm T2 ring compatibility with your specific DSLR brand
- Consider weight distribution and balance when matching components
- Look for adapters that offer future expansion options with additional accessories
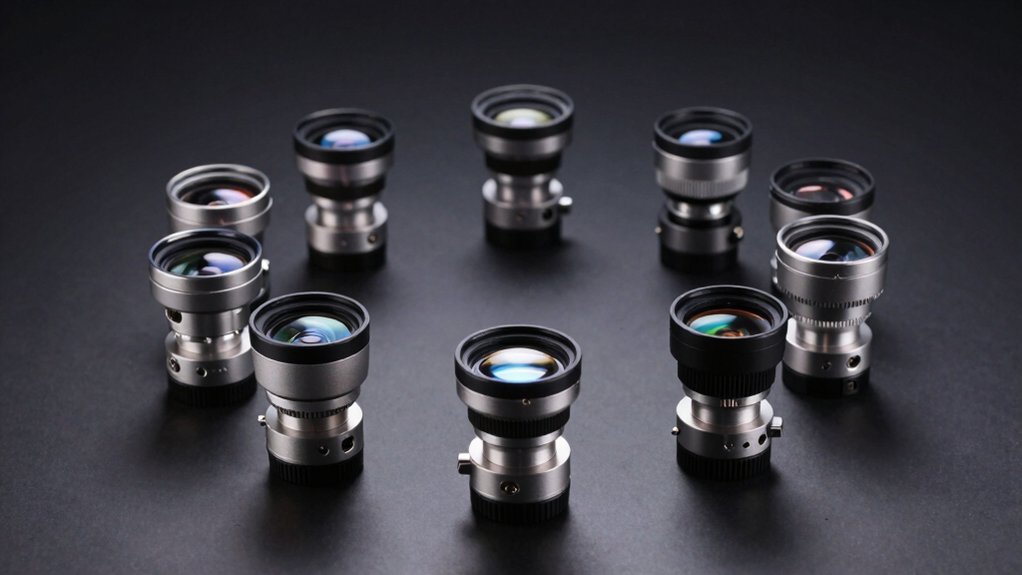
Essential Adapter Measurements
Understanding adapter measurements forms the foundation of successful astrophotography equipment integration. You'll need to match thread sizes, typically M42, M48, or M54, with your specific equipment. Your camera's flange focal distance is essential – Nikon F-mount requires 46.5mm while Canon EF needs 44mm. The precision needed in astrophotography requires stable long exposures with proper adapter mounting.
| Measurement Type | Why It Matters | What to Check |
|---|---|---|
| Thread Size | Image quality | M42, M48, or M54 |
| Flange Distance | Focus accuracy | Camera brand specs |
| Back Focus | Image sharpness | Sensor to mount |
| Barrel Size | Telescope fit | 1.25" or 2" |
| Adapter Length | Optical path | ~50mm + T-Ring |
When selecting your adapter, you'll need to take into account the telescope's focuser size (1.25" or 2") and guarantee proper back focus to avoid vignetting. T-adapters typically add 50mm to your optical path, which you'll need to include in your setup calculations.
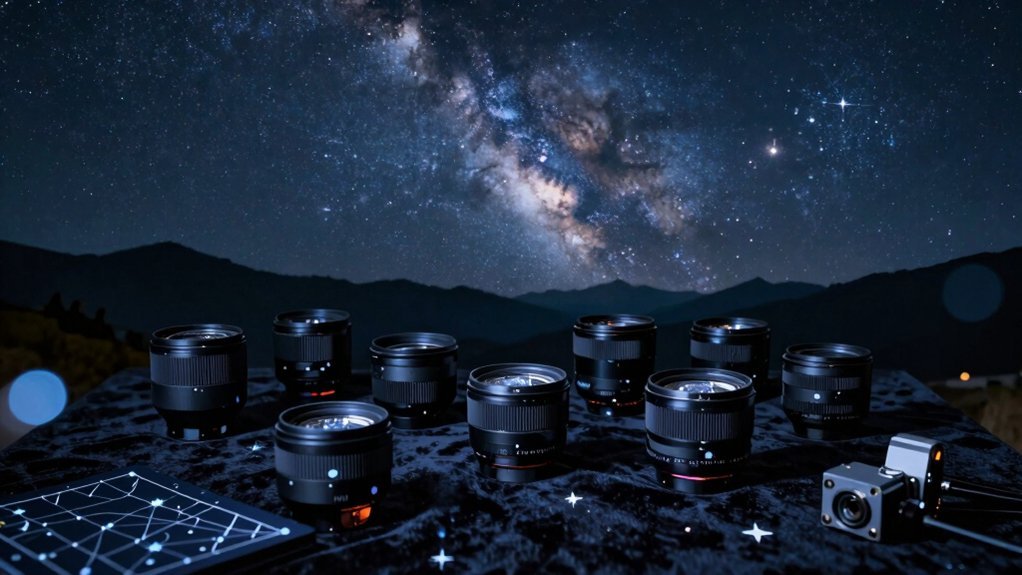
Common Adapter Mistakes to Avoid
Though camera lens adapters can expand your astrophotography capabilities, they're prone to several common mistakes that can compromise image quality and functionality.
Poor adapter selection and improper maintenance can lead to flange distance errors, autofocus problems, and image degradation. Using plastic shim stock for flange distance adjustments can help achieve perfect infinity focus when needed. You'll need to pay special attention to backfocus requirements and guarantee tight connections between your equipment components.
- Check your adapter's flange distance tolerance before purchase – Kipon offers reliable precision
- Clean both adapter surfaces regularly to prevent dust and debris buildup
- Secure all connections firmly but don't overtighten, which can damage threads
- Update adapter firmware when available to maintain peak performance
- Use lens calibration tools and manual focus adjustments for precise alignment, especially in low-light conditions
Setting Up Your First Adapter System
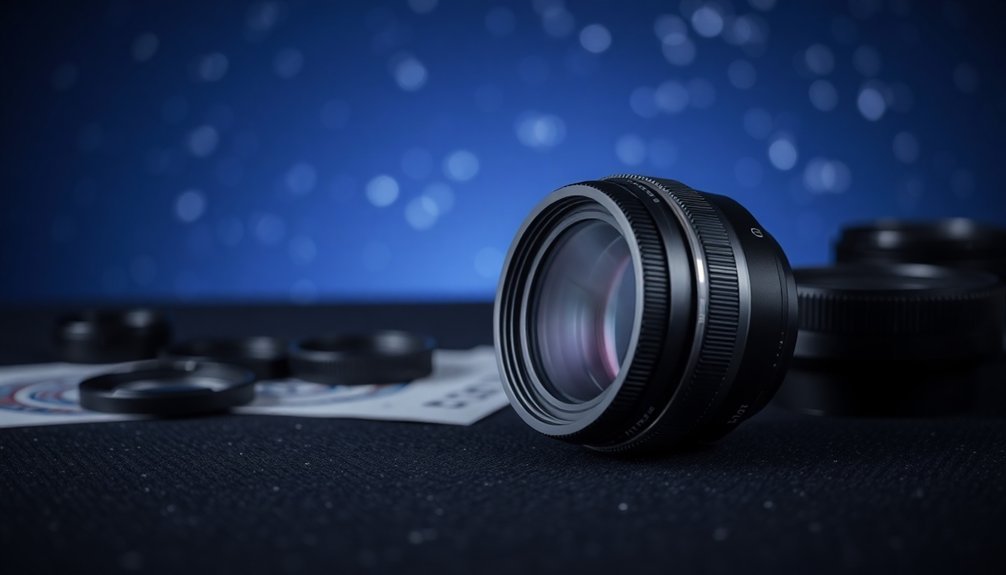
Successfully setting up your first camera lens adapter system requires careful attention to essential components and proper assembly techniques.
You'll need a T-Ring matched to your camera's mount, a telescope adapter that threads onto it, and a focuser to secure everything to your telescope.
Begin by removing your camera lens and attaching the T-Ring to your camera body. Thread the adapter onto the T-Ring, then insert this assembly into your telescope's focuser.
Make sure to lock it securely using the focuser's screws. Choose between 1.25 or 2-inch adapters based on your telescope's opening size. You'll want to use manual mode and focus settings on your camera, and a remote shutter release will help prevent vibrations.
Whether you're targeting deep-sky objects or planets, proper counterweight balancing is vital for stable imaging performance.
Adapter Tips for Better Night Sky Photos
Once you've mastered the basic setup of your adapter system, you can enhance your night sky photography with several proven techniques.
A reliable power supply is crucial for maintaining consistent imaging throughout your session without interruption. Your adapter configuration plays an essential role in achieving sharp, detailed images of celestial objects. Focus on a bright star to fine-tune your focus manually, and verify your tracking system is properly calibrated.
Don't forget to check your backfocus settings, as incorrect spacing can lead to blurry results.
- Use spacers with your T-ring to achieve ideal backfocus for your specific setup
- Match your adapter's focal reducer or field flattener to your telescope type
- Double-check all threaded connections are secure before starting your imaging session
- Consider using integrated adapter solutions that combine reducers and flatteners
- Test different exposure settings while maintaining stable adapter connections
Frequently Asked Questions
Can I Use Vintage Manual Lenses With Modern Camera Adapters for Astrophotography?
Yes, you can use vintage manual lenses for astrophotography with the right adapters. You'll need to guarantee proper infinity focus and mount compatibility, but they're often a cost-effective choice with unique optical qualities.
How Often Should I Clean and Maintain My Telescope-To-Camera Adapters?
You'll only need to clean your telescope-to-camera adapters when they're visibly dirty. Inspect them before each use, but don't clean unnecessarily. A quick dust check and occasional wipe with a soft cloth is sufficient.
Will Using Adapters Affect My Camera's Auto-Exposure and Metering Capabilities?
Yes, your camera's auto-exposure and metering capabilities will be affected. Basic adapters won't transfer these functions, but active adapters can maintain electronic connections. You'll need manual adjustments with basic adapters.
Are There Weather-Resistant Adapters Specifically Designed for Outdoor Astrophotography?
While you'll find weather-resistant adapters like the Commlite EF/EF-S to Nikon Z-Mount, there aren't many specifically marketed for astrophotography. You can protect regular adapters using dew shields and hand warmers instead.
Can Stacking Multiple Adapters Affect Image Quality or Create Vignetting Issues?
Yes, you'll notice reduced image quality when stacking adapters. They can introduce light loss, mechanical instability, and vignetting issues. You're better off minimizing adapter use to maintain ideal image quality.
In Summary
You're now equipped to start your astrophotography journey with the right lens adapters. Remember to double-check your camera and telescope compatibility, keep your T-ring connections clean, and always secure your equipment firmly. Don't let adapter issues hold you back – practice mounting and unmounting your setup at home before heading out for a night shoot. With these adapter basics mastered, you'll capture stunning night sky images.
Leave a Reply