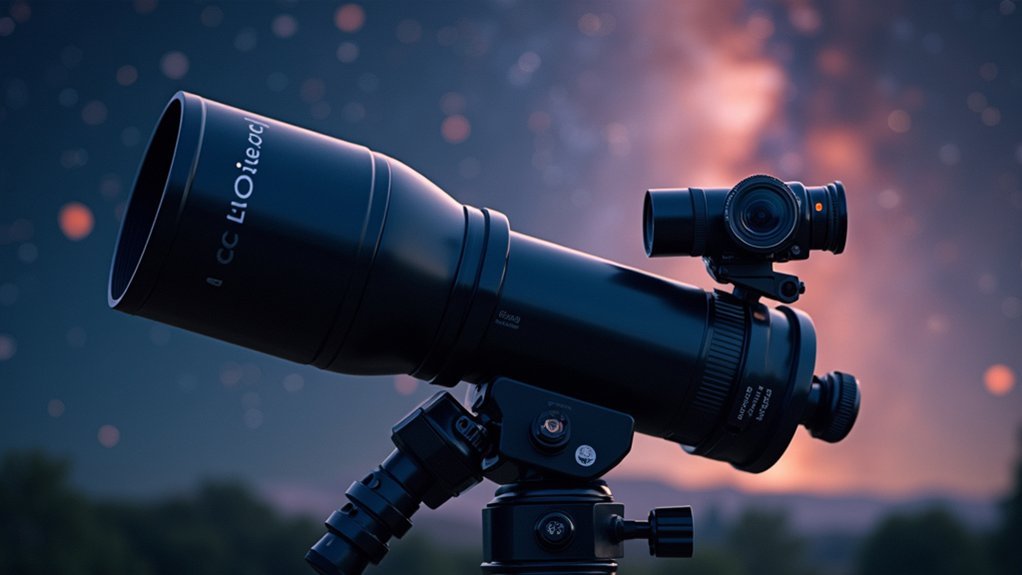
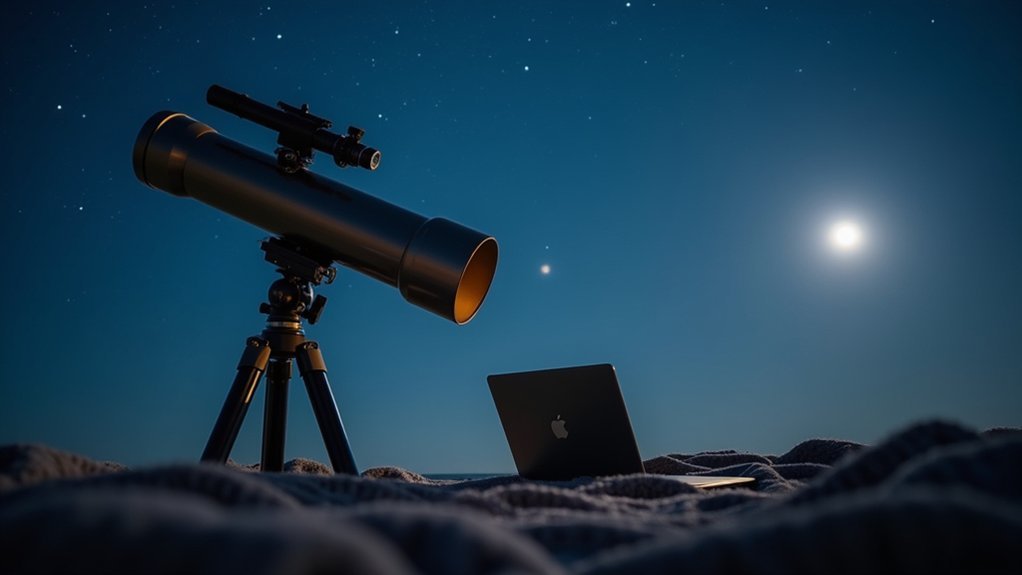
Webcams are ideal for telescope photography because they capture thousands of images rapidly, unlike DSLRs which struggle with fast-moving planets. Their smaller sensors provide higher effective magnification for bright objects like the Moon and planets. You’ll benefit from simpler setup, direct telescope attachment, and the ability to stack multiple frames for dramatically improved image quality. Learn how this budget-friendly approach can transform your celestial photography with surprisingly professional results.
Webcam vs. DSLR: Choosing the Right Tool for Planetary Imaging

Why do experienced astrophotographers often reach for a webcam instead of a DSLR when imaging planets? It’s all about specialization.
Webcams like the ASI224MC are designed for high frame rates—capturing thousands of images quickly to overcome atmospheric turbulence during planetary imaging.
Your DSLR excels at deep-sky photography but struggles with planets. Its slower frame rate and longer exposure times create motion blur when tracking fast-moving celestial objects.
Meanwhile, webcams’ smaller sensors provide higher effective magnification for bright targets like the Moon and planets.
The webcam’s ability to rapidly capture frames enables stacking in post-processing, dramatically improving image quality by averaging out noise and enhancing details.
For beginners especially, webcams offer a simpler, more effective entry point into the rewarding world of planetary astrophotography.
Essential Equipment for Connecting Webcams to Telescopes
Connecting your webcam to a telescope requires specific adapters and mounting hardware, including T-rings and eyepiece adapters that secure your modified webcam to the telescope’s focuser.
You’ll need a compatible webcam model with removable optics, such as the popular Philips Toucam 840 Pro, which offers excellent sensitivity for planetary imaging.
Focus and stabilization tools, including Barlow lenses for magnification and drive systems that track celestial objects, will greatly improve your astrophotography results by keeping targets centered and crisp throughout longer exposures.
Adapters and Mounting Hardware
The bridge between your webcam and telescope lies in specialized mounting hardware, without which astrophotography would remain impossible.
You’ll need an eyepiece adapter designed specifically for webcams, which securely positions your webcam sensor at the ideal focal point of your telescope.
If you’re using a webcam like the Philips Toucam 840 Pro, you’ll appreciate that its removable lens allows for direct attachment to your telescope’s focuser.
Verify your adapter is compatible with your telescope’s dimensions to prevent misalignment issues.
For enhanced viewing of planets and lunar details, consider adding a Barlow lens to your setup.
This optical element increases magnification while maintaining your mounting configuration.
Remember to check that all components fit together securely before your first imaging session.
Compatible Webcam Models
Selecting the right webcam can dramatically impact your astronomy imaging results, as not all models offer the features needed for effective telescope photography. The Philips Toucam 840 Pro remains a popular choice due to its removable lens and excellent light sensitivity, making it ideal for celestial imaging.
For more advanced astrophotography, consider the ASI224MC webcam, specifically designed for planetary and deep-sky imaging with superior low-light performance.
When choosing your model, verify it includes a compatible focuser attachment for secure telescope connection.
Look for webcams that capture video at high frame rates (30+ fps), allowing you to collect numerous frames for stacking and enhancing image quality.
Models that can be modified for direct telescope attachment without an eyepiece will provide a more straightforward setup with reduced distortion.
Focus and Stabilization Tools
Beyond choosing the right webcam model, successful telescope photography hinges on proper focusing and stabilization equipment.
You’ll need a 1.25-inch eyepiece adapter to securely mount your webcam to the telescope’s focuser, creating a solid connection for imaging.
Achieving sharp focus is critical when using a webcam.
Consider employing a Bahtinov mask, which creates diffraction patterns that make precise focusing considerably easier, especially for beginners.
For stability, invest in a telescope mount with tracking capabilities.
This essential feature compensates for Earth’s rotation, keeping your target centered and preventing motion blur in your images.
A Barlow lens can enhance your setup by increasing the effective focal length, providing higher magnification for detailed captures of planets and other celestial objects without sacrificing image quality.
Step-by-Step Guide to Setting Up Your Webcam Adapter
To mount your webcam to a telescope, you’ll need to choose between a universal adapter or a model-specific T-ring that securely connects your camera to the focuser.
You can achieve precise focus by using a Bahtinov mask that creates diffraction spikes or by slightly adjusting the focuser until your celestial target appears sharp on your computer screen.
For planets and deep-sky objects with different brightness levels, you’ll want to experiment with fine focus adjustments while monitoring the live image feed to capture the most detailed view possible.
Mounting Hardware Options
The proper mounting hardware makes all the difference when attaching your webcam to a telescope. You’ll need two essential components: an eyepiece adapter and a T-ring specifically designed for your webcam model.
These adapters create a secure connection between your telescope’s focuser and the imaging device, preventing unwanted movement during capture.
For the best results with a Philips Toucam 840 Pro or similar webcam, verify the adapter fits snugly in your telescope’s focuser. Many astronomers also add a Barlow lens to their setup, which effectively increases the focal length by 2-3 times, allowing for more detailed images of planets and other celestial objects.
Before finalizing your mount, test the entire assembly to confirm everything is properly aligned and securely fastened to avoid any vibrations that could blur your images.
Focus Adjustment Techniques
With your mounting hardware secured, proper focus becomes your next challenge when setting up a webcam for telescope photography. Your typical webcam requires careful focus adjustment techniques to capture a high quality image of celestial objects.
| Step | Focus Technique |
|---|---|
| 1 | Center object with high-power eyepiece first |
| 2 | Replace eyepiece with webcam adapter |
| 3 | Launch webcam software and view live feed |
| 4 | Make small, incremental focus adjustments |
| 5 | Record 30-second video for stacking software |
Begin by ensuring perfect alignment with a powerful eyepiece before switching to your webcam. Once connected, gradually adjust the focuser while monitoring your computer screen. The goal is achieving maximum sharpness before recording your video. Later, specialized stacking software will combine multiple frames from your recording, greatly enhancing detail and reducing noise in your final image.
Capturing Celestial Objects: Techniques for Better Results

While traditional astrophotography often requires expensive equipment and perfect conditions, webcams offer an accessible alternative for capturing stunning celestial images. Their small sensor provides higher effective magnification, perfect for bright objects like Jupiter and the Moon. You’ll capture more detail without investing in costly eyepieces.
Connect your webcam directly to your telescope instead of using eyepieces to maximize light gathering. Use short exposure times to prevent blur from telescope movement. The webcam’s ability to capture thousands of frames quickly enables stacking techniques that dramatically improve image quality.
After recording, process your videos with software like Registax to select the best frames and align them. This averaging process eliminates random noise and enhances details, resulting in considerably sharper final images than single exposures could achieve.
Processing Your Webcam Images With Free Software
Now that you’ve captured your celestial videos, transforming them into stunning astronomical photographs requires the right processing tools. Free software like Registax offers powerful capabilities for enhancing your astronomical images by aligning and stacking the best video frames while discarding blurry ones affected by atmospheric turbulence.
- Processing workflow: Registax automates many steps while still allowing manual adjustments for those wanting more control over their image enhancements.
- Image quality improvement: Stack multiple frames to considerably reduce noise and sharpen details of the Moon and planets.
- Smart selection: The software identifies and uses only the sharpest video frames from your recordings.
- Time management: Consider your computer’s specifications when processing longer videos, as rendering times can vary notably based on hardware capabilities.
Budget-Friendly Accessories to Enhance Your Astrophotography

Although diving into astrophotography can seem expensive, you don’t need to break the bank to capture impressive celestial images. Start with a cheap yet capable webcam like the Philips Toucam 840 Pro, which can capture thousands of high-resolution frames quickly for stacking.
Astrophotography doesn’t demand a fortune—just clever gear choices and the right techniques to reveal cosmic wonders.
Pair your webcam with these essential accessories:
- A modest telescope with a drive mechanism to track celestial objects
- A Barlow lens to increase image scale 2-3 times for better detail
- A sturdy tripod or mount to eliminate vibrations during imaging
Free software like Registax complements your hardware setup, allowing you to process and stack your best frames from video captures.
With these affordable accessories, you’ll transform a simple webcam into a powerful astrophotography tool capable of stunning Moon and planetary images.
Frequently Asked Questions
What Is the Best Camera to Attach to a Telescope?
For your telescope, you’ll find DSLRs like Canon EOS 450D best for deep-sky objects, webcams like ASI224MC ideal for planets, and CCDs offering highest quality but at premium prices. Consider your specific imaging goals.
How to Use a Webcam for Astrophotography?
To use a webcam for astrophotography, you’ll need to remove its lens, attach it to your telescope with an adapter, align your target, record a short video, and stack the best frames using software like Registax.
Can a Phone Camera See Through a Telescope?
Yes, you can use your phone camera to see through a telescope. Simply attach it to the eyepiece using a phone mount, and you’ll be able to capture images of celestial objects.
Can You Do Astrophotography With a Normal Camera?
Yes, you can definitely do astrophotography with a normal camera. You’ll need a stable mount, appropriate lenses, and an intervalometer for long exposures. Post-processing software helps you stack images for better results.
In Summary
When you’re capturing planets, webcams offer you exceptional value through their high frame rates and specialized software compatibility. They’re affordable, user-friendly, and perfect for planetary imaging. Don’t overlook these simple cameras—with the right adapter and processing techniques, you’ll capture stunning celestial details that might surprise you. Whether you’re a beginner or budget-conscious astronomer, webcams remain a practical choice for your astronomical photography journey.


Leave a Reply