
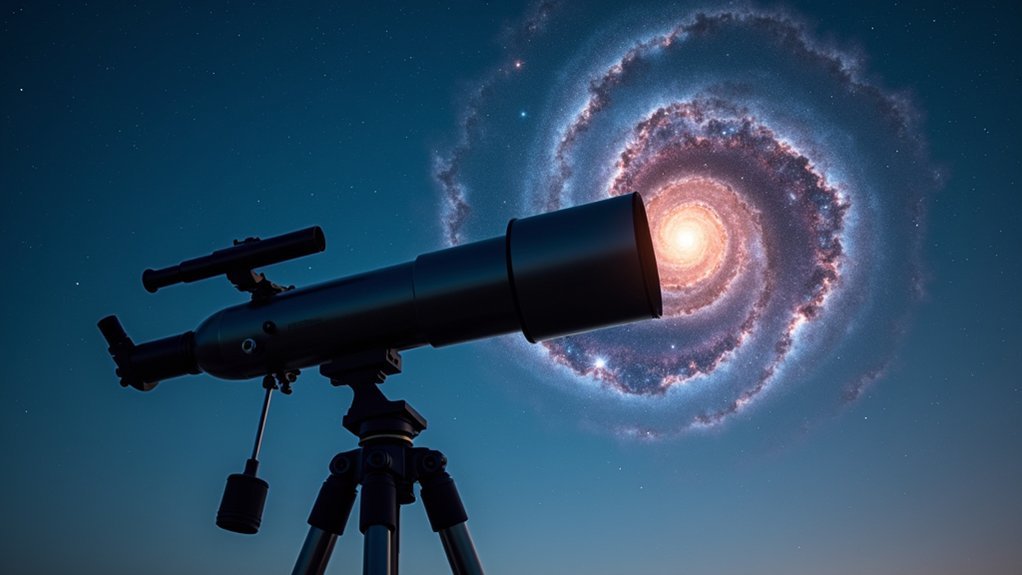
Mounting your camera on a telescope transforms your astrophotography capabilities by combining your camera’s imaging technology with the telescope’s powerful optics. You’ll achieve higher magnification and resolution of distant celestial objects than camera lenses alone can provide. This setup offers a cost-effective alternative to expensive telephoto lenses while enabling advanced techniques like image stacking for deep-sky photography. The right adapters and mounting techniques will reveal views of the cosmos you never thought possible.
Why Mount Your Camera On A Telescope?
Why settle for limited celestial photography when a telescope can transform your astrophotography capabilities? By attaching your DSLR to a telescope using a specialized camera adapter, you’ll gain access to considerably longer focal lengths that standard camera lenses simply can’t match, resulting in dramatically higher magnification and resolution of distant celestial objects.
Telescopes are specifically designed with optical systems that minimize aberrations and enhance clarity—perfect for capturing detailed images of nebulae and galaxies. You’ll also save substantially compared to purchasing expensive telephoto lenses while achieving superior results.
The precision of an equatorial mount provides the stability needed for long-exposure shots, allowing accurate tracking of celestial movements without motion blur. This configuration enables advanced astrophotography techniques like image stacking, essential for producing those breathtaking deep-sky photographs you’ve always dreamed of capturing.
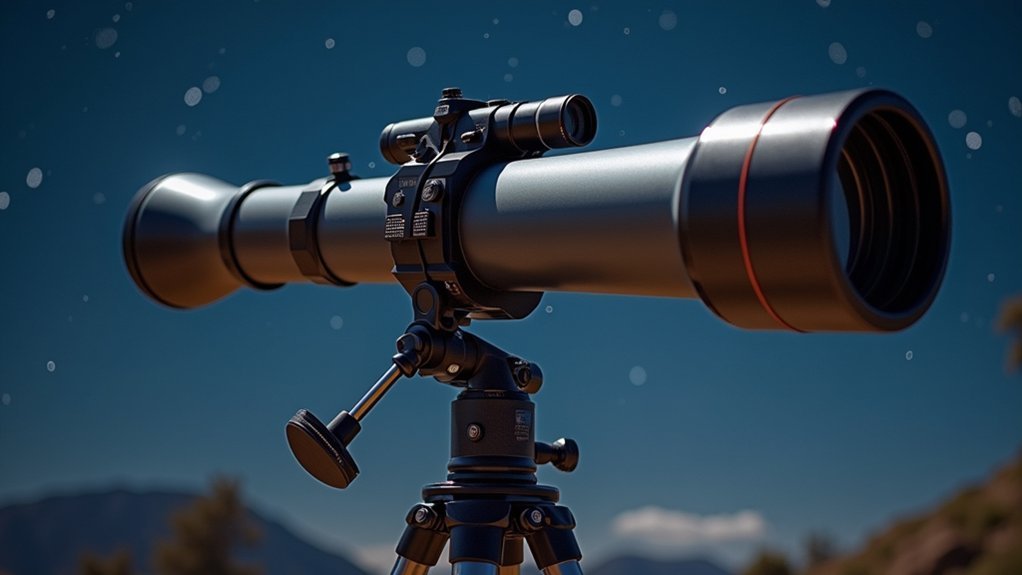
Essential Equipment for Telescope-Camera Integration
Properly connecting your camera to a telescope requires several specialized components working together as an integrated system.
The foundation of this setup is a T-Ring that matches your specific DSLR or mirrorless camera mount, coupled with a telescope adapter featuring either 1.25″ or 2″ diameter nosepiece to prevent vignetting.
For best results, you’ll need to carefully consider backfocus requirements—typically 55mm for many corrective elements.
Dedicated astronomy cameras connect directly to Newtonian telescopes using a 1.25″ T-Adapter, while refractors and SCTs often allow direct connection without a diagonal.
For enhanced stability during imaging sessions, precision adapters like the Baader Microstage II can greatly improve alignment.
Remember that proper measurement and matching of all components guarantees secure attachment and best focus when mounting your camera to a telescope.
Step-by-Step Mounting Procedure for Budget Setups
You’ll need just a few basic items for telescope-camera mounting: a T-ring specific to your camera model, an appropriate adapter for your telescope’s focuser size, and a remote shutter release.
When aligning your setup, make certain the camera sensor is perfectly perpendicular to the optical path and use the telescope’s focuser to achieve sharp images rather than your camera’s focus mechanism.
To secure your camera safely, always double-check all connection points are tight, support the weight of your camera during installation, and consider using a safety tether for expensive equipment.
Essential Equipment Needed
When setting up a camera-telescope system on a budget, gathering the right equipment before you begin will save both time and frustration.
You’ll need a camera mount compatible with your telescope, specifically a T-Ring designed for your camera model (such as a Canon EF mount camera).
Pair this with a telescope camera adapter—either a 1.25″ or 2″ nosepiece, with the 2″ option recommended to reduce vignetting.
For successful long exposure shots, a remote shutter release cable is vital to prevent camera shake when capturing images.
Your astrophotography setup doesn’t need to be expensive, but these components are non-negotiable for quality results.
Before attaching your camera, remember to remove any eyepieces or accessories from the telescope to guarantee a direct, unobstructed connection.
Alignment Tips
Although precision alignment seems intimidating for beginners, the process becomes straightforward with a methodical approach.
Start by attaching the T-Ring to your camera, ensuring it matches your specific lens mount design. Then connect the appropriate adapter (1.25″ or 2″) to the T-Ring based on your telescope’s eyepiece size.
Position your telescope on a stable mount and verify it’s level to minimize vibrations during astrophotography sessions.
Carefully thread the camera-T-Ring assembly into your telescope’s focuser, making sure the alignment is perfectly centered along the optical axis. A secure, snug fit prevents unwanted movement during imaging.
For the clearest images, always use a remote shutter release to avoid touching the camera when capturing photos, eliminating vibrations that could blur your astrophotography results.
Securing Camera Safely
Now that we’ve covered alignment principles, let’s focus on the specific steps for safely securing your camera to a telescope without breaking the bank.
Start by removing your camera lens and attaching the appropriate T-Ring for your camera’s mount type. Next, select either a 1.25″ or 2″ adapter tube based on your telescope’s eyepiece holder, and thread it onto the T-Ring.
Verify everything is securely fastened to prevent unwanted movement during your astrophotography session.
For vibration-free images, use a remote shutter release rather than pressing the camera button directly.
Finally, check that the combined weight of your camera setup doesn’t exceed your mount’s weight capacity. This simple verification prevents potential damage and guarantees stable imaging even on budget equipment.
Achieving Proper Focus With Limited Resources
You’ll find achieving proper focus with budget equipment requires understanding the standardized 55mm backfocus distance for most camera setups using T-rings and adapters.
For manual focusing, remove all eyepieces and use a remote shutter release cable to prevent camera shake while making fine adjustments.
Regular alignment checks between your camera and telescope’s optical axis will help maintain critical focus, even without motorized focusers or expensive accessories.
Budget Focus Techniques
While expensive auto-focusing systems dominate professional astrophotography, achieving sharp focus doesn’t require breaking the bank. You’ll find several affordable methods that deliver impressive results.
Start with a remote shutter release to eliminate camera shake during exposure. Invest in a quality T-Ring and nosepiece adapter that properly fits your telescope—this connection directly impacts focus quality.
Create a DIY Bahtinov mask or simple focus mask to achieve precise focus on stars without costly equipment. Your smartphone can become a valuable tool with an astrophotography app that helps identify and center celestial objects.
Don’t overlook regular collimation maintenance of your telescope’s mirrors or lenses—proper alignment is essential for crisp images and costs nothing but time. These budget-friendly techniques can dramatically improve your astrophotography results while keeping expenses minimal.
Manual Focusing Shortcuts
Building on affordable focusing techniques, manual focus shortcuts can transform your astrophotography results without specialized equipment. A Bahtinov mask is invaluable for achieving precise manual focus by creating distinctive diffraction patterns that clearly indicate when your star is perfectly focused.
When making focus adjustments, always lock your telescope’s focuser to prevent unwanted movement. Utilize your camera’s live view mode to zoom in on a bright star, allowing for real-time fine-tuning regardless of your sensor size.
Start with low magnification to locate your target, then increase magnification for precision focusing.
Don’t underestimate smartphone apps like “Focus Lock” that can visually confirm when you’ve achieved sharp focus. These approaches help you attain professional-quality results while working with limited resources and minimal specialized equipment.
Focus Without Motors
Achieving perfect focus without motorized equipment remains entirely possible for amateur astrophotographers working with limited resources.
You’ll need to master the fine focus knob on your telescope’s focuser, making precise adjustments while observing visual feedback. Start by practicing on bright objects before attempting deep sky photography.
For ideal manual focusing results:
- Use a high-quality eyepiece with longer focal lengths to create a larger exit pupil, making focus changes more noticeable.
- Employ a Bahtinov mask to visually identify the exact moment of perfect focus through its distinctive diffraction pattern.
- Regularly check and readjust focus when changing targets or during temperature shifts that affect your optics.
With these techniques, you’ll achieve crisp, detailed astrophotography without expensive motorized focusing systems—proving that patience and proper technique often outweigh technological solutions.
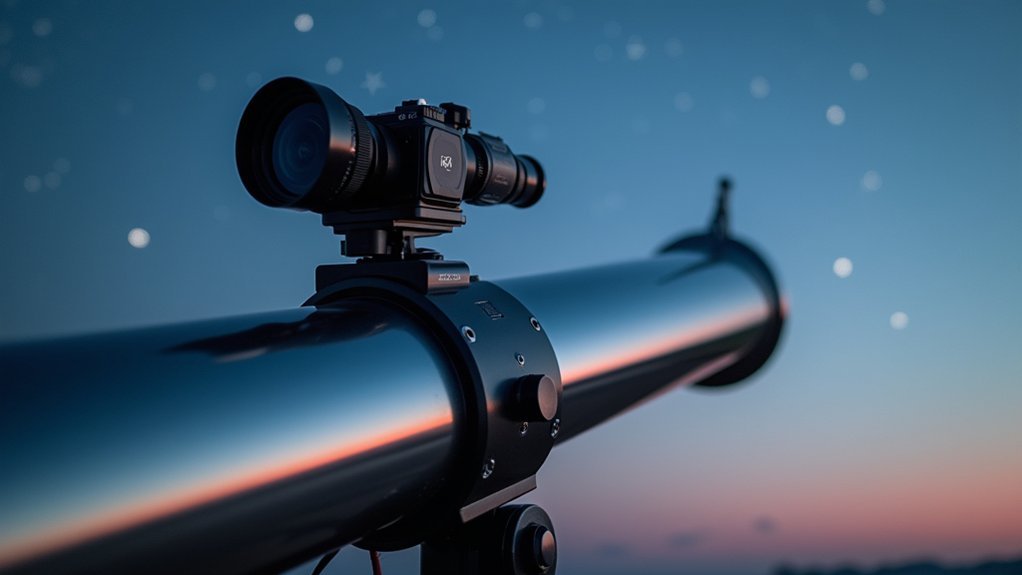
Affordable Adapters and Connection Solutions
Several affordable adapter options exist for mounting your camera to a telescope without breaking the bank.
The Baader Microstage II offers quality camera-to-eyepiece alignment with convenient clickstops that enhance stability for your astrophotography setups.
When shopping for telescope adapters, prioritize well-reviewed products from specialized vendors like telescopeadapters.com that match your specific camera model.
Different cameras require specific solutions—the Panasonic FZ200 needs the LA7 adapter tube, while the FZ80 requires the LA8 to protect your zoom lens from stress.
Always verify that your camera’s tripod thread aligns properly with the optical axis; off-center threads may require additional stabilization.
For peak image quality, regularly check your equipment alignment, especially when using heavier adapters that might affect focus during longer exposure sessions.
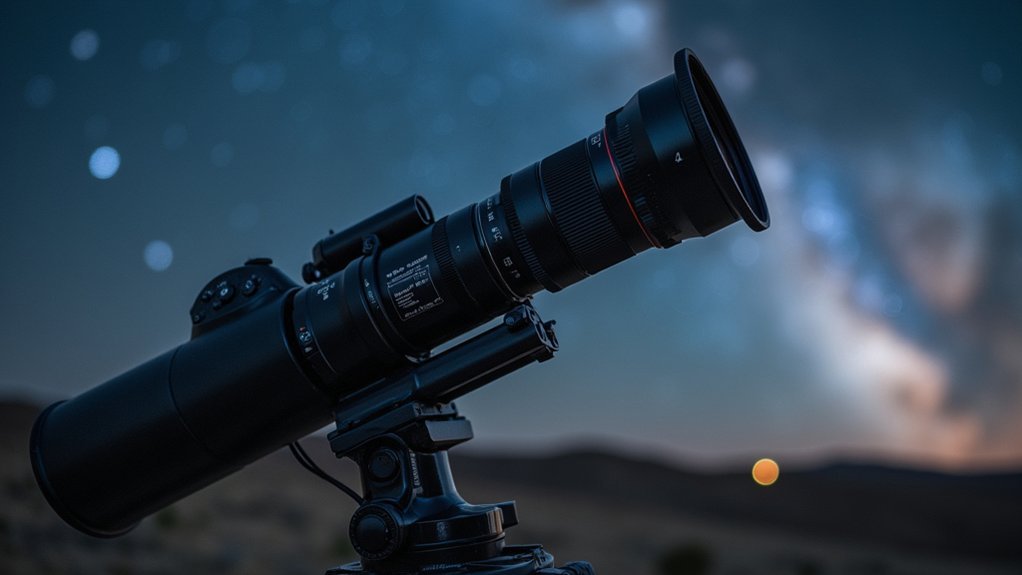
Maximizing Image Quality With Basic Equipment
While high-end astronomy equipment offers impressive capabilities, you can capture stunning celestial images with just basic gear when properly configured. Your Canon EOS or other astrophotography cameras can deliver exceptional results when properly mounted at the correct backfocus distance (typically 55mm) using an appropriate adapter ring.
To maximize your imaging potential:
- Position your camera sensor precisely – Even inexpensive adapters can provide perfect backfocus when properly adjusted, dramatically improving sharpness and detail.
- Optimize your field of view – Match your telescope’s focal length to your desired target size for the best balance of detail and context.
- Focus meticulously – Use your telescope’s precision focusing mechanism rather than relying on your camera’s autofocus for pinpoint stars.
Remember that proper mounting technique often matters more than expensive equipment when pursuing quality astrophotography.
Frequently Asked Questions
What Does a Telescope Mount Allow You to Do?
A telescope mount allows you to track celestial objects precisely as Earth rotates, enabling long-exposure astrophotography without star trails. You’ll achieve clearer images while the mount compensates for movement with minimal wobble.
Can I Attach My Camera to a Telescope?
Yes, you can attach your camera to a telescope. You’ll need a T-Ring specific to your camera’s mount and an adapter for your telescope’s eyepiece holder (1.25″ or 2″ size).
What Does a Camera Mount Do on a Camera?
A camera mount lets you attach your camera to various supports. It stabilizes your device, prevents shaking during shots, and enables you to position your camera securely on tripods, handles, or other accessories.
What Are the Best Things to Look at Through a Telescope?
You’ll love viewing the Moon’s craters, Jupiter’s bands, Saturn’s rings, the Orion Nebula, Andromeda Galaxy, star clusters like the Pleiades, and occasional comets. These celestial objects reveal stunning details through your telescope.
In Summary
Mounting your camera to a telescope opens up a universe previously unavailable to standard lenses. You’ll capture stunning moon craters, planets, and deep-sky objects without spending thousands on specialized equipment. With just basic adapters and careful focusing, you’re ready to transform your ordinary setup into an astrophotography powerhouse. Don’t wait for the perfect gear—your journey to photographing the cosmos starts with this simple connection.


Leave a Reply