
For telescope astrophotography, start with a beginner-friendly DSLR like Canon EOS 6D or Sony Alpha a7 III. You’ll need proper T-rings and adapters to mount your camera to your telescope. Invest in a budget tracking mount to prevent star trails during long exposures. Use remote shutters to eliminate vibrations. Bring sufficient power supplies for extended sessions. Don’t forget protective gear like dew shields. Try free software like Siril for processing. These essentials will help transform your celestial viewing into stunning captures.
Choosing The Right Camera For Your Telescope
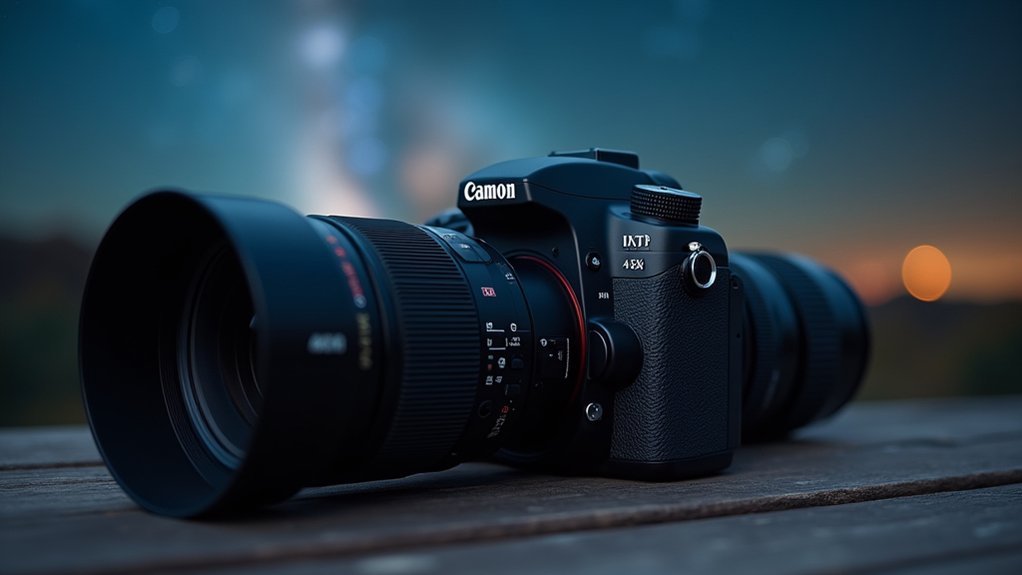
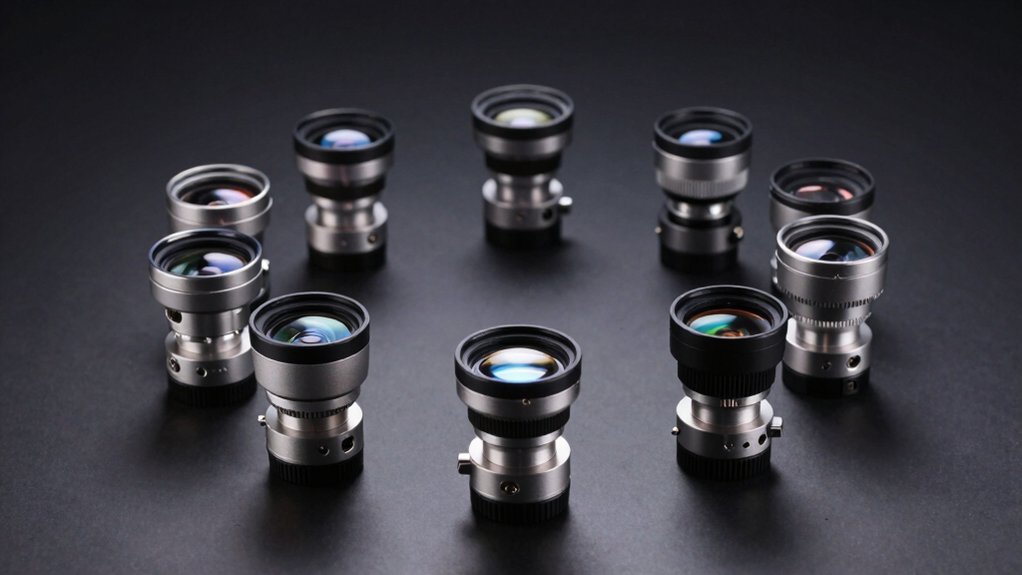
While the vast universe beckons through your telescope’s eyepiece, capturing its wonders requires selecting the right camera for your specific needs.
You’ll find two main paths: dedicated astrophotography cameras like the ZWO ASI183MC Pro, optimized for deep-sky imaging with exceptional low-light performance, or DSLR or mirrorless cameras that offer versatility with interchangeable lenses.
For beginners, cameras like Canon EOS 6D Mark II or Sony Alpha a7 III provide an accessible entry point.
Confirm compatibility between camera and telescope using a T-ring specific to your camera brand.
Consider whether you need a color camera for simplicity or a monochrome sensor for enhanced detail.
Don’t overlook sensor size—full-frame models offer superior light-gathering capabilities, essential for capturing faint celestial objects.
Essential Adapters For Mounting Cameras To Telescopes
When mounting your camera to a telescope, you’ll need specific adapters like T-rings that connect your DSLR body directly to the optical tube.
Prime focus adapters allow your camera to utilize the telescope as a powerful telephoto lens, offering clear views of distant celestial objects.
For smartphone astrophotography enthusiasts, specialized eyepiece mounts securely hold your phone in alignment with the telescope’s eyepiece, making night sky photography accessible without expensive equipment.
T-Rings For DSLR Connection
The foundation of successful telescope photography begins with a proper camera connection. For DSLR users, a T-ring is your essential adapter—replacing your camera’s lens and creating a direct light path from telescope to sensor.
Remember that T-rings are brand-specific; you’ll need one designed specifically for your Canon, Nikon, or Sony camera. Once attached, you’ll also require a T-adapter to connect the T-ring to your telescope’s focuser.
This setup offers significant advantages for imaging celestial objects. By eliminating the camera lens, you’ll avoid optical aberrations that can degrade image quality. Just verify all connections are secure before beginning your session.
Take time to achieve proper focus on your target—this simple step dramatically improves image clarity and helps capture the stunning details that make astrophotography so rewarding.
Prime Focus Adapters
Among the most essential pieces of astrophotography equipment, prime focus adapters transform your telescope into a powerful camera lens. This setup connects your camera directly to the telescope’s focuser, bypassing your camera’s lens to utilize the telescope’s optics instead.
To create this connection, you’ll need two components: a T-ring specific to your camera brand and a T-adapter that connects to your telescope. This combination maximizes light transmission and image quality, allowing you to capture detailed images of celestial objects.
When shopping for these adapters, verify compatibility with both your telescope’s focuser size and your camera’s mount.
Prime focus photography particularly shines for deep-sky astrophotography, as it enables longer exposures without the distortion typical of camera lenses, revealing more detail in your astronomical images.
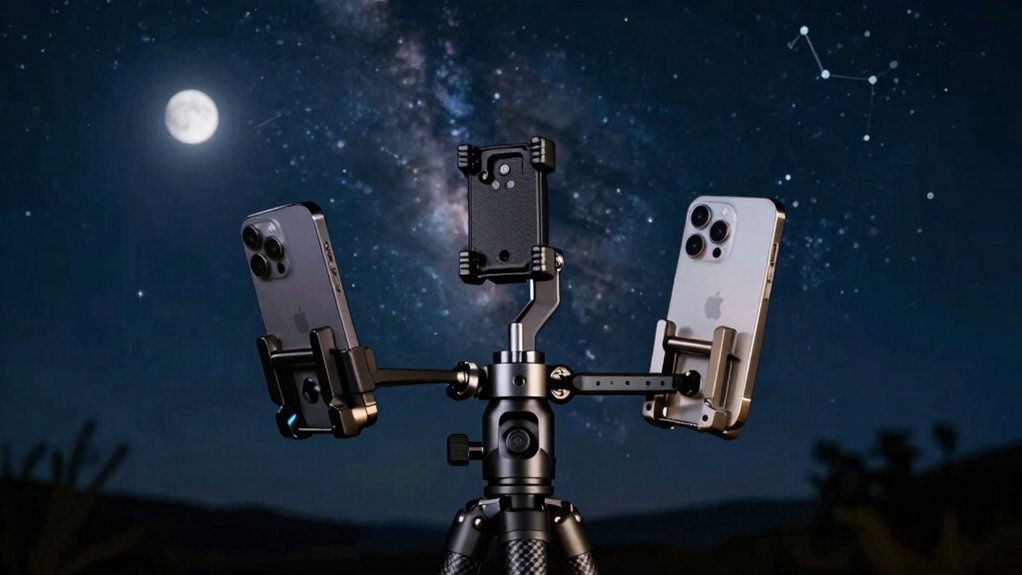
Smartphone Eyepiece Mounts
Smartphone eyepiece mounts represent one of the most accessible gateways into astrophotography for beginners. These adapters securely attach your phone to telescopes, allowing you to capture celestial images through the eyepiece without expensive equipment.
Most mounts feature adjustable clamps that accommodate various smartphone sizes and eyepiece diameters, ensuring wide compatibility. You’ll appreciate features like adjustable angles and quick-release mechanisms that make aligning your phone’s camera with the eyepiece straightforward.
Popular options include the Celestron NexYZ and Orion SteadyPix, both praised for their stability and ease of use. The primary advantage of these mounts is their simplicity – you can immediately capture, edit, and share your astrophotography without investing in specialized cameras.
If you’re just starting your astrophotography journey, a smartphone eyepiece mount offers an excellent entry point before committing to more advanced equipment.
Budget-Friendly Tracking Mounts For Long Exposures
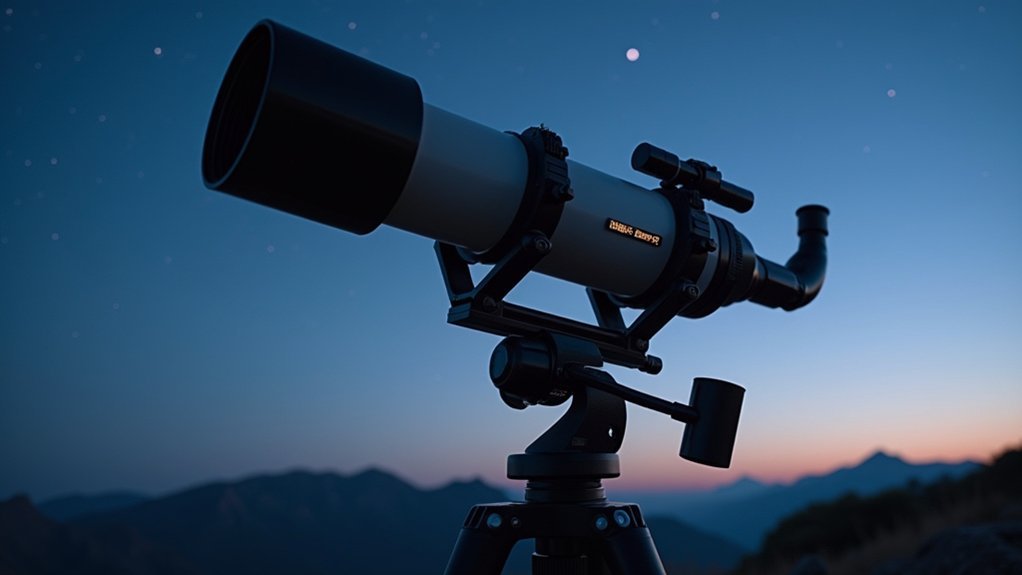
You’ll find affordable star trackers like the Omegon LX and Skywatcher AzGti with wedge provide stable platforms for your astrophotography journey without emptying your wallet.
These lightweight mounts can support payloads between 5-10kg while preventing star trails during those essential long exposures.
If you’re especially budget-conscious, consider exploring DIY mount solutions that can be assembled with basic components while still delivering improved tracking capabilities for your night sky photography.
Affordable Star Trackers
While capturing the night sky with static tripods can produce beautiful images, affordable star trackers like the Omegon LX and Skywatcher AzGti take your astrophotography to the next level without breaking the bank. These budget-friendly options eliminate star trailing during long exposure shots, letting you capture stunning deep-sky astrophotography with lightweight cameras.
| Tracker Feature | Benefit | Application |
|---|---|---|
| Simple polar alignment | Quick setup | Weekend trips |
| 5-10kg payload capacity | Handles DSLR + lens | Most beginner setups |
| Portable design | Easy transport | Dark sky locations |
| Multiple tracking modes | Versatile shooting | Various celestial objects |
| Extended exposure times | Enhanced detail | Nebulae, galaxies |
You’ll appreciate how these compact tracking mounts transform your astrophotography sessions from simple star fields to detailed cosmic portraits without requiring complex equipment or technical expertise.
DIY Mount Solutions
For those working with the tightest budgets, DIY mount solutions offer an even more economical path to tracking than commercial options.
Barn door trackers, constructed from plywood, screws, and hinges, can deliver impressive results for long exposures up to 30 minutes—perfect for capturing faint celestial objects without breaking the bank.
To create your own tracking mount:
- Start simple – Basic designs can be built in a weekend using materials from any hardware store.
- Enhance tracking accuracy – Add a stepper motor or slow-turning gear mechanism for pinpoint stars.
- Match your setup – Adjust pivot points and arm lengths to accommodate different camera weights and focal lengths.
- Leverage community knowledge – Find free plans and tutorials through online resources, helping beginners customize their astrophotography setups.
Remote Shutter Controls And Vibration Management
When capturing the night sky through your telescope, even the slightest movement can transform crisp celestial details into blurry disappointments. A remote shutter release is essential for maintaining stability during long exposures, allowing you to trigger your camera without touching it directly.
If you don’t have a dedicated remote, use your camera’s built-in timer (2-10 seconds) to let vibrations settle after pressing the shutter button. For advanced techniques like image stacking in astrophotography, consider an intervalometer that automates multiple exposures.
DSLR camera users should activate the mirror lock-up feature to reduce internal vibrations when the shutter fires.
Remember that your foundation matters too—a robust tripod provides vital stability, especially when working with longer focal lengths.
These simple vibration management techniques will dramatically improve your astrophotography results.
Power Solutions For Extended Imaging Sessions
As you venture deeper into astrophotography, your equipment’s hunger for power becomes a critical consideration. Uninterrupted astrophotography sessions demand reliable power supplies that match your gear’s voltage and amperage specifications.
A power distribution hub can reduce cable clutter while efficiently managing multiple devices simultaneously.
For remote imaging, consider these essential power options:
- Portable lithium-ion battery packs – lightweight solutions ideal for travel and field work
- Dedicated power supplies designed specifically for telescope mounts and cameras
- Backup batteries to prevent frustrating shutdowns during critical imaging moments
- Solar-powered chargers for sustainable power during extended imaging sessions in remote locations
Don’t underestimate your power needs – proper planning guarantees you’ll capture that perfect deep-sky object without an untimely equipment shutdown ruining hours of careful work.
Protective Accessories For Nighttime Shooting
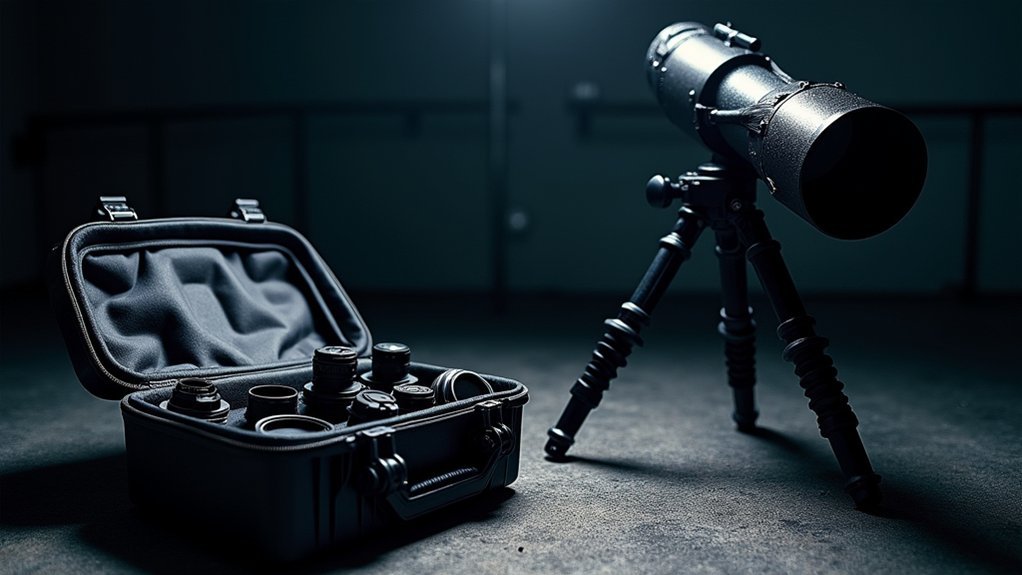
The delicate nature of astronomical equipment demands proper protection during nighttime shooting sessions. Invest in a sturdy, weather-resistant camera bag to shield your gear from moisture and physical damage while you’re setting up or moving between locations.
Don’t underestimate the importance of lens caps and body caps—they’re your first line of defense against dust and scratches, keeping equipment in prime condition.
A dew shield or heater is essential for condensation prevention on optics, which can ruin your imaging efforts.
Always bring a portable power bank to maintain operation during extended sessions.
Remember to use a red flashlight when checking settings or changing equipment; it preserves your night vision without disrupting your astronomical observations.
These protective measures will greatly extend your gear’s lifespan and improve your imaging results.
Entry-Level Software Options For Image Processing
Capturing stunning celestial images is only half the journey—you’ll need software to transform your raw data into breathtaking final photographs. Several entry-level software options make this process accessible for beginners:
- Siril provides free, open-source capabilities for stacking images and essential processing like noise reduction and color calibration—perfect for your first astrophotography projects.
- DeepSkyStacker excels at combining multiple exposures to enhance detail while reducing noise, making it a popular choice for beginners.
- GIMP offers versatile editing tools similar to Photoshop, with layer manipulation and color correction features that enhance your astronomical images.
- Astro Photography Tool (APT) streamlines image acquisition with automation features, while PixInsight delivers more advanced processing capabilities when you’re ready to progress beyond beginner techniques.
Frequently Asked Questions
What Equipment Do Beginner Astrophotographers Need?
You’ll need a DSLR or mirrorless camera with manual settings, a stable tripod, a star tracker, remote shutter release, and power supply. Consider adding a beginner-friendly refractor telescope and light pollution filters.
What Is the Best Thing to Look at With a Beginner Telescope?
The Moon is your best first target—you’ll see incredible craters and maria with minimal effort. Then try Jupiter’s moons, Saturn’s rings, the Pleiades star cluster, and the Andromeda Galaxy for stunning early experiences.
How to Set up a Telescope for Beginners?
You’ll need to find level ground, attach the mount first, then secure the telescope tube. Align the finderscope, adjust the eyepiece, and practice focusing on large objects like the Moon initially.
How Do You Set up a Telescope Camera?
You’ll need to remove your camera lens, attach a T-ring and T-adapter, then connect this assembly to your telescope’s focuser. Adjust focus carefully and use a remote shutter to minimize vibrations when shooting.
In Summary
You’re now equipped with the telescope camera basics to begin your astrophotography journey. Don’t worry about having everything perfect from day one—start with what you can afford and upgrade as needed. Remember that practice is your best teacher. With these seven fundamentals in place, you’ll be capturing stunning celestial images in no time. Clear skies and happy shooting!
Leave a Reply